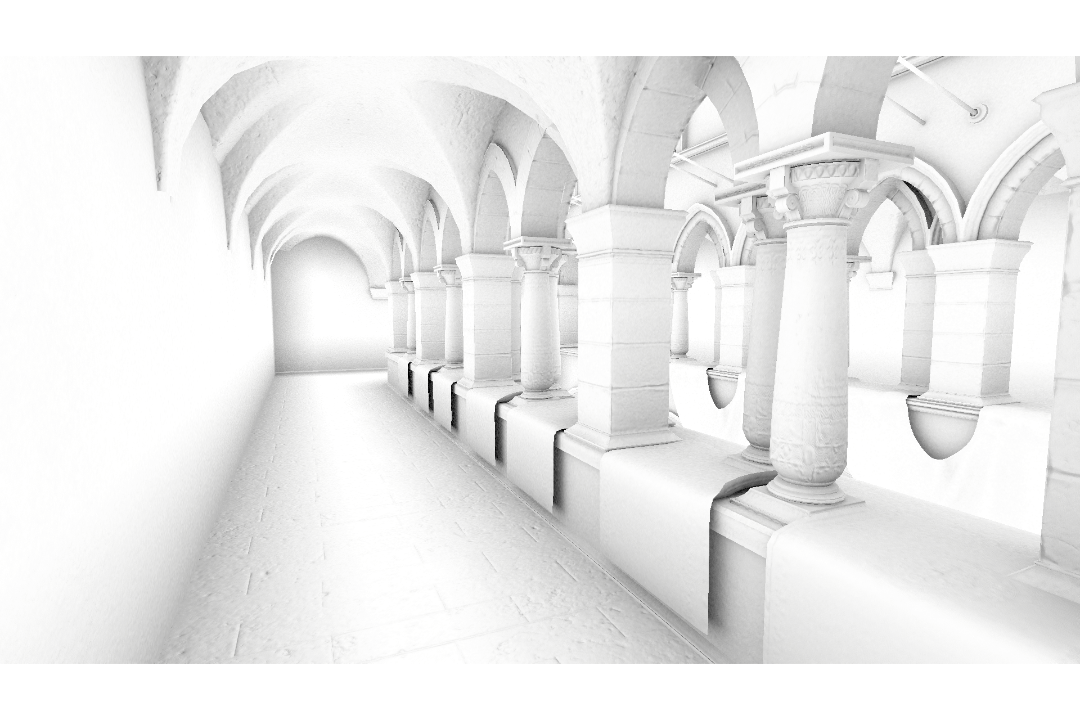
Ray-Traced Ambient Occlusion
Ray-Traced Ambient Occlusion is a ray tracing feature in the High Definition Render Pipeline (HDRP). It is an alternative to HDRP's screen space ambient occlusion, with a more accurate ray-traced solution that can use off-screen data.

Screen space ambient occlusion

Ray-traced ambient occlusion
For information about ray tracing in HDRP, and how to set up your HDRP Project to support ray tracing, see Getting started with ray tracing.
Using Ray-Traced Ambient Occlusion
Because this feature is an alternative to the screen space Ambient Occlusion Volume Override, the initial setup is very similar.
- Enable screen space ambient occlusion in your HDRP Asset.
- In the Frame Settings for your Cameras, enable Screen Space Ambient Occlusion.
- In the Frame Settings for your Cameras, enable Ray Tracing.
- Add the effect to a Volume in your Scene.
HDRP Asset setup
The HDRP Asset controls which features are available in your HDRP Project. To make HDRP support and allocate memory for ray-traced ambient occlusion:
- Click on your HDRP Asset in the Project window to view it in the Inspector.
- In the Lighting section, enable Screen Space Ambient Occlusion.
Camera setup
Cameras use Frame Settings to decide how to render the Scene. To enable ray-traced ambient occlusion for your Cameras by default:
- Open the Project Settings window (menu: Edit > Project Settings), then select the HDRP Default Settings tab.
- Select Camera from the Default Frame Settings For drop-down.
- In the Rendering section, enable Ray Tracing.
- In the Lighting section, enable Screen Space Ambient Occlusion.
All Cameras can now process ray-traced ambient occlusion unless they use custom Frame Settings. If they do:
- In the Scene view or Hierarchy, select the Camera's GameObject to open it in the Inspector.
- In the Custom Frame Settings, navigate to the Rendering section and enable Ray Tracing.
- In the Custom Frame Settings, navigate to the Lighting section and enable Screen Space Ambient Occlusion.
Volume setup
Ray-Traced Ambient Occlusion uses the Volume framework, so to enable this feature and modify its properties, you need to add an Ambient Occlusion override to a Volume in your Scene. To do this:
- In the Scene or Hierarchy view, select a GameObject that contains a Volume component to view it in the Inspector.
- In the Inspector, navigate to Add Override > Lighting and click on Ambient Occlusion. HDRP now applies screen space ambient occlusion to any Camera this Volume affects.
- In the Inspector for the Ambient Occlusion Volume Override, enable Ray Tracing. HDRP now uses ray tracing to calculate ambient occlusion. If you do not see the Ray Tracing option, make sure your HDRP Project supports ray tracing. For information on setting up ray tracing in HDRP, see getting started with ray tracing.

Properties
| Property | Description |
|---|---|
| Ray Tracing | Makes HDRP use ray tracing to evaluate ambient occlusion. Enable this to expose properties that you can use to adjust the quality of ray-traced ambient occlusion. |
| Intensity | Controls the strength of the ambient occlusion effect. |
| Direct Lighting Strength | Controls how much the ambient occlusion affects direct lighting. |
| LayerMask | Defines the layers that HDRP processes this ray-traced effect for. |
| Ray Length | Controls the length of the rays that HDRP uses for ray tracing. This allows you to have smaller scale, local, ambient occlusion. |
| Sample Count | Controls the number of rays that HDRP uses per pixel, per frame. Increasing this value increases execution time linearly. |
| Denoise | Enables the spatio-temporal filter that HDRP uses to remove noise from the ambient occlusion. |
| - Denoiser Radius | Controls the radius of the spatio-temporal filter. A higher value reduces noise further. |