Authoring lookup textures with DaVinci Resolve
The following process uses DaVinci Resolve, but you can apply it to other digital content creation tools such as Photoshop or Nuke.
To author lookup textures in resolve:
- Set up the HDRP Asset
- Render the Camera view to an EXR file
- Set up Resolve for color grading
- Apply color grading
- Export your work as a CUBE file
- Import and use the CUBE file in your Scene
Set up the HDRP Asset
Decide on the lookup texture (LUT) size to use for the Project, and set it in your Project's HDRP Asset. To set the LUT size, use the HDRP Asset’s Grading LUT Size property. To find this property:
- Open your HDRP Asset in the Inspector window.
- Go to Post-processing > Grading LUT Size
Resolve only exports LUTs of size 33 so set Grading LUT Size to 33 for it to work correctly.
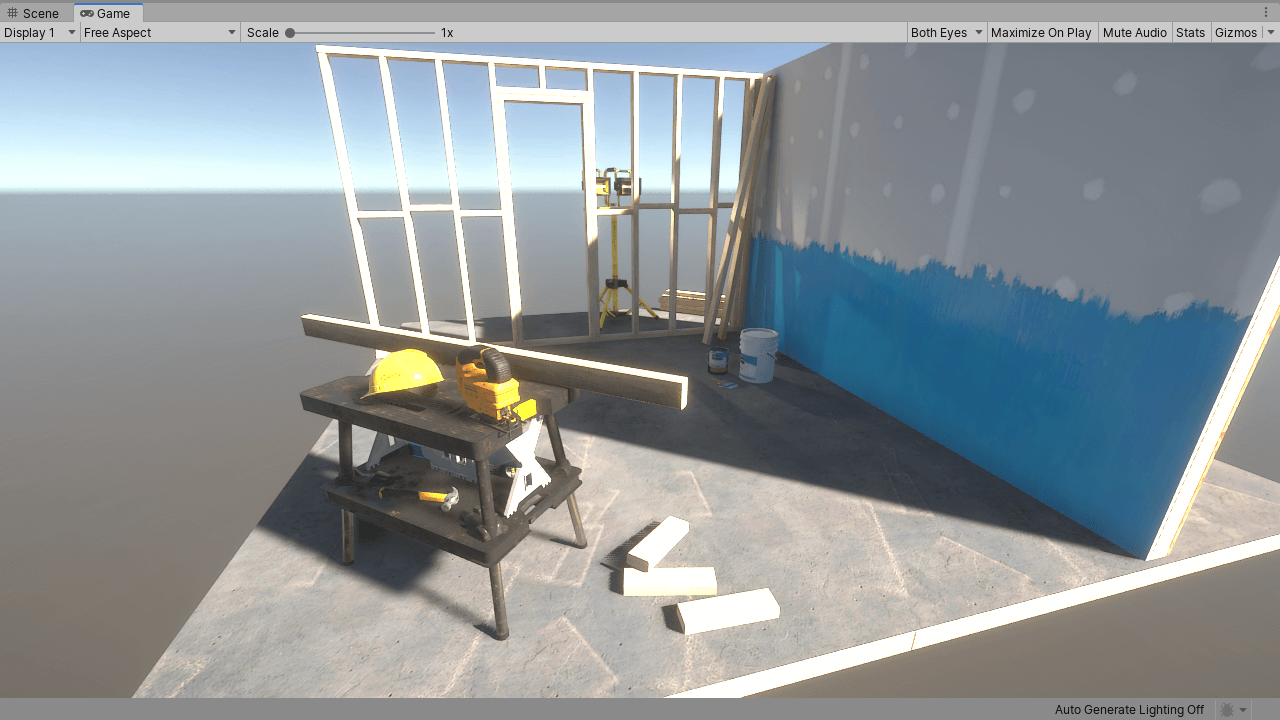
Render the Camera view to an EXR file
Export the current Camera's view to a log-encoded EXR file. To do this:
- In the Scene view or Hierarchy, select a GameObject that contains a Camera component.
- Select Edit > Rendering > Render Selected HDRP Camera to Log EXR **(**or press Ctrl+Shift+Alt+E).
- Save the EXR file.

After you export the EXR file, transform the data from the format that Unity uses (Alexa LogC El.1000) to Linear RGB space, so that external software can use it. To do this, HDRP provides a set of ready-to-use transform LUTs. To get them:
- Open the Package Manager window (menu: Window > Package Manager).
- Select High Definition RP from the list of packages on the left.
- In the Samples section, select Import into Project next to Additional Post-processing Data.
- This imports the LUTs into Assets/HDRP Sample Content/Post-processing/Cube LUTs/.
Set up Resolve for color grading
Before you can start color grading in Resolve, you need to set up Resolve to work with the EXR file from Unity. To do this:
- Create an empty project in Resolve.
- Open File > Project Settings and go to the Color Management panel.
- In the Lookup Table section, select Open Lut Folder. This opens your platform's file explorer at the location that stores LUTs for Resolve.
- In the file explorer, create a new Unity folder and copy all the previously imported LUTs you exported from Unity (see Render the Camera view to an EXR file) into it.
- In Resolve, select Update Lists.
- Set the Video Monitor Lookup Table to Linear to sRGB r1.
Note: You only need to do step 1 to 5 once for Resolve in general, and step 6 for each project.
Import the EXR into Resolve and apply the Unity Log To Linear r1 LUT to it. To apply the LUT:
- Right-click on the EXR file in Resolve.
- In the context menu, select 3D Lut.
- Select the Unity Log To Linear r1 LUT.

Apply color grading
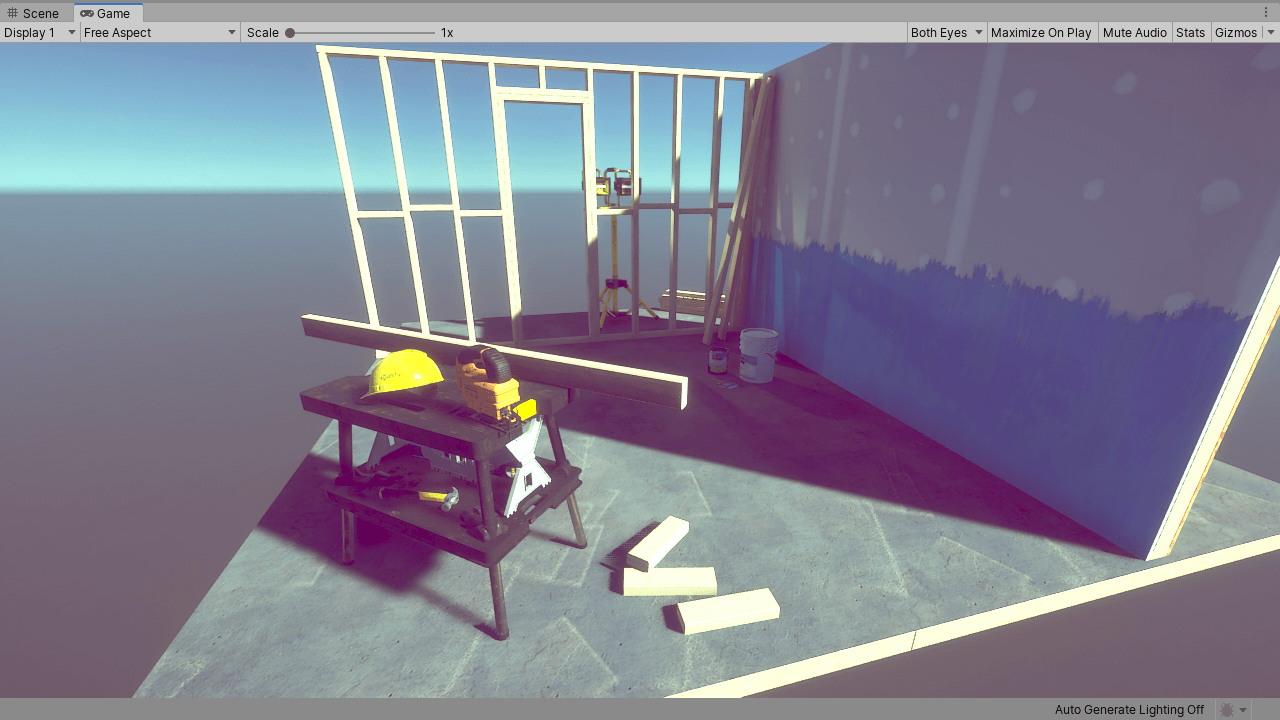
You can now start grading your image. Make sure you only do global color operations because LUTs can't store local operators or any filters that affect neighboring pixels (such as blur or sharpen).

Export your work as a CUBE file
When you finish grading, export your work as a CUBE file. To do this in Resolve:
- Right-click on the graded clip.
- Select Generate 3D LUT (CUBE) in the menu.
- Save the CUBE file in your Unity Project's Assets folder.
Import and use the CUBE file in your Scene
Unity automatically interprets the CUBE file as a usable Texture3D Asset. You can use this CUBE file in a Tonemapping override inside a Volume. To do this:
- In the Scene or Hierarchy view, select a GameObject that contains a Volume component, and view it in the Inspector.
- In the Inspector, select Add Override > Post-processing and choose Tonemapping.
- In the Inspector for Tonemapping, enable Mode and set it to External.
- Assign your CUBE Texture to the Lookup Texture property.
- Change the Contribution to set how much the Lookup Texture contributes to the Scene.

You can continue to color grade in Resolve and override the previously saved CUBE file. Unity automatically updates the grading in the Scene with your changes.