Building your game and deploying it to the UDP console
Building your game locally
Build an APK from the Editor (File > Build Settings > Android > Build). For more information, see Getting started with Android development.
Your APK must contain a versionName to be accepted to UDP. Add the version for your build in the Unity Editor at File > Build Settings > Player Settings > Player > Other Settings > Version.
Note: Make sure you save your IAP Catalog before building your game. If you’re using UDP via Unity IAP, make sure that you’ve set UDP as a build target.
Check your Manifest
Make sure your AndroidManifest.xml is compliant with the Android developer guide, otherwise errors will appear when your game is repacked for submission to the UDP stores.
Typically, if you get
- "Error: Unable to compile resources. Please make sure your AndroidManifest.xml is correct or contact support."
it means your AndroidManifest is malformed, and UDP is not able to analyze the APK file.
This can, for instance, be due to elements such as <service>, <activity>, <provider>, <receiver> being outside the
Uploading your game APK to the UDP console
Follow these steps to directly upload your build to the UDP Console. Note that the UDP console only accepts APKs with a UDP implementation.
- On the UDP Console, select your Project in My Games.
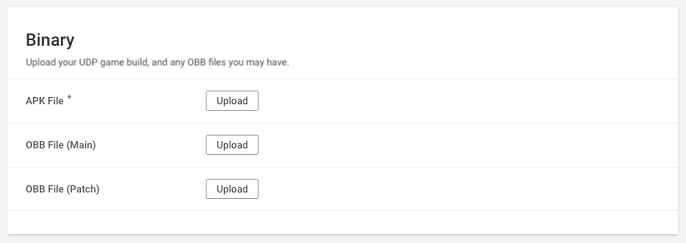
- In the Game Info tab, go to the Binary section to upload the APK file (and OBB files, if any) of your game.

You can also deploy your game to the UDP console in the following ways:
- Upload your APK to CloudBuild, and deploy it to UDP from there.
- Build your game with CloudBuild, and deploy it to UDP from there.
These ways are covered in Using CloudBuild with UDP.