Access VPB materials
For VPB materials, use Pixyz custom materials. To create custom shaders, use material properties.
Before importing assets with VPB materials, you must perform these tasks:
- Turn on custom material setup to allow information mapping between imported materials and Unity materials.
- Create a custom material setup to map this information.
- Add this setup to the default import parameters.
The Pixyz.ImportSDK.MaterialConversions class converts materials. The ConvertCustomMaterial function converts custom materials.
Turn on custom material setup
Follow these steps:
From the API, turn on the import of realistic materials:
Plugin4UnityProduct.API.Core.SetModuleProperty("IO", "ImportRealisticMaterials", "True")Modify the
Menu.csfile that is located in the folderpackages/com.unity.pixyz.plug4unity/Editor/UI:Add the
Conversionnamespace:using UnityEngine.PixyzCommons.Conversion;Remove the comment characters (
//) for theCreateCustomMaterialSetupAssetfunction://[MenuItem("Pixyz/Create Custom Material Setup", false, 9)] //[MenuItem("Assets/Create/Pixyz/Custom Material Setup", priority = 1)] //private static void CreateCustomMaterialSetupAsset() //{ // EditorExtensions.CreateAsset<CustomMaterialSetup>("CustomMaterialSetup", true); //}
This example shows the first lines of the file after modification:
using System.Text;

using UnityEditor.PixyzCommons.Extensions;

using UnityEngine;

using UnityEngine.PixyzCommons.Conversion;

using UnityEngine.PixyzCommons.Licensing;

namespace UnityEditor.PixyzCommons.UI

{

    internal static class Menus

    {

        [MenuItem("Pixyz/Create Custom Material Setup", false, 9)]

        [MenuItem("Assets/Create/Pixyz/Custom Material Setup", priority = 1)]

        private static void CreateCustomMaterialSetupAsset()

        {

            EditorExtensions.CreateAsset<CustomMaterialSetup>("CustomMaterialSetup", true);

        }
Create a custom material setup
Before importing custom materials, you must map information between imported materials and Unity materials:
- From the Pixyz menu, choose Create Custom Material Setup.
- Map the material names:
- On the Inspector pane, select the Plus sign (+) in the Custom Material Setup section.
- Enter the name of the imported material, for example
UMetallicPaintMaterial, then select Validate. - Enter the name of the Unity material, for example
Shader Graphs/CarPaint.
- Map the property names:
- Expand the Properties section and select Add property binding.
- Enter the property name of the imported material, for example
flakeColor, then select Validate. - In the Keyword field, enter the property name of the Unity material, for example
ColorCF7B3627.
Select a custom material setup for import
To use a custom material setup for import, follow these steps:
- In your project assets, expand Pixyz > Editor and select Default Import Settings.
- Switch to the debug mode. Read more about Inspector options in the Unity manual.
- In the list of import parameters, add a custom material setup in the Custom Material Setup field.
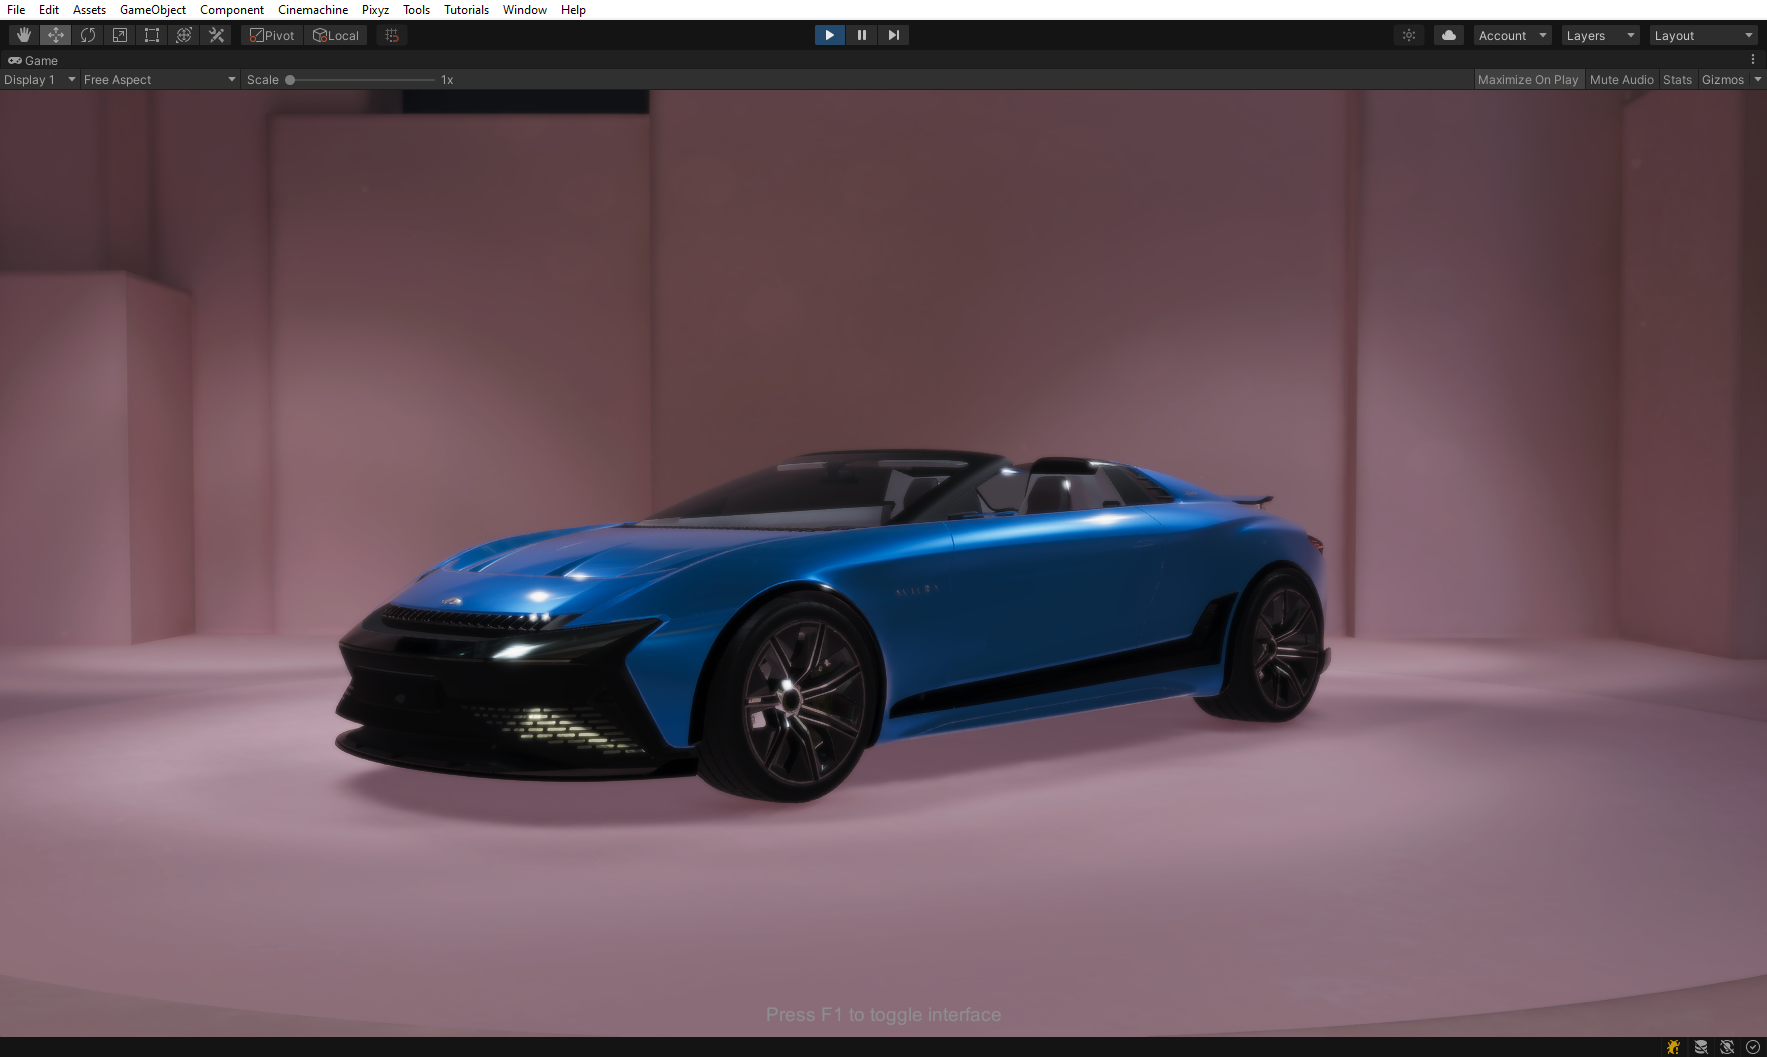
This illustration shows an Aviera model that has been imported using Pixyz Plugin for Unity: