Scene Cache In Timeline
Quick Start

Scene Cache can be controlled via Timeline by performing the following steps:
- Open the Timeline window.
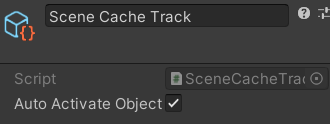
- In the Timeline Window, click Unity.MeshSync > Scene Cache Track to add a SceneCacheTrack.
- Drag and drop the SceneCachePlayer GameObject to the newly added track, which will automatically create a SceneCachePlayableAsset.
To view animation curves of Scene Cache clips, click the Curves icon next to the Track name.
Scene Cache Track

| Properties | Description |
|---|---|
| Auto Activate Object | Activate the SceneCachePlayer GameObjects of clips in the track when the clip is active, and deactivate it otherwise. |
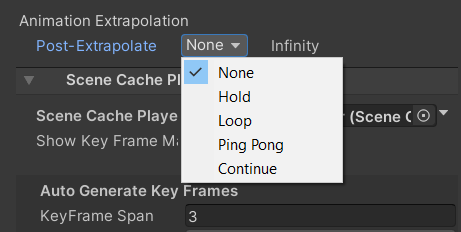
Gap Extrapolation

When Auto Activate Object setting in SceneCacheTrack is turned off, then we can control the SceneCache playback in gaps before or after SceneCache clips in a similar way to setting gap extrapolation for Animation clips using one of the following options:
- None (default): undefined.
- Hold: hold and show the first/last frame of the Scene Cache in the gap.
- Loop: loop the Scene Cache with the same clip duration.
- Ping Pong: loop the Scene Cache backwards, then forwards, and so forth, with the same clip duration.
- Continue: undefined.
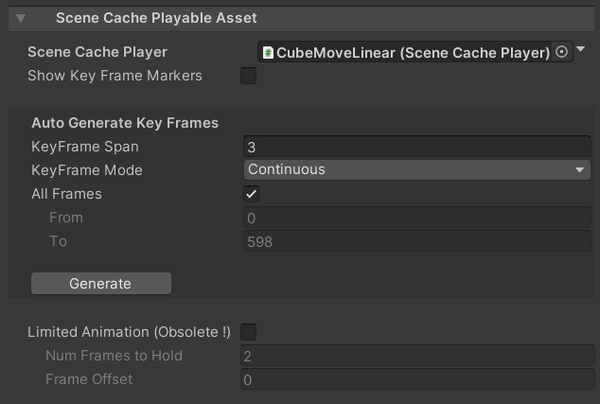
SceneCachePlayableAsset

| Properties | Description |
|---|---|
| Scene Cache Player | The SceneCachePlayer to be played in Timeline. |
| Show Key Frame Markers | Shows/hides the key frame markers for editing the timing. Refer to Key Frame Adjustment for more details |
| Auto Generate Key Frames | A section to configure the key frames of the specified duration automatically. |
| Limited Animation | Automatically skip frames if enabled. This property has been replaced by Key Frame Adjustment, and may be removed in later versions. |
Key Frame Adjustment

We can modify the timing of the playback by the following steps:
- Check the Show Key Frame Markers property.
- Add, drag, or delete the key frame markers.
- Set the properties of the key frames to configure which frame to show. Refer to Key Frame Properties for more details.
Pressing the curve button next to the track name will open the curve section which allows us to confirm how the playback is being controlled by the clip.
Additionally, if we want to configure the key frames using a certain rule for a specified duration, we can use the Auto Generate Key Frames section to do this automatically.
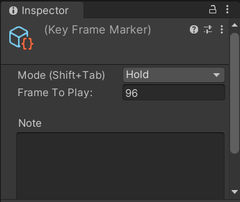
Key Frame Properties

| Properties | Description |
|---|---|
| Mode | Continuous: interpolates Frame To Play linearly. Hold: keep showing Frame To Play to create limited animation. |
| Frame To Play | The frame of the .sc file to show at the timing of the marker. |
| Note | User notes. |
Default Key Frame Shortcuts
| Shorcut Keys | Description |
|---|---|
| Shift-Tab | Change the mode of the selected key frame. |
| Shift-E | Add a new key frame at the playhead location for the selected clip. |