Scene Cache In Timeline
Quick Start

Scene Cache can be controlled via Timeline by performing the following steps:
- Open the Timeline window.
- In the Timeline Window, click Unity.MeshSync > Scene Cache Track to add a SceneCacheTrack.
- Drag and drop the SceneCachePlayer GameObject to the newly added track, which will automatically create a SceneCachePlayableAsset.
To view animation curves of Scene Cache clips, click the Curves icon next to the Track name.
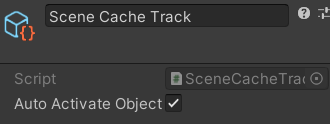
Scene Cache Track

| Properties | Description |
|---|---|
| Auto Activate Object | Activate the SceneCachePlayer GameObjects of clips in the track when the clip is active, and deactivate it otherwise. |
Gap Extrapolation

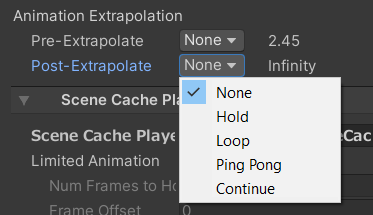
When Auto Activate Object setting in SceneCacheTrack is turned off, then we can control the SceneCache playback in gaps before or after SceneCache clips in a similar way to setting gap extrapolation for Animation clips using one of the following options:
- None (default): undefined.
- Hold: hold and show the first/last frame of the Scene Cache in the gap.
- Loop: loop the Scene Cache with the same clip duration.
- Ping Pong: loop the Scene Cache backwards, then forwards, and so forth, with the same clip duration.
- Continue: undefined.
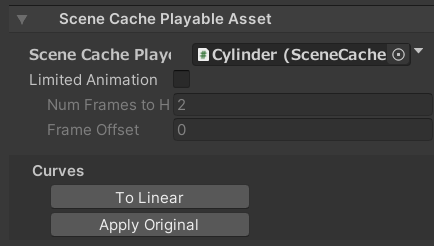
SceneCachePlayableAsset

| Properties | Description |
|---|---|
| Scene Cache Player | The SceneCachePlayer to be played in Timeline. |
| Limited Animation | Overrides the Limited Animation properties of the SceneCachePlayer. |
Curve buttons
| Buttons | Description |
|---|---|
| To Linear | Set the animation curve to a linear curve. |
| Apply Original | Applies the original animation curve from the Scene Cache (.sc) file. |