Publishing Playblasts from Unity to Shotgun
Use the Publish app included with the Shotgun Toolkit to upload recorded playblasts as well as other content to Shotgun.
Record and Publish with the Unity Recorder
Before starting make sure your scene and Timeline are setup for recording the playblast with the Recorder. Then follow these steps to record a playblast and upload to Shotgun:
Open the Recorder window by selecting Window > General > Recorder > Recorder Window
Add a new Movie Recorder. Make sure the Target Frame Rate value matches your Master Timeline settings. To learn more about the concept of Master timeline, see Establishing the Master Timeline.
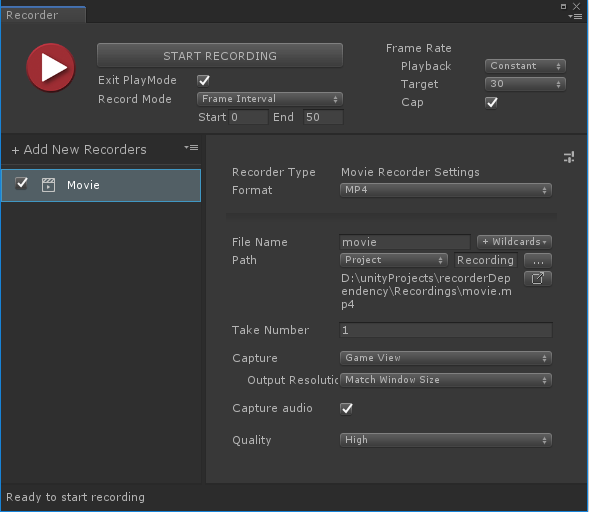
From the Unity menu, select "Shotgun/Publish Recording...". Unity will start recording, using the movie recorder that is currently selected in the Recorder window. If no movie recorder is selected, Unity will try to find a movie recorder named "Shotgun". By default, Unity will use the last movie recorder it finds
Once the playblast finishes recording, and the editor exits playmode, the Shotgun Publish window will automatically open, showing the session recording ready to upload
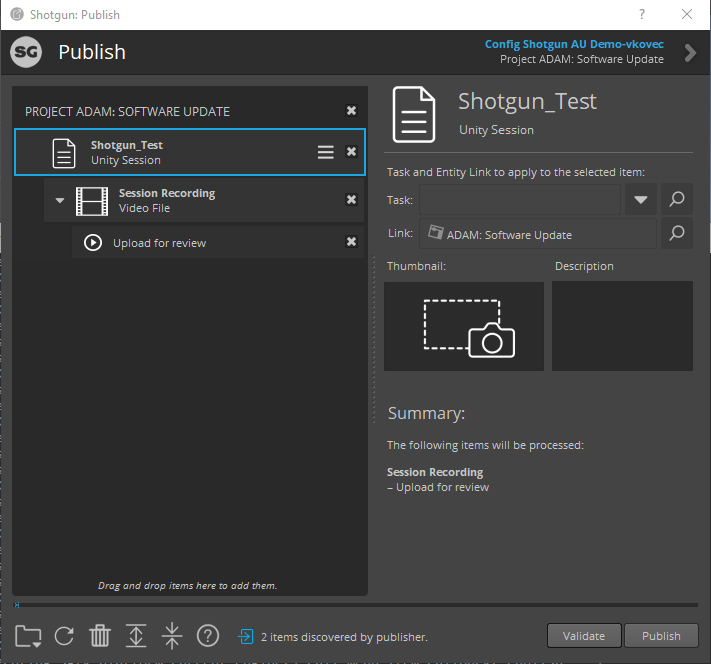
Select the "Task", "Link" and optionally add a thumbnail and description, then click "Publish" to publish the playblast to Shotgun
Note: The playblast will be saved to a temporary location on disk
Publish already recorded Playblasts
In order to publish a previously recorded Playblast, follow these steps:
Open the Shotgun Publish app from the Unity top menu by selecting Shotgun > Publish...
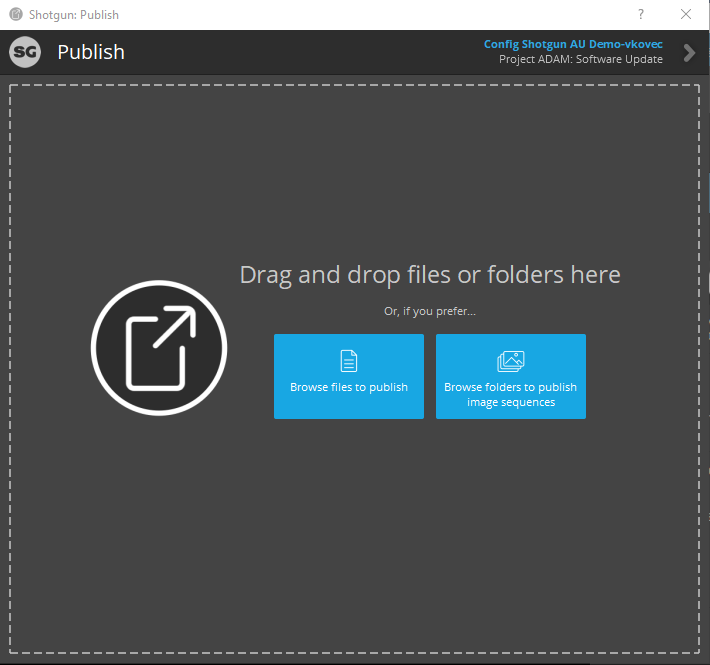
Browse or drag and drop the video file into the publish window
Select the "Task", "Link" and optionally add a thumbnail and description, then click "Publish" to publish the playblast to Shotgun