Shotgun Configuration
The easiest way to get started is to use the tk-config-unity pipeline
configuration. It is constantly kept up-to-date with the tk-config-default2
configuration. In fact, tk-config-unity is a version of tk-config-default2
in which we added the tk-unity engine and some advanced workflows for working
with Shotgun inside of Unity.
If you are using a custom configuration, it should be straightforward to adapt
it to also use tk-unity. The recommended approach is to compare
tk-unity-config with its matching tk-config-default2 version. For example,
you could compare tk-config-unity v1.2.9.1 with tk-config-default2
v1.2.9.1 and add the required changes.
To use tk-config-unity, follow these steps:
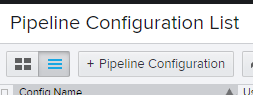
- In the Shotgun Web Client, go to “Your Avatar”/Default Layouts/Pipeline Configuration/Pipeline Configuration List
- Create a new Pipeline Configuration
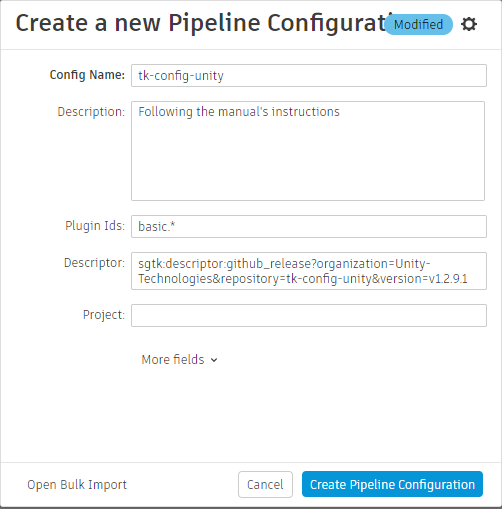
- Set the
Plugin Idsfield tobasic.* - Set the
Descriptorfield to match the desired version of the config, e.g.sgtk:descriptor:github_release?organization=Unity-Technologies&repository=tk-config-unity&version=v1.2.9.1
- Set the
- Launch Shotgun Desktop
- Choose your project
- In the top section, if there is an arrow, click it and choose your new configuration
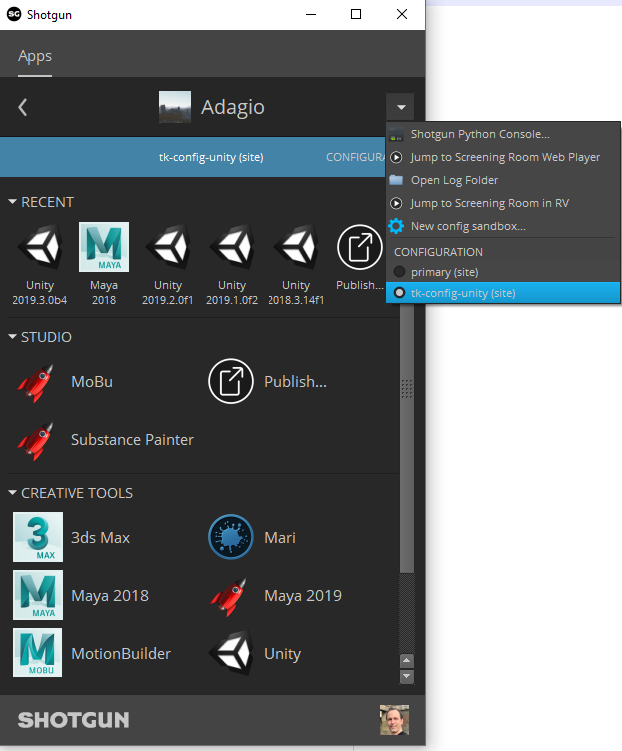
- Once loaded, you should see a Unity icon. Clicking on the arrow at the bottom-right of the Unity icon should display all the versions of Unity that were discovered by Shotgun. If you do not see a Unity icon, go to Enabling Toolkit and Unity for your Shotgun Project and resume these steps after
- The Unity Hub should launch