Apply interactions to bindings
When you create bindings for your Actions, you can choose to add Interactions to the bindings with the Editor, or with code.
To apply Interactions to all bindings on an Action, refer to Apply Interactions to Actions.
Apply Interactions to bindings in the Editor
If you're using project-wide actions, or Input action assets, you can add any Interaction to your bindings with the Input Action editor.
- Once you have created some bindings, select the binding you want to add Interactions to, so that the right pane of the window displays the properties for that binding.
- Select the plus icon on the Interactions foldout to open a list of all available Interactions types.
- Select an Interaction type to add an Interaction instance of that type. The Interaction now appears in the Interactions foldout.
- If the Interaction has any parameters, you can edit them at this stage.
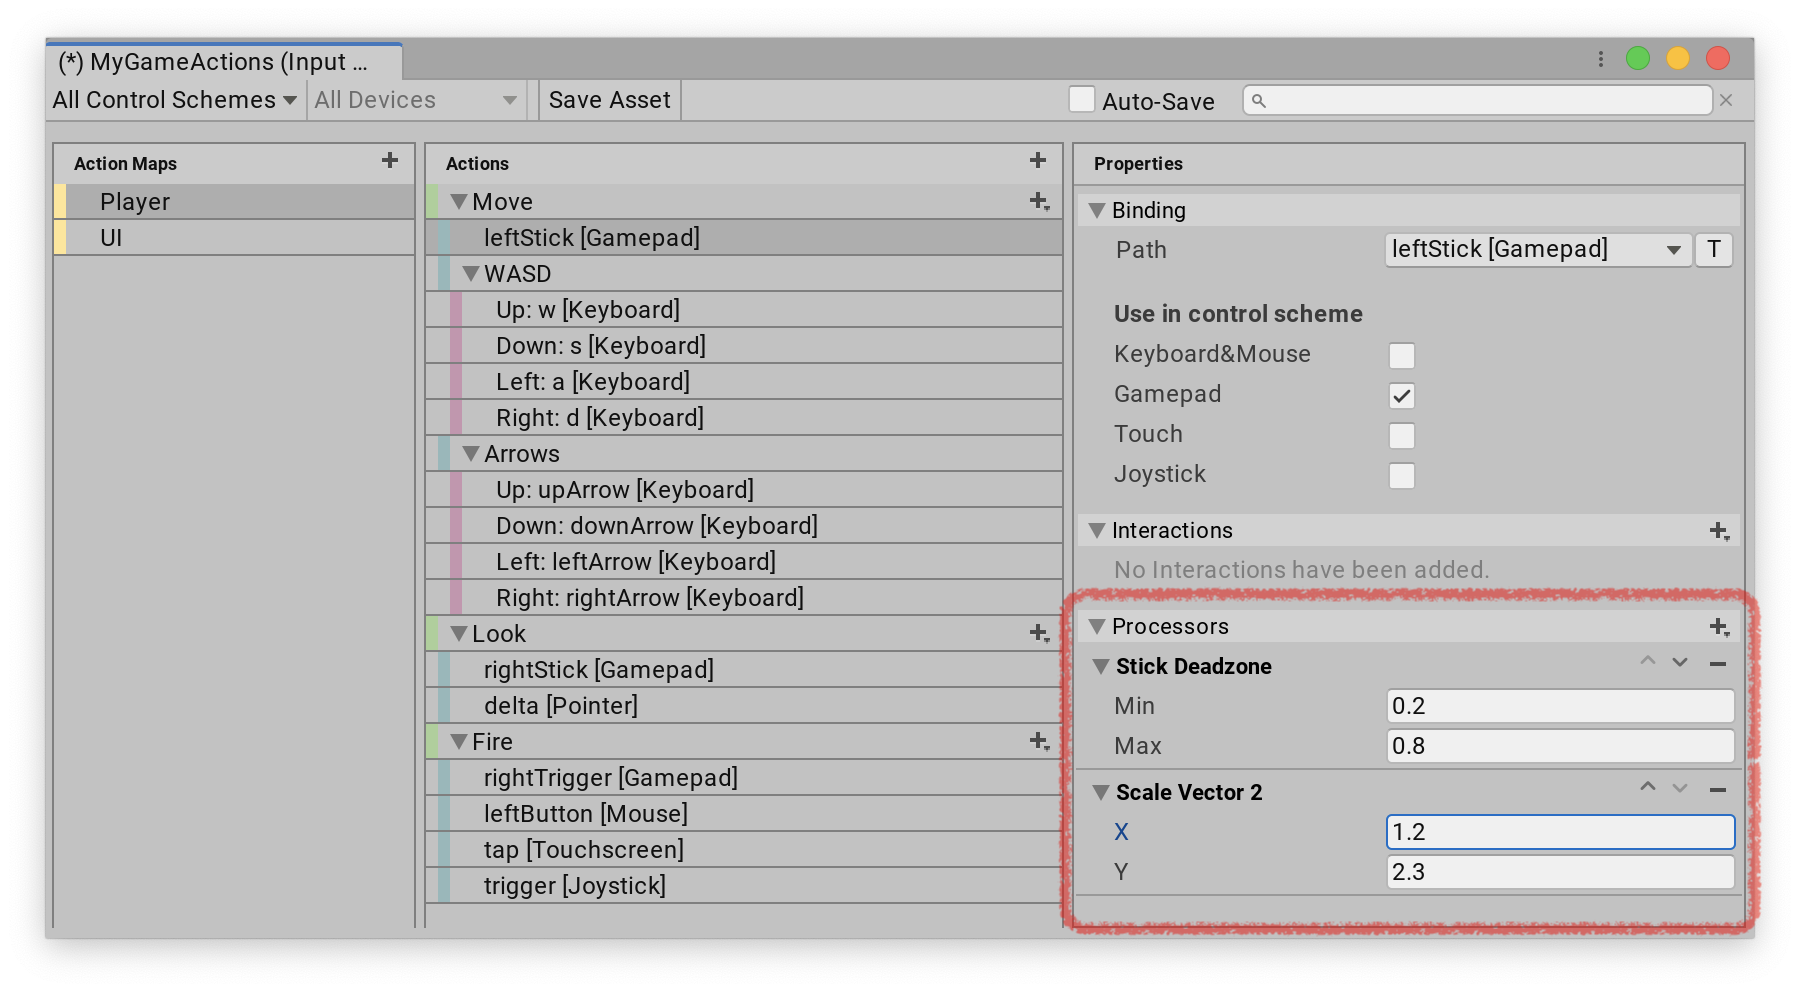
To remove an Interaction, select the minus (-) button next to it. To change the order of Interactions, select the up and down arrows.
Apply Interactions to bindings in code
To add Interactions to bindings that you created in code, you can use the following code sample as a template:
var Action = new InputAction();
action.AddBinding("<Gamepad>/leftStick")
    .WithInteractions("tap(duration=0.8)");