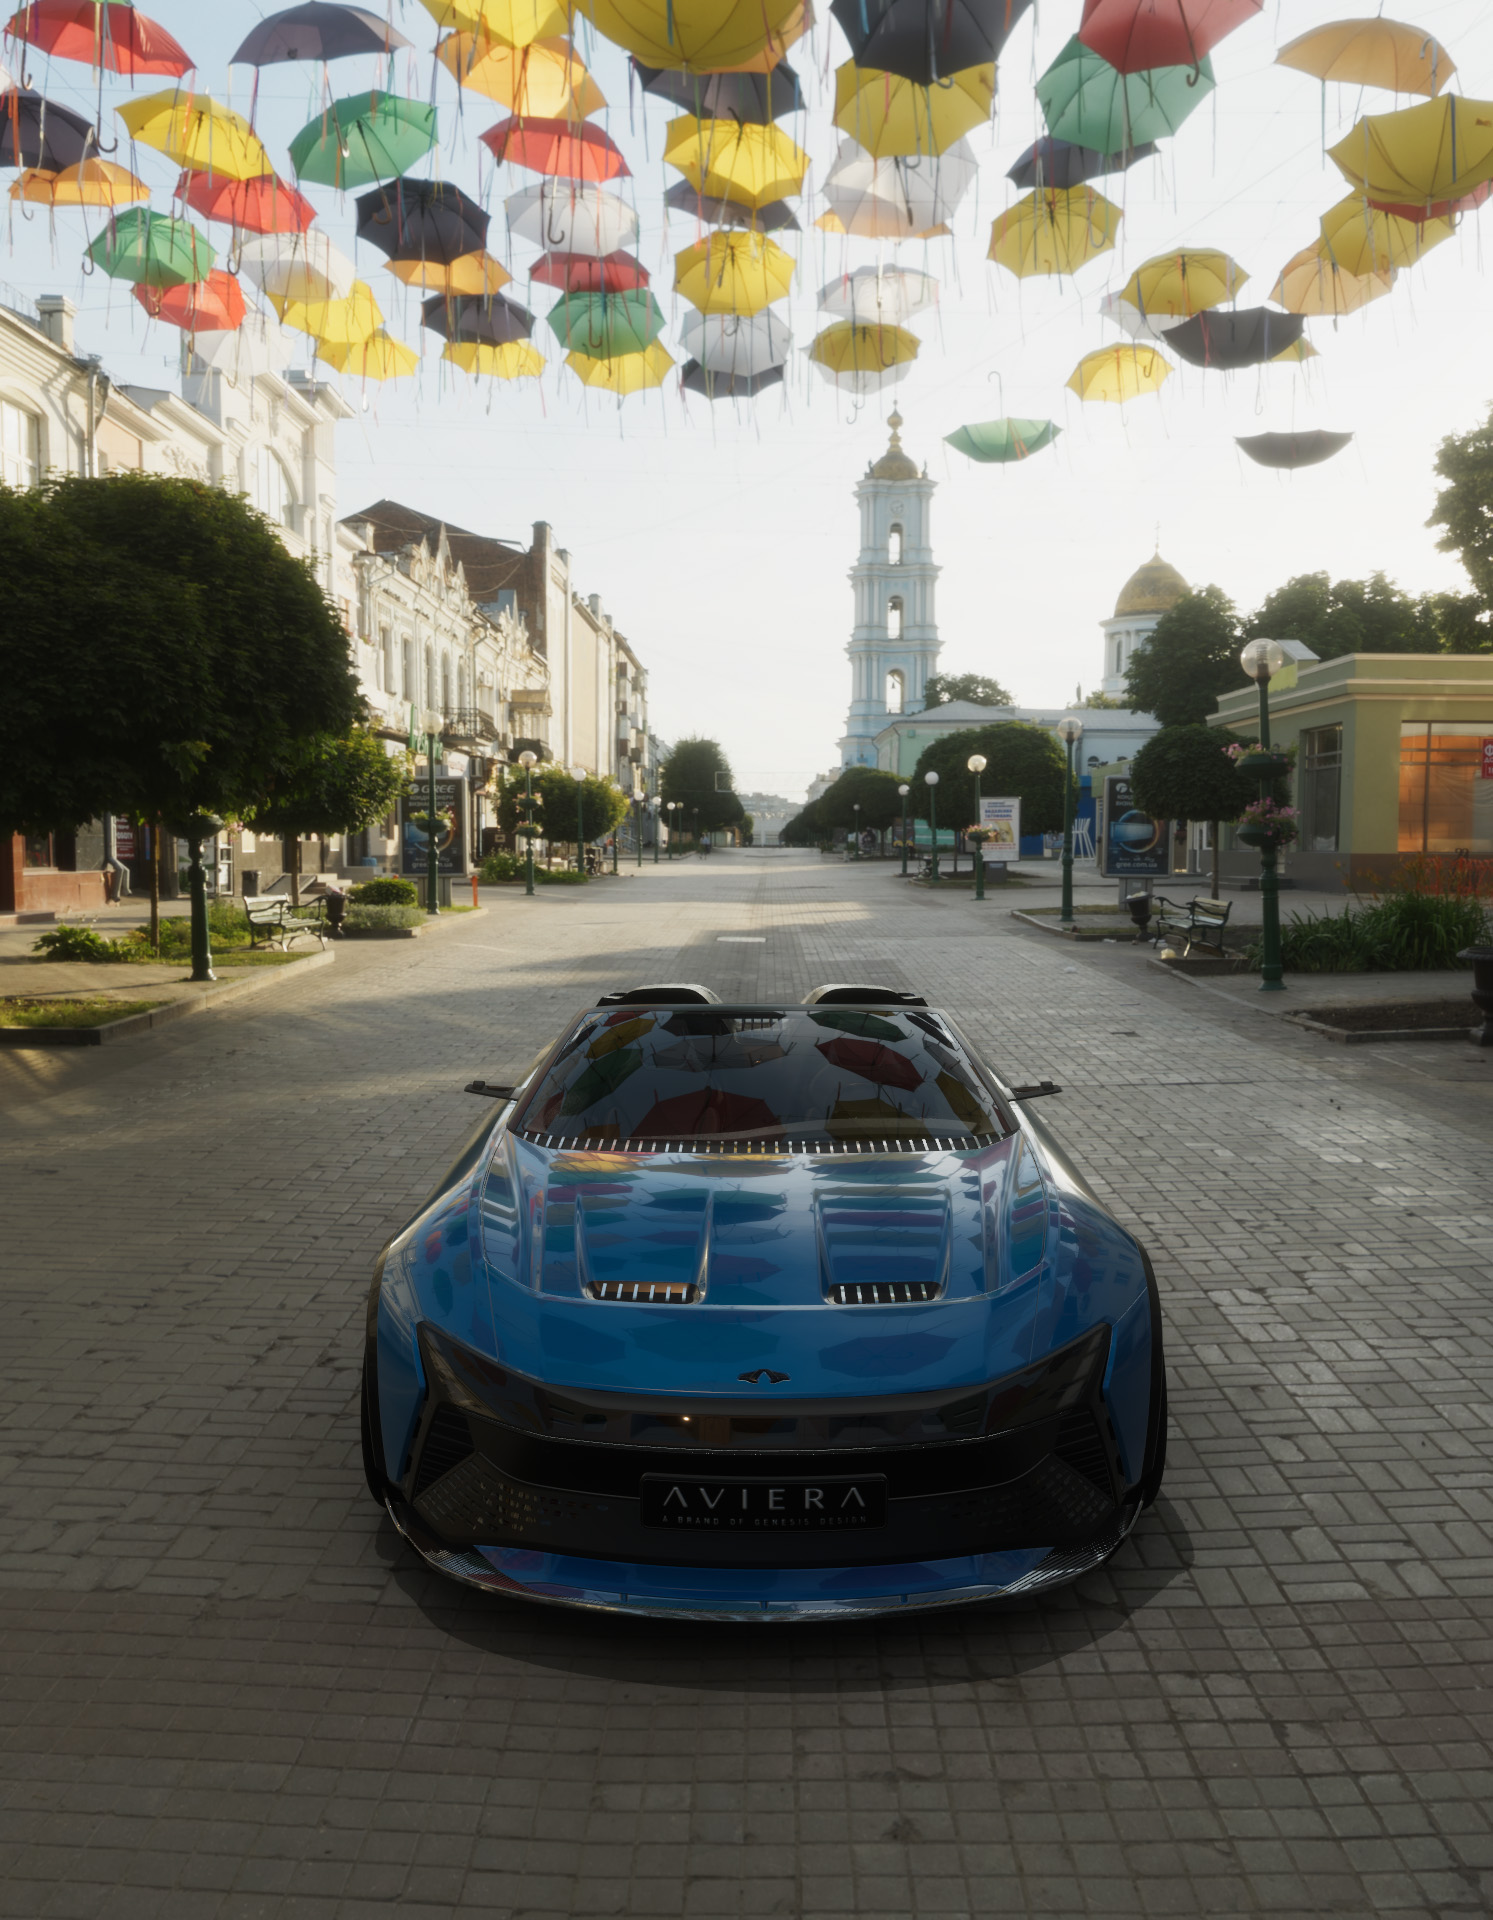
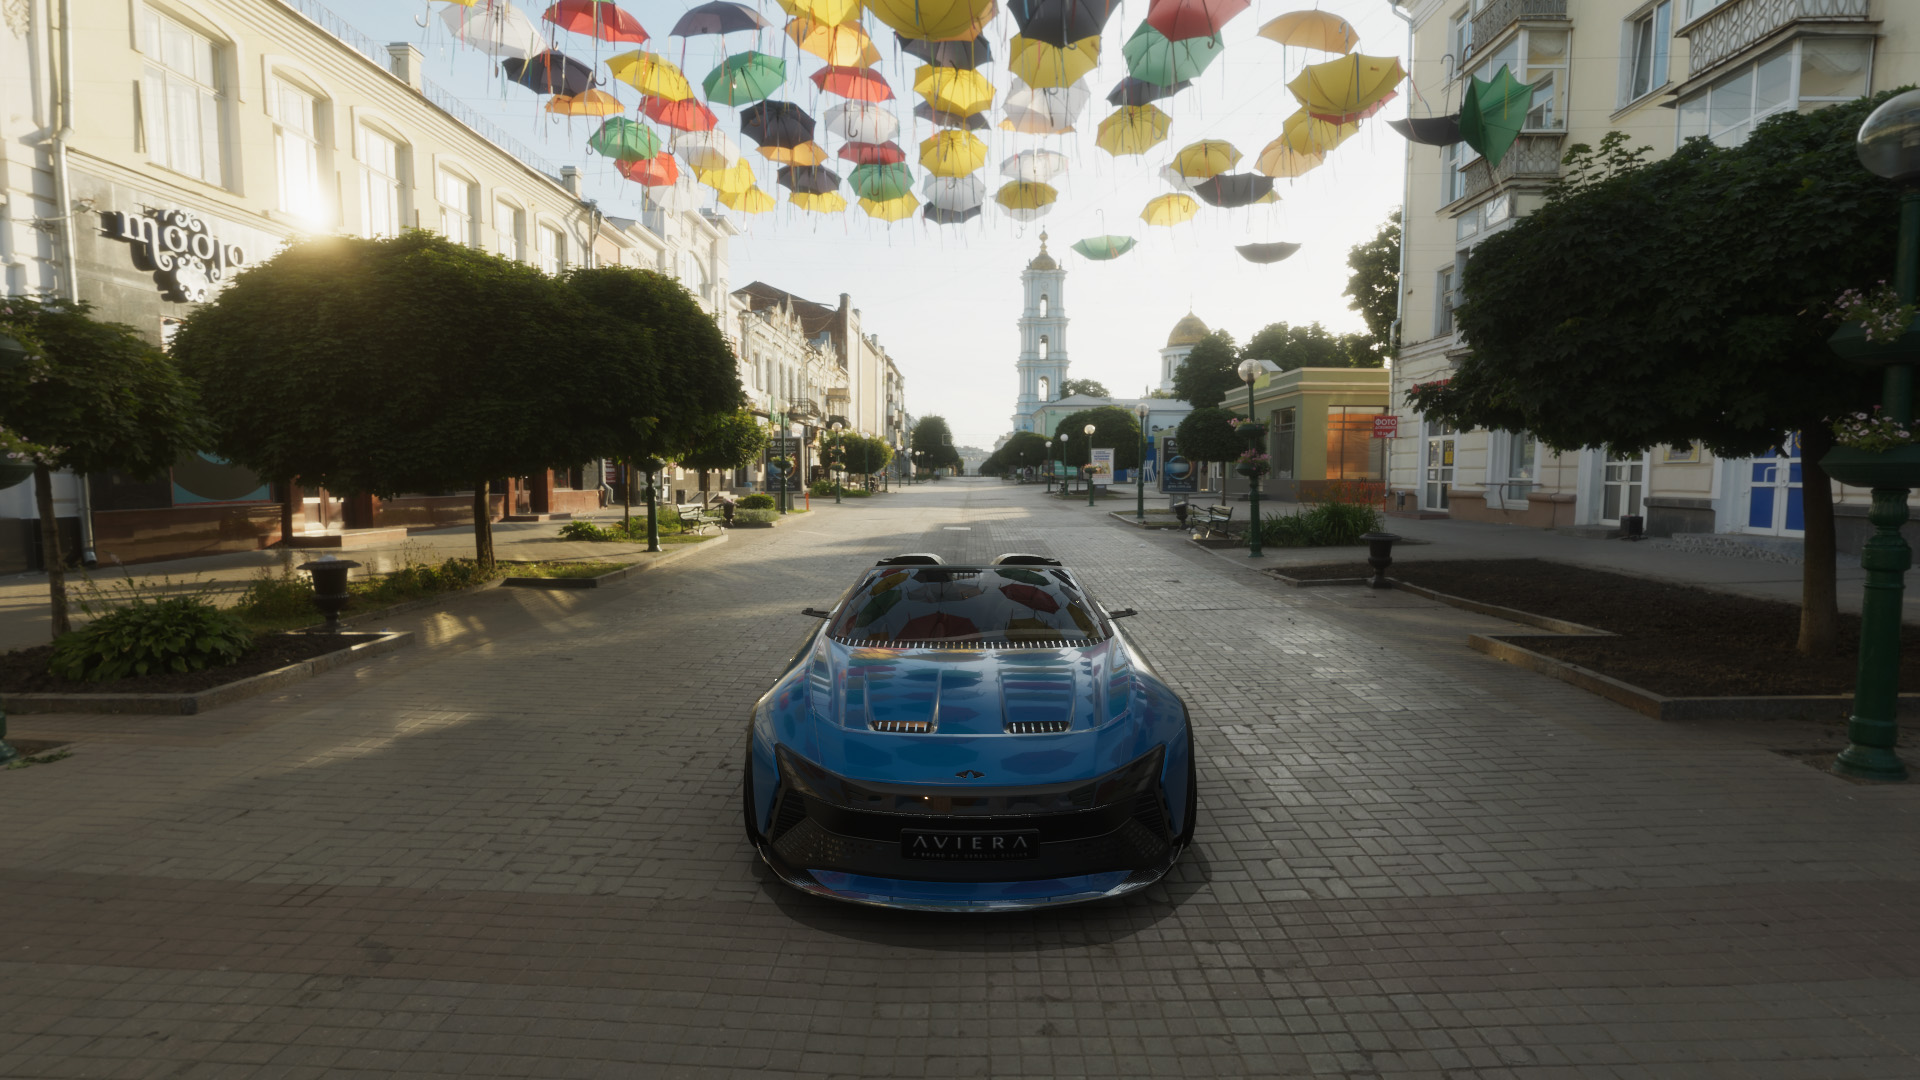
Make a good-looking shot
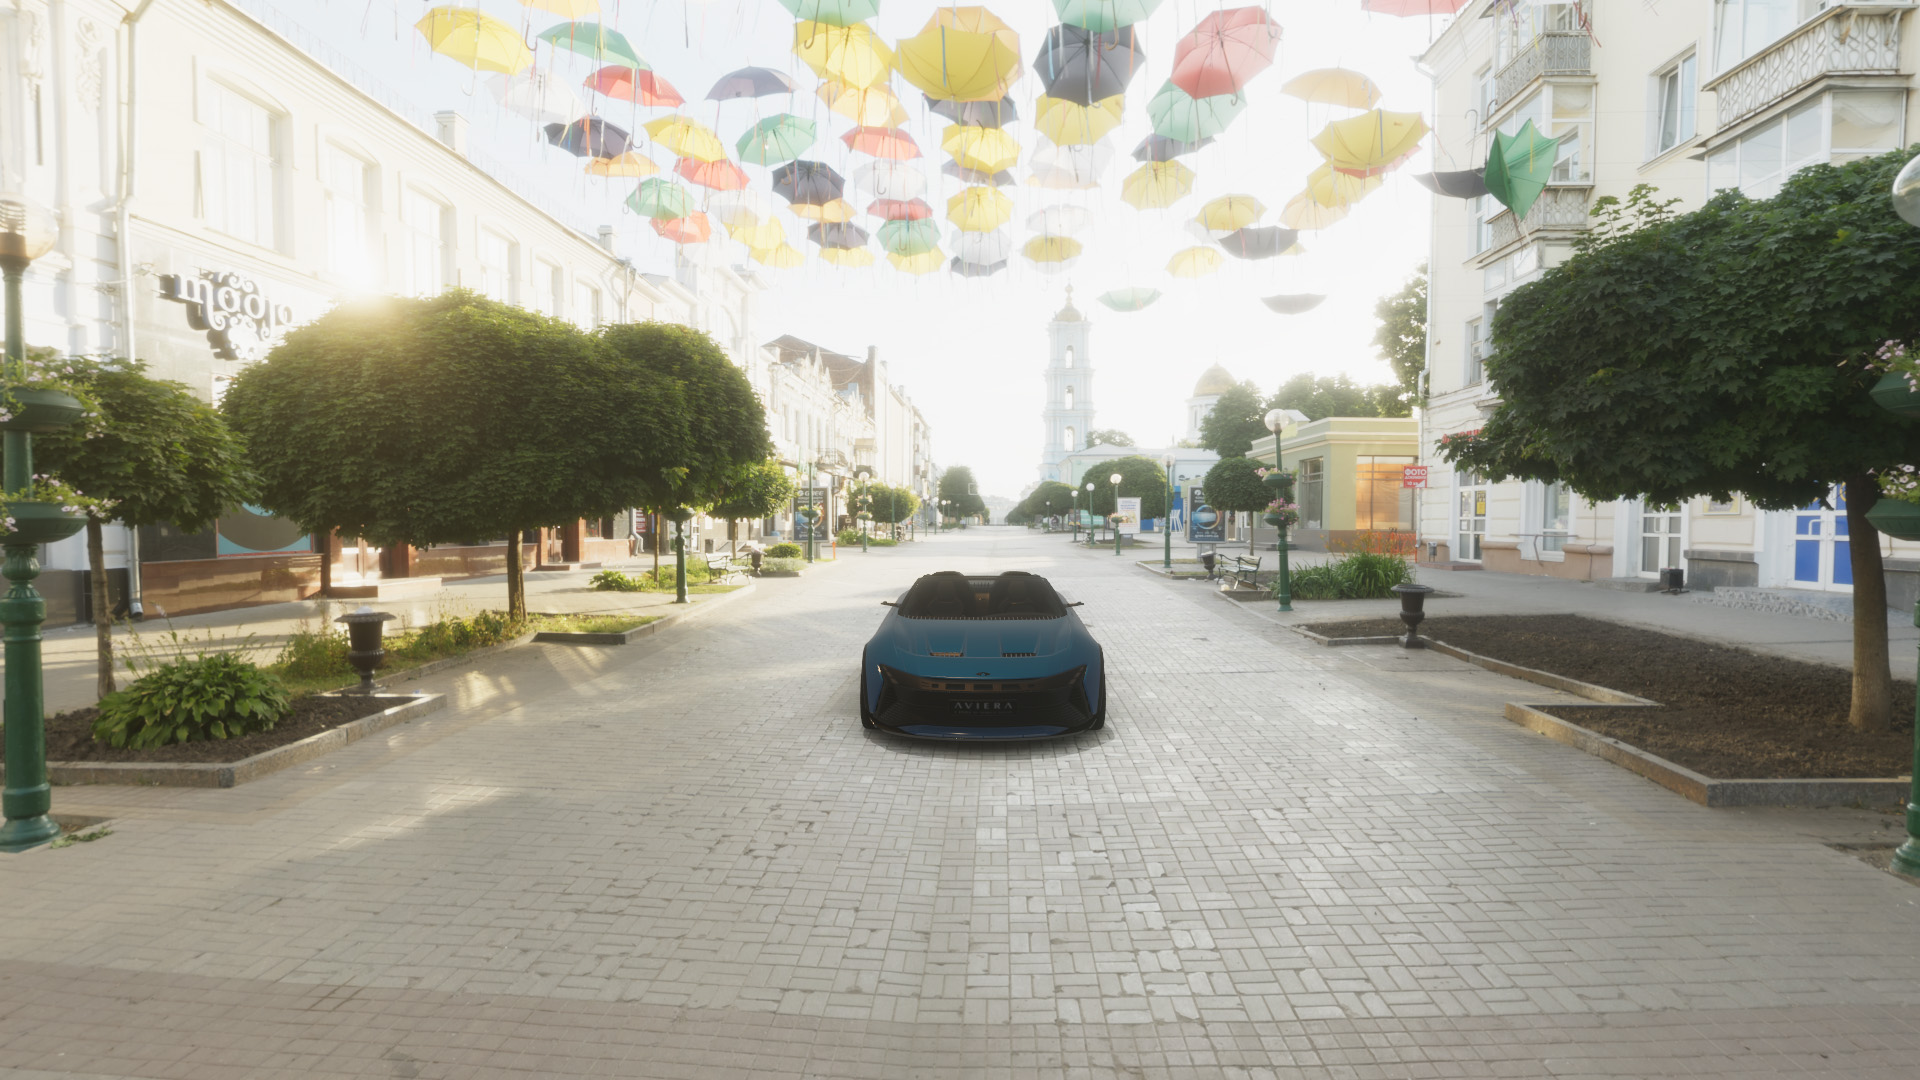
Follow the steps on this tutorial to create the following shot:
Before you start
Before you make the shot, make sure you do the following:
- Download Forma Render.
- Download this HDRI from Polyhaven.
- Load your product into Forma Render.
Load the environment
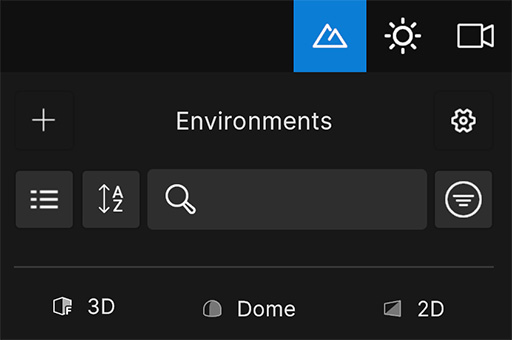
To import the environment into Forma Render, follow these steps:
- Go to Environments > Add (+) > New dome from file.
- In the file navigator, select the HDRI you downloaded earlier.
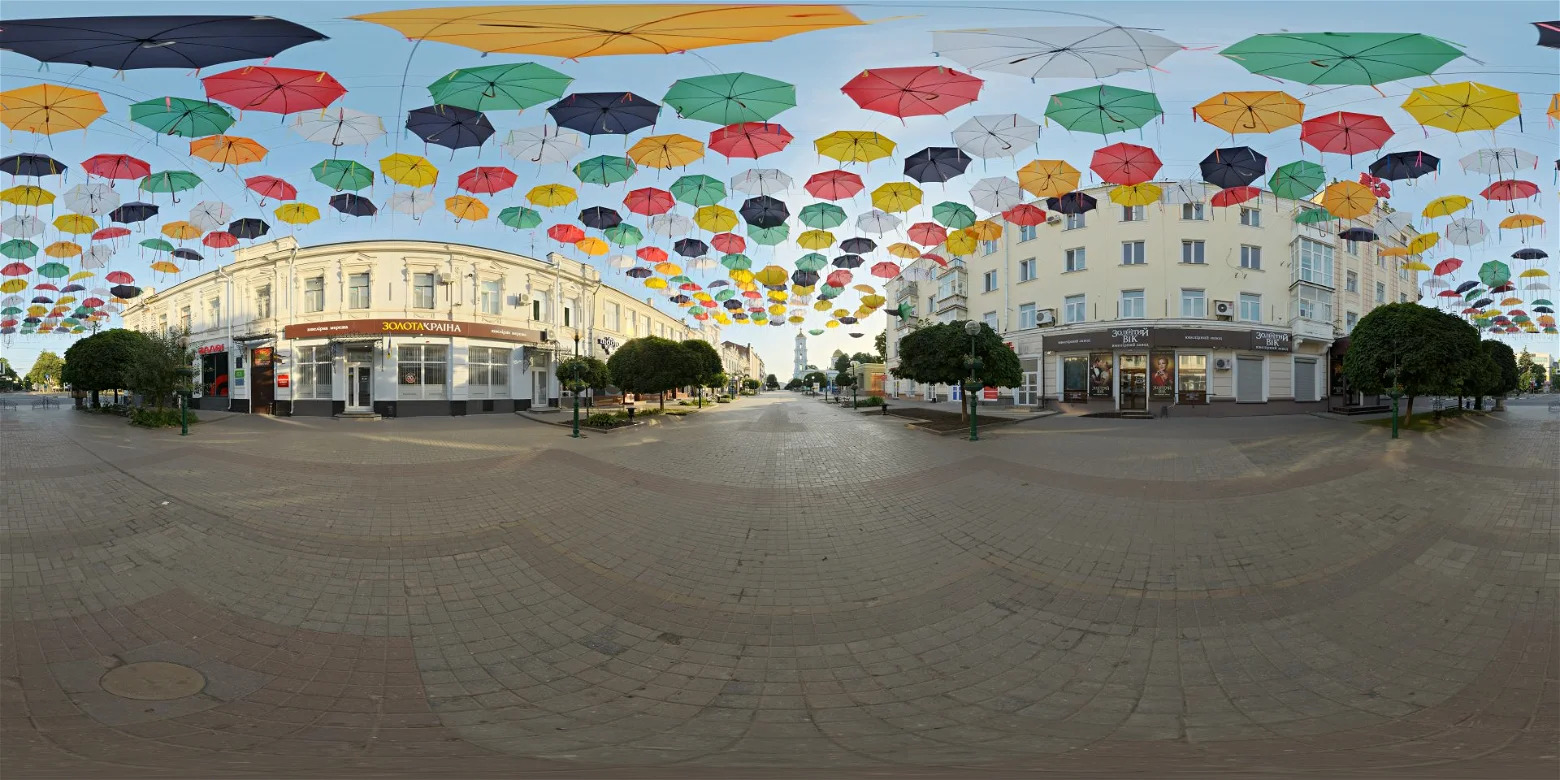
The right environment is important when creating a good shot. The environment selected for this tutorial has all of the following:
- High resolution
- Open space for clean compositions
- Flat surfaces on which to place the product
- A single light source that creates sharp reflections
- Interesting visual elements such as the umbrellas hanging overhead
Match your product to the environment
After importing and selecting your environment, you must match your product to the surrounding background.
Product position
To match your product to the environment using the product position, place it on a surface where it would naturally be found. For this example, place the car on the road and resize it as needed.
For more details on how to manipulate a product, see Manipulating a product.
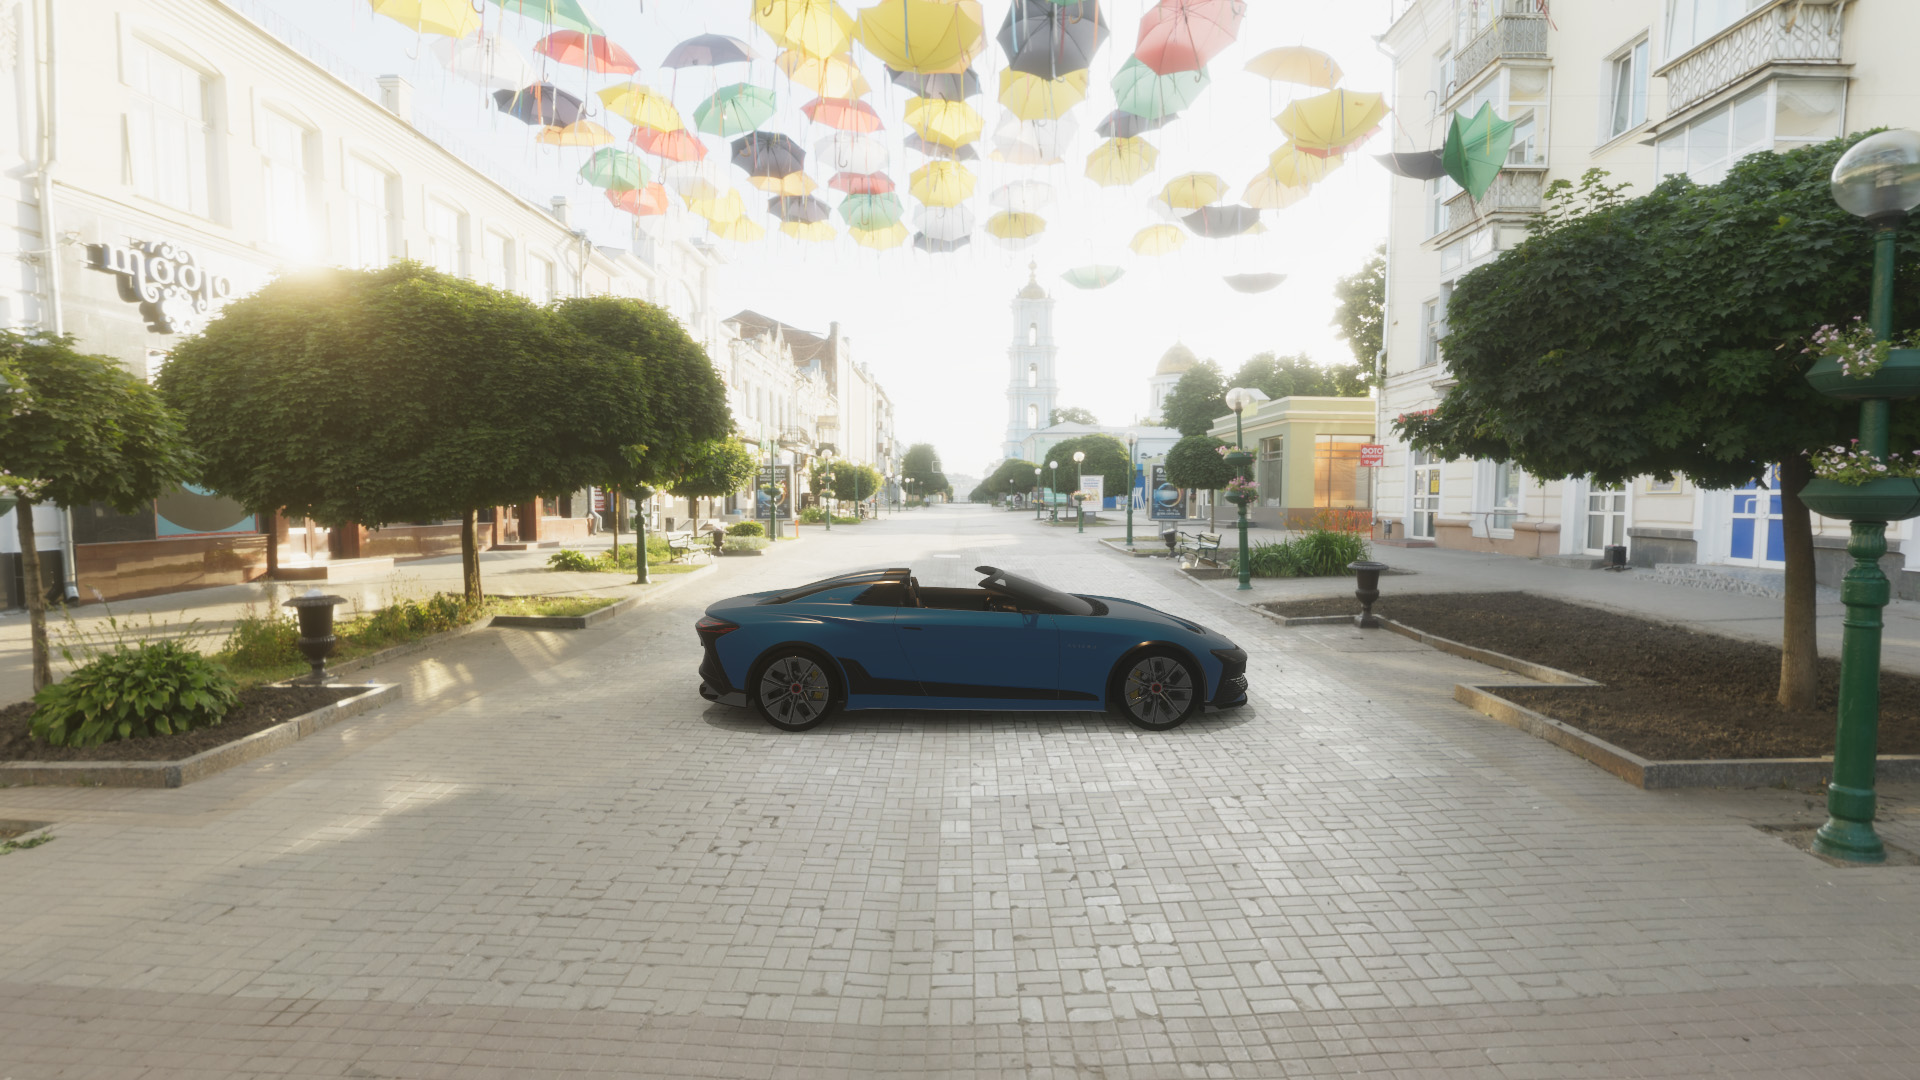
Product angle
To match your product to the environment using the product angle, rotate your product until the product's perspective suits its placement. For this example, rotate the car so that it faces the camera.
Alternatively, you can do the following:
- Orbit around the car until it faces the camera.
- Rotate the dome until you have your desired background by selecting Environments > Dome > General and increasing the Rotate Dome value.
Note: Instead of facing the product dead-on, you can angle the camera to view the product from either slightly above or below. This shift in angle creates a more visually interesting perspective.
Camera view
To create a balanced composition, use the rule of thirds. If you were to divide your scene using two horizontal lines and two vertical lines, the focal points should appear on the grid lines or at the intersections of the grid lines.
Note: To preview grid lines, select Settings > General > Viewport and enable Visual Guides.
| Good composition | Uneven composition |
|---|---|
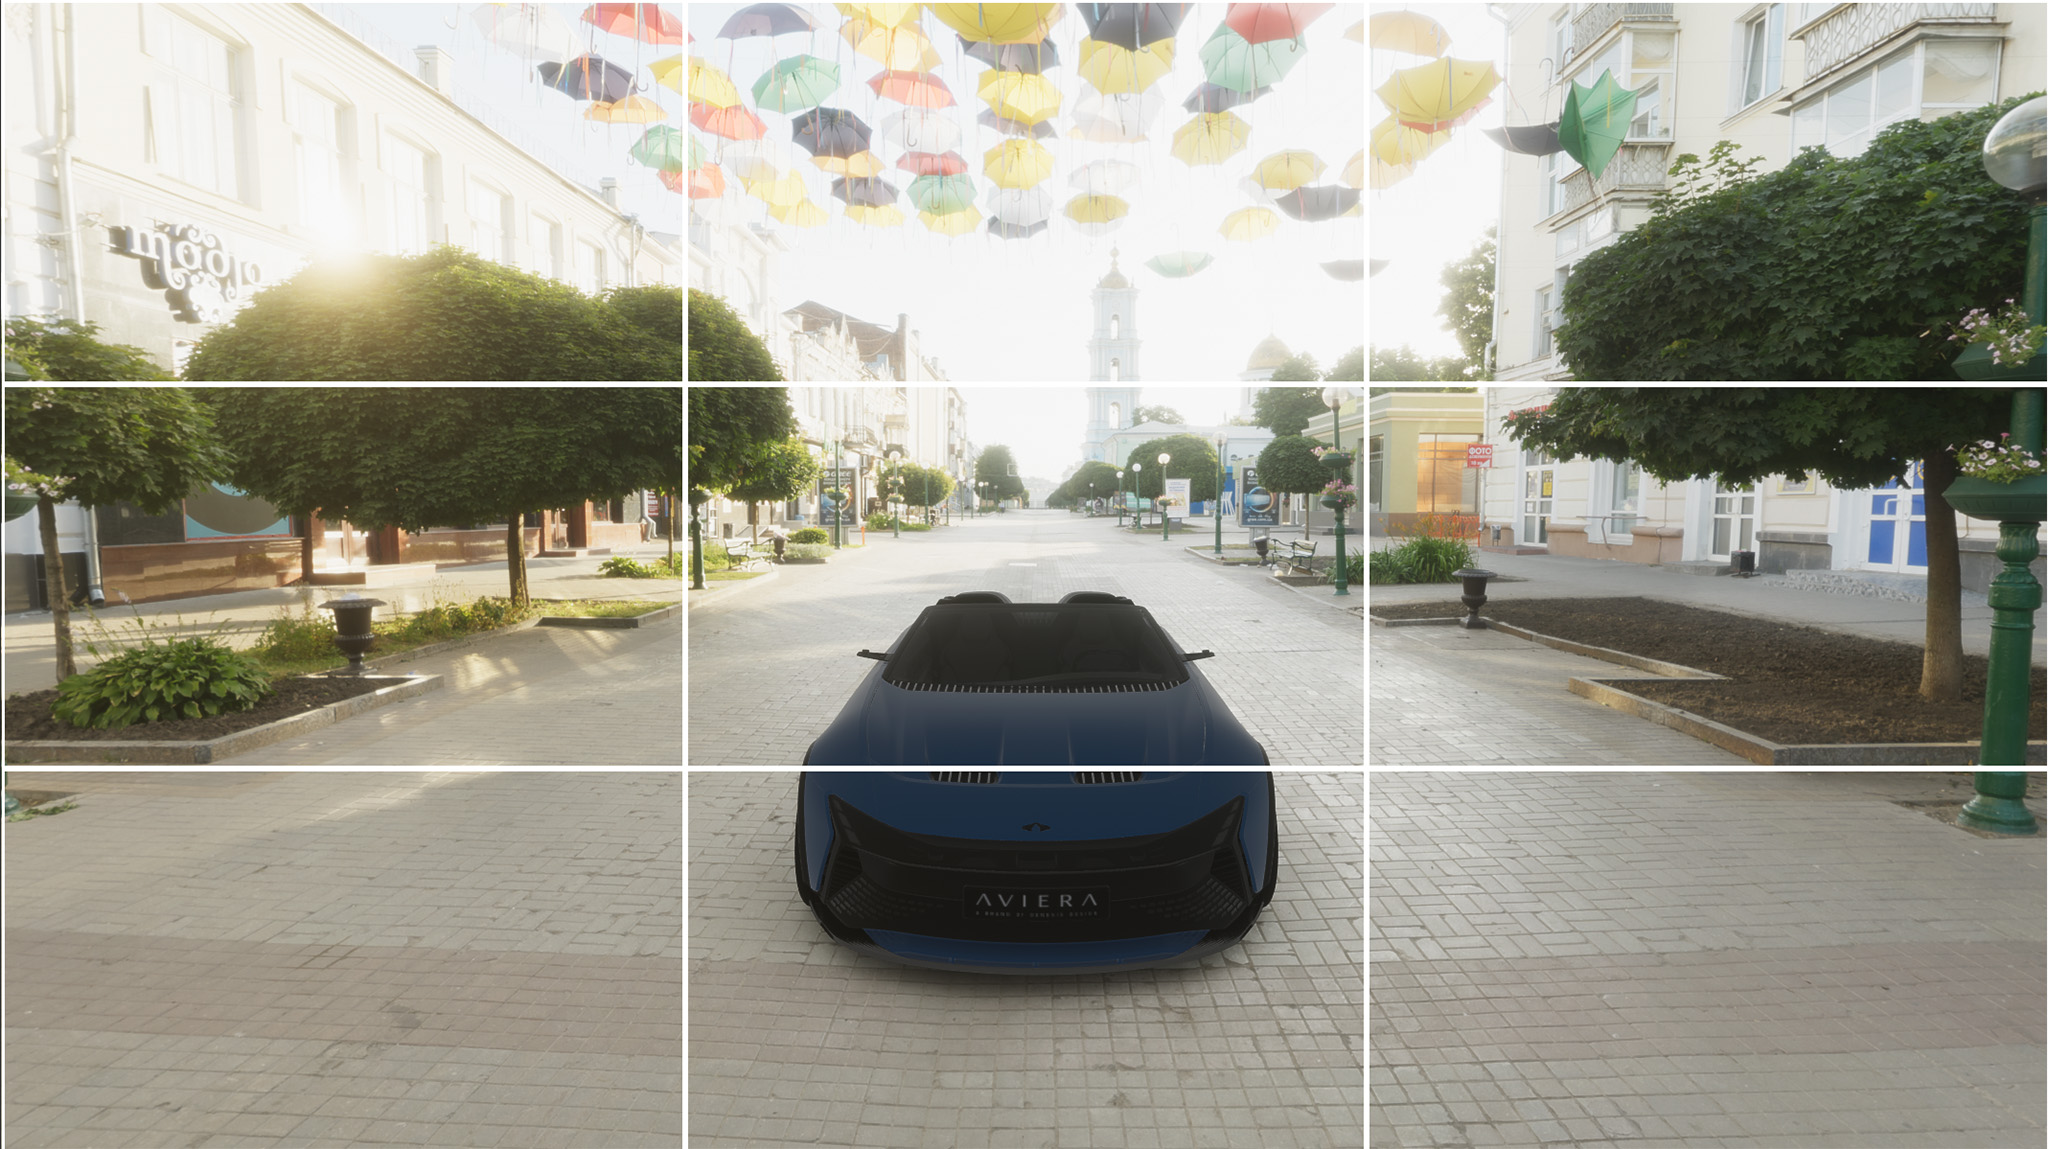 |
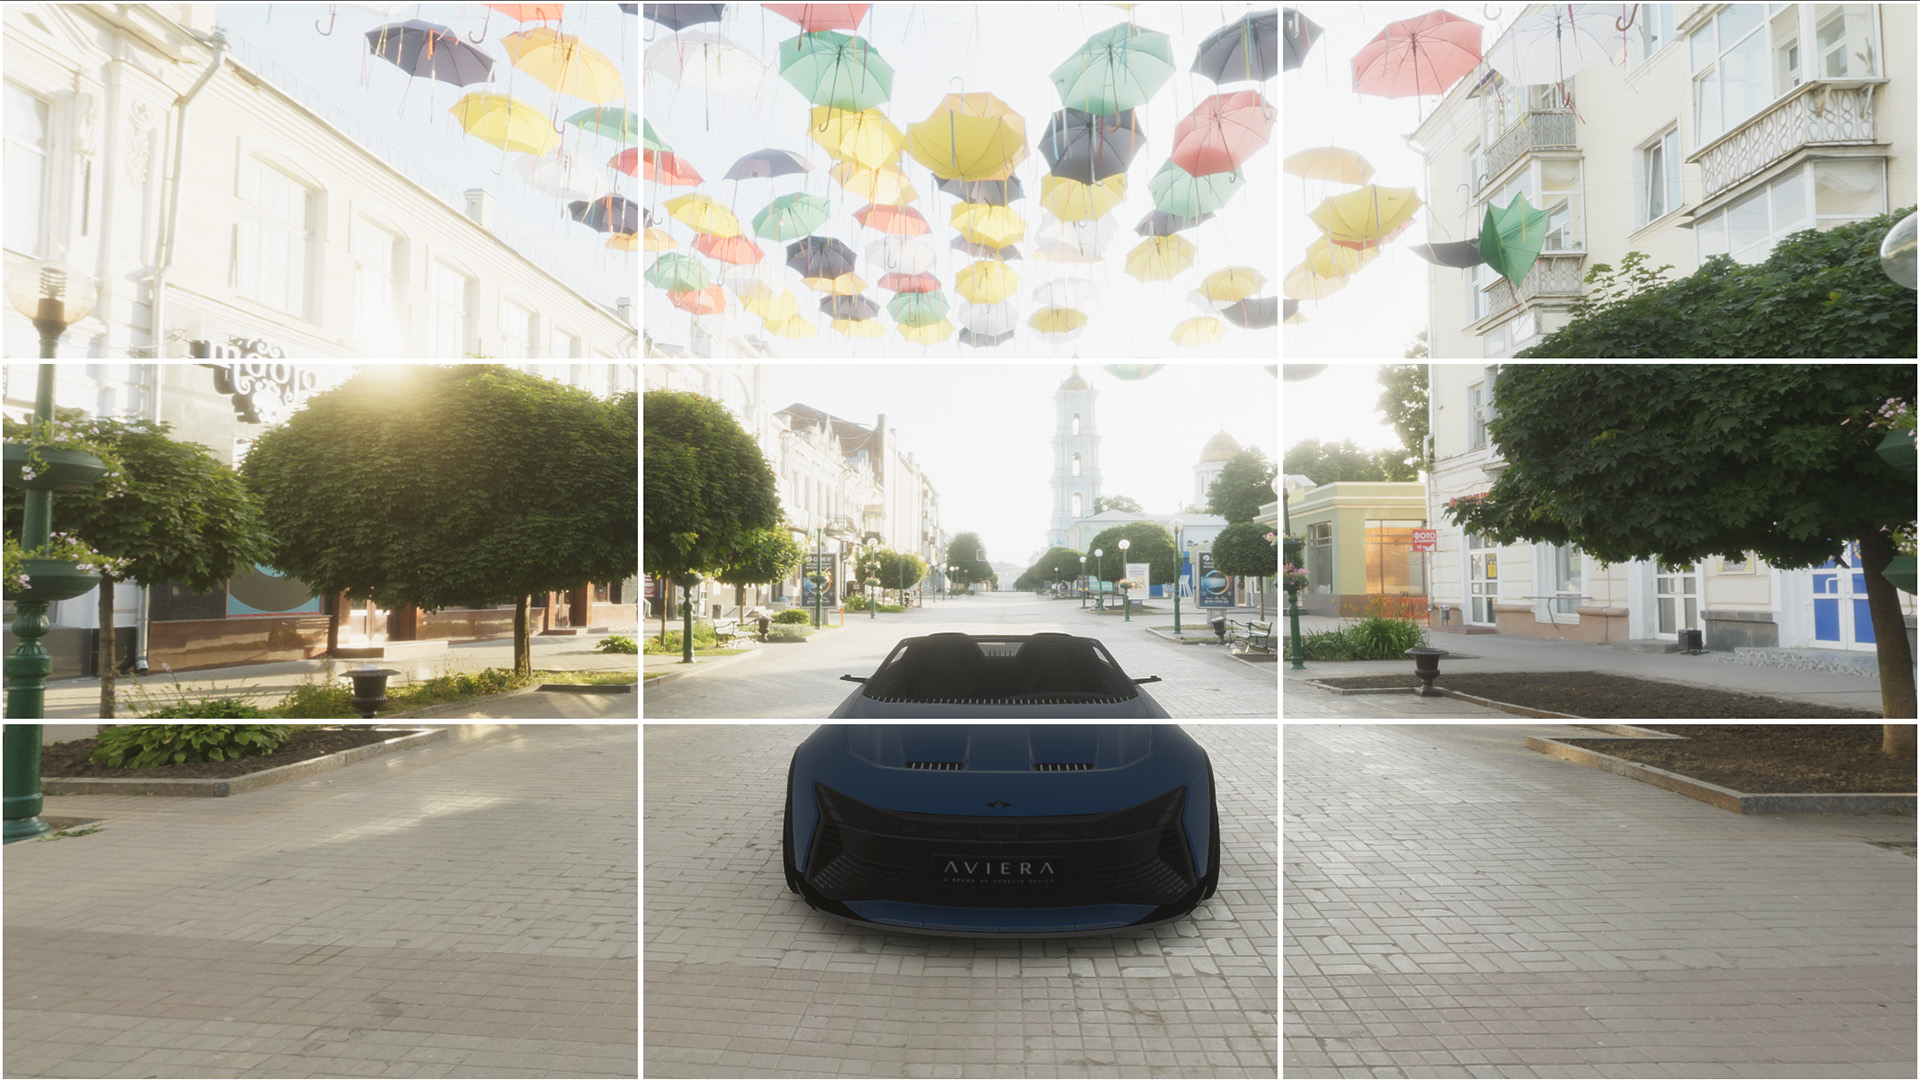 |
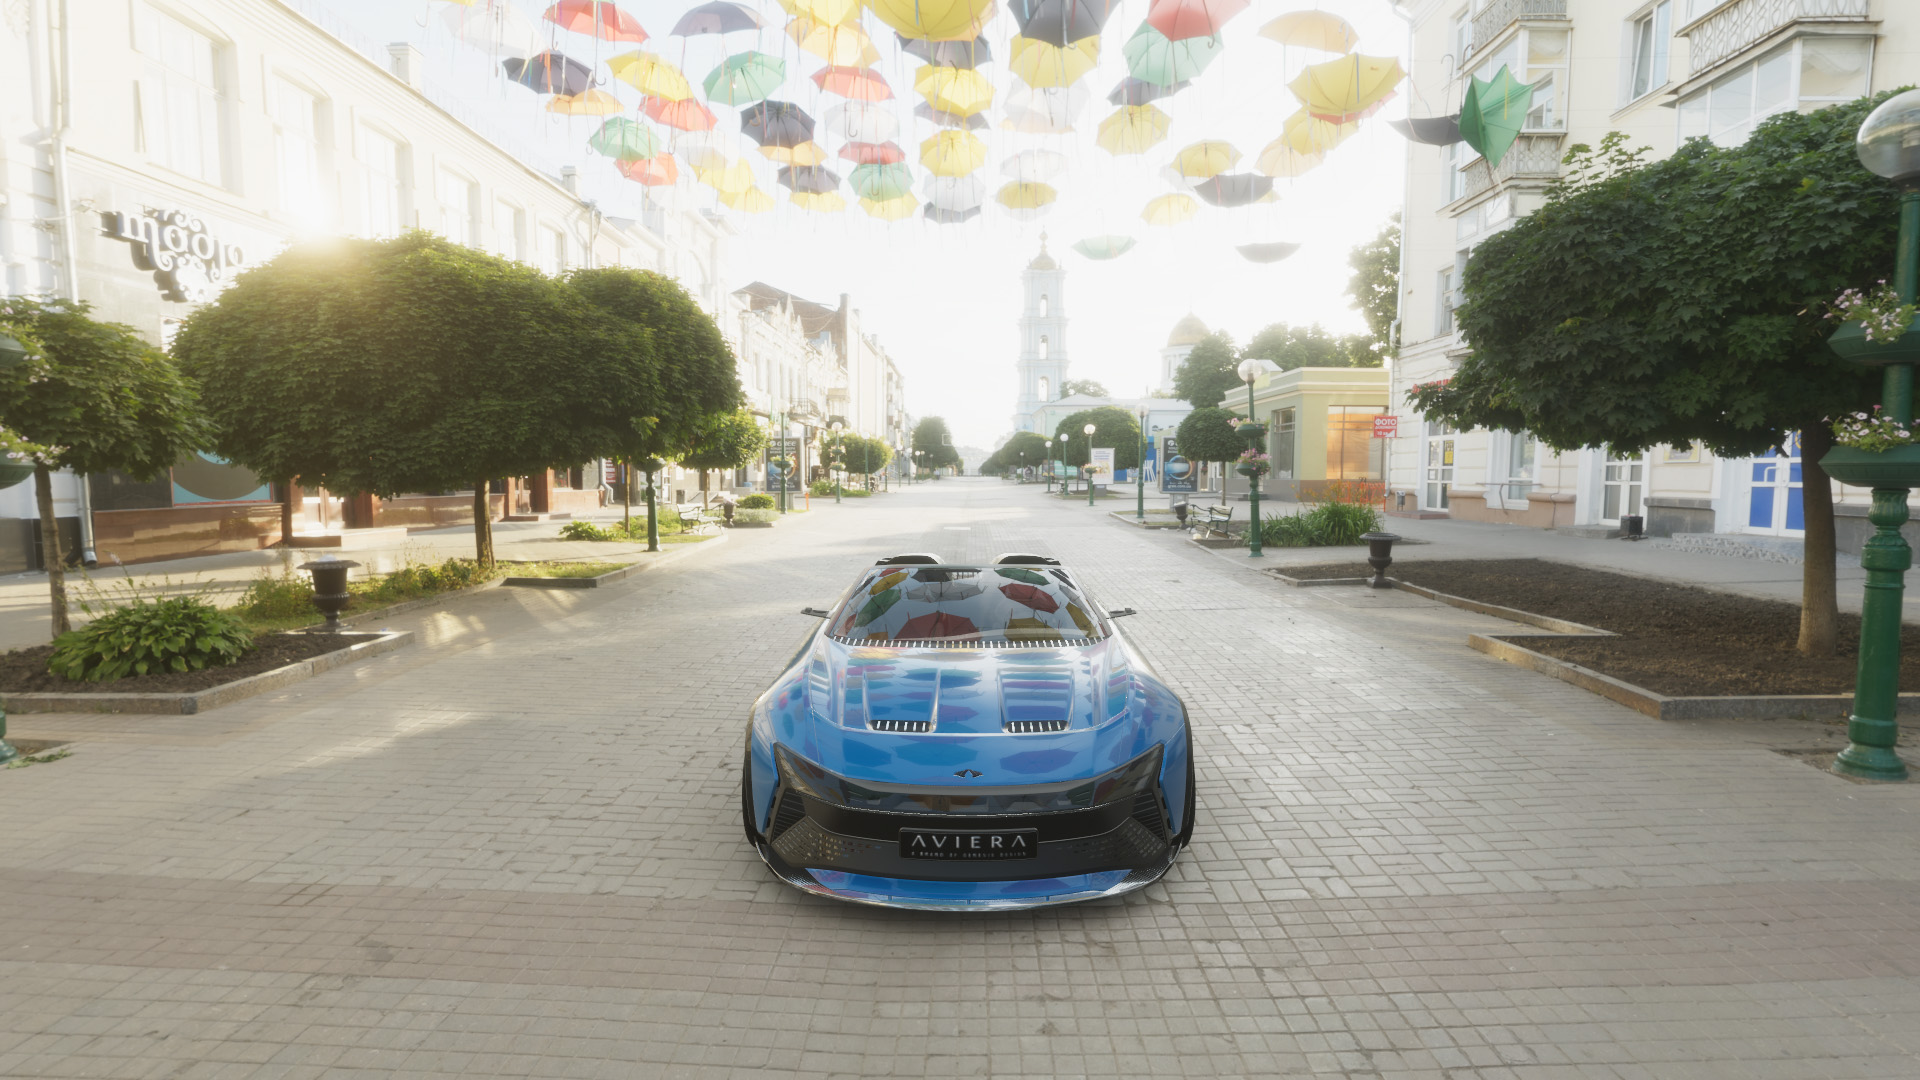
Add reflections to your product
To make the surface of your product reflect the objects around it, follow these steps:
- Go to Environments > Domes.
- Right-click the dome and select Generate Reflection Map from Dome.
Use post-processing
After you place your product and adjust your camera, you can use the post-processing controls to tweak the look of your scene.
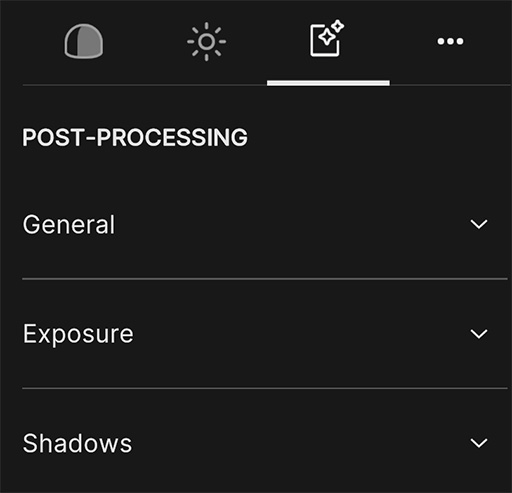
Exposure
You can use the exposure settings to edit the lighting. In this example, the sky is too bright. To change the exposure, follow these steps:
- Under Exposure, select Enable Exposure.
- Set the Fixed Exposure to 10.8.
Change the aspect ratio
You can experiment with different aspect ratios to improve the look of your shot. For this example, remove the empty space on either side of the product. To do so, follow these steps:
- Select Aspect Ratio on the top toolbar.
- Change the value to 7:9.
Take the shot
When you're done editing the scene, you can take a shot. To take a shot, select Take Snapshot on the top toolbar. The shot is saved to your local disk.