Get started with Forma Render
Forma Render allows you to use a specialized interface to capture product shots. It provides tools for customizing backgrounds, positioning products, and producing high-quality outputs.
Forma Render supports four main shot types.
| Type | Description |
|---|---|
| Snapshot | Default shot. A single still image of the product in the viewport. |
| 360 shot | A 360-degree panoramic shot. |
| Turntable | An image sequence or video rendered out of a camera circling the product. |
| Animated shot | An image sequence or video rendered out of a camera animation. Only available when using an animated camera imported from the Forma Editor. |
Verify your project settings
You must verify your project settings the first time you enable Forma Render features in the Forma Editor.
To verify your project settings, follow these steps:
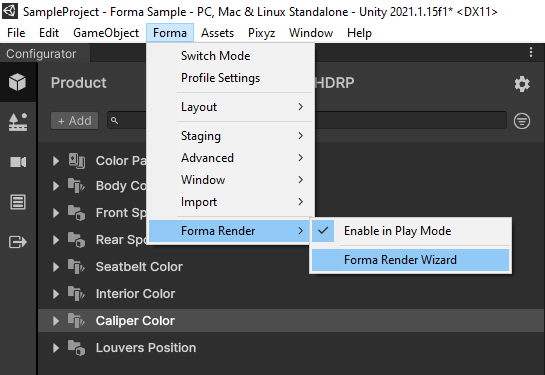
- In the Unity Editor interface, go to Forma > Forma Render.
- Select Forma Render Wizard.
- In the wizard, verify that your environment and project settings meet the requirements for Forma Render.

Take shots
You can take both images and videos from a single camera view. You can also specify the aspect ratio and resolution for each shot you take.
To take a shot with Forma Render, follow these steps:
- Use your mouse to navigate the scene:
- Right-click to pan.
- Left-click to rotate.
- Use the wheel button to zoom in and out of the product.
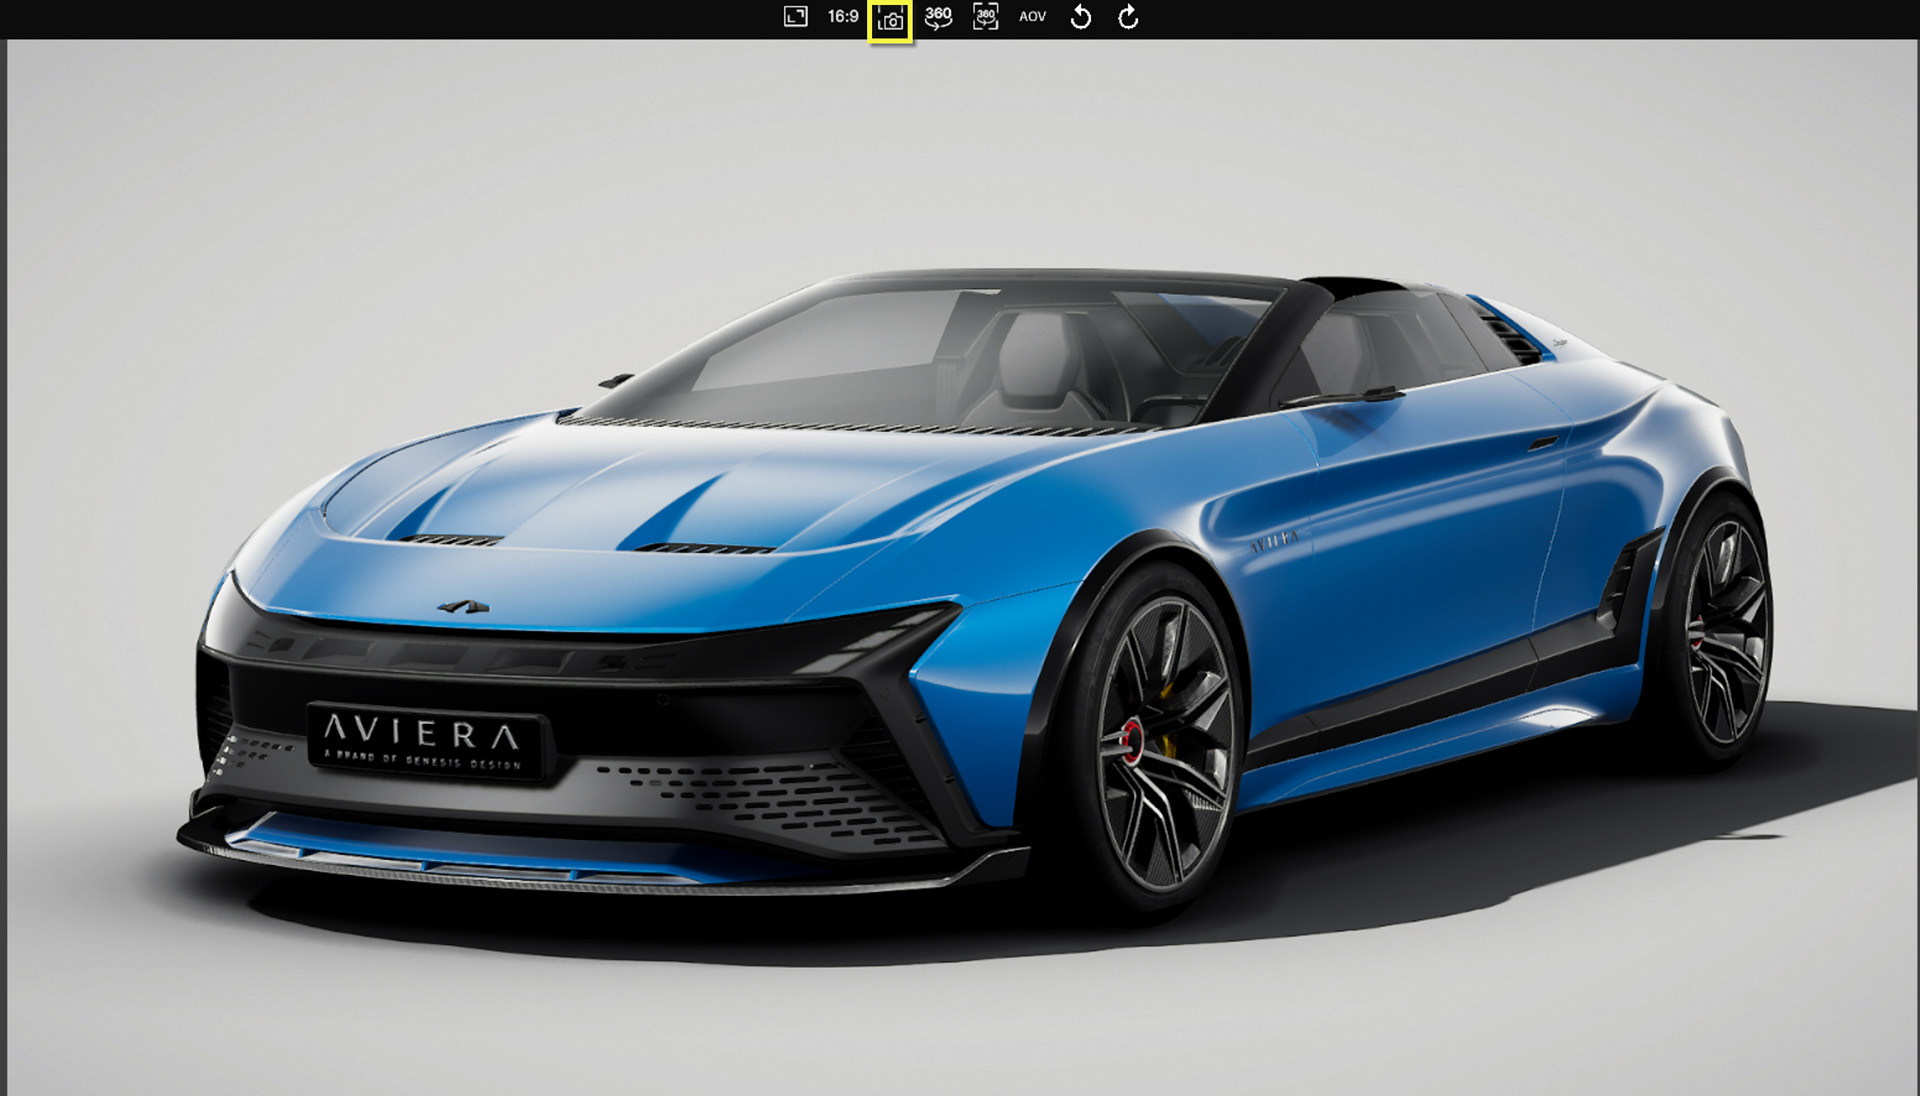
- Select Capture Shot to create an image.
- (Optional) Select the preview thumbnail to open the directory where the shot is saved.

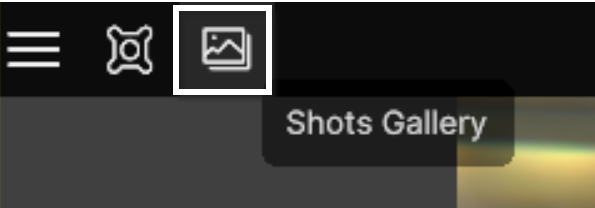
- (Optional) Select Gallery to see all of your shots.
Take a shot with an existing Forma Camera view
To create a shot from a camera view already set up in Forma, follow these steps:
- Select Camera.

- Select the view you want to use for the shot.
Delete shots
To delete a shot, follow these steps:
- Select the shot in the gallery.
- Select Delete.
Important
You cannot restore deleted shots. When you delete a shot, it's deleted from the file directory and the list of shots in the gallery.
Change the aspect ratio of a shot
You can change the aspect ratio to change the framing of your product. By default, you can select from the aspect ratio presets Default (16:9) and Square (1:1).
To change the aspect ratio for a shot, follow these steps:
- Select Aspect Ratio.
- Select or input the ratio you want to use.
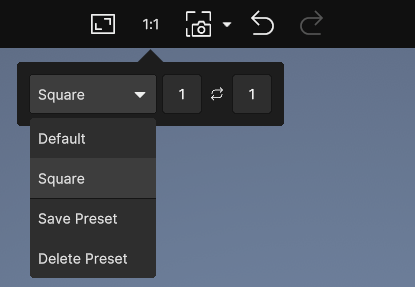
- (Optional) You can save or delete aspect ratio presets to quickly switch between aspect ratios.
Change the resolution of a shot
You can render the same shot with different resolutions to support different hardware and software platforms.
To change the resolution of a shot, follow these steps:
- Go to Settings > Output.
- Select a resolution.

Important
Make sure to select HDRP Quality in your project settings and in the profile you use to export your Forma Render application.