Getting Started
You can create compelling captures in the Forma Editor interface (from the Game view in Play mode), but Forma Render lets people in your organization who need to regularly publish marketing assets create high quality captures from a specialized interface with tools for customizing the background, product position, and output quality.
Verifying your Project Settings
The first time you enable Forma Render features in the Forma Editor, a wizard prompts you to verify that your Project Settings support high-quality output.
To verify your Project settings using the Forma Render wizard, follow these steps:
- In the Forma Editor interface navigate to Forma > Forma Render and then select Forma Render Wizard.
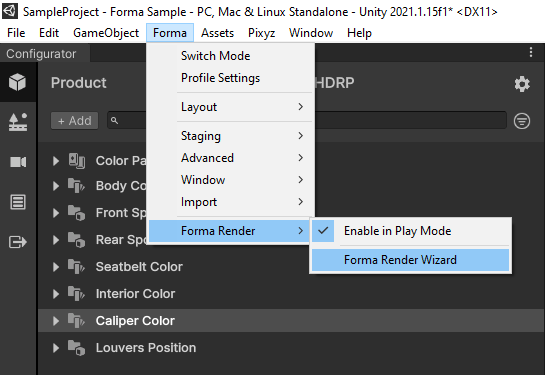
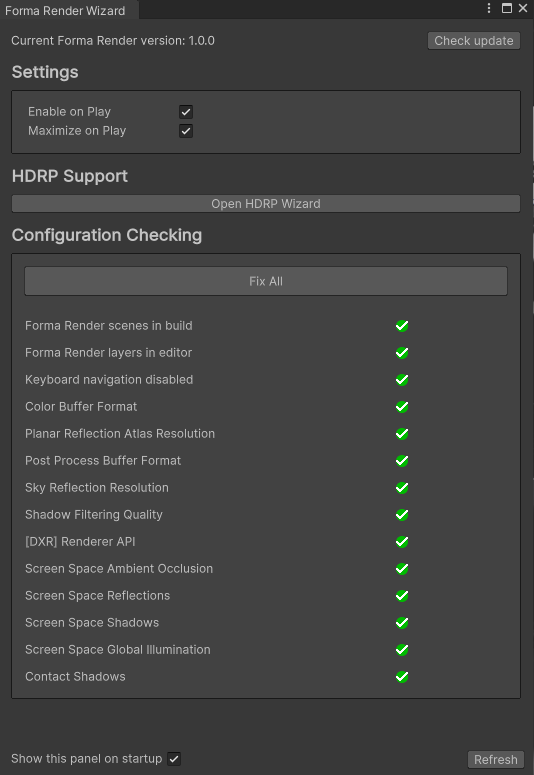
- In the wizard that appears, verify that your environment and Project settings meet the requirements for Forma Render.
Taking your first shot
For each shot, you can specify the aspect ratio and resolution that you want to use.
From a single Camera view, you can take both still shots and 360-degree animated shots.
By default, the system saves each shot to a location on your local drive, but you can customize the location in the application Settings.
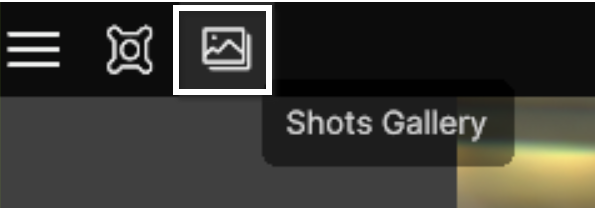
You can find all your shots in the Gallery tab.
Take a shot
To take a shot with Forma Render, follow these steps:
- In the Game view, select Play.
The system opens your Product in a simplified mode without Forma tools for editing your configurator. - Use the mouse to navigate the scene:
- Pan with the right mouse button.
- Rotate with the left mouse button.
- Use the mouse wheel to move toward or away from the product.
- When the view is correct, select the Capture Shot button to create an image.
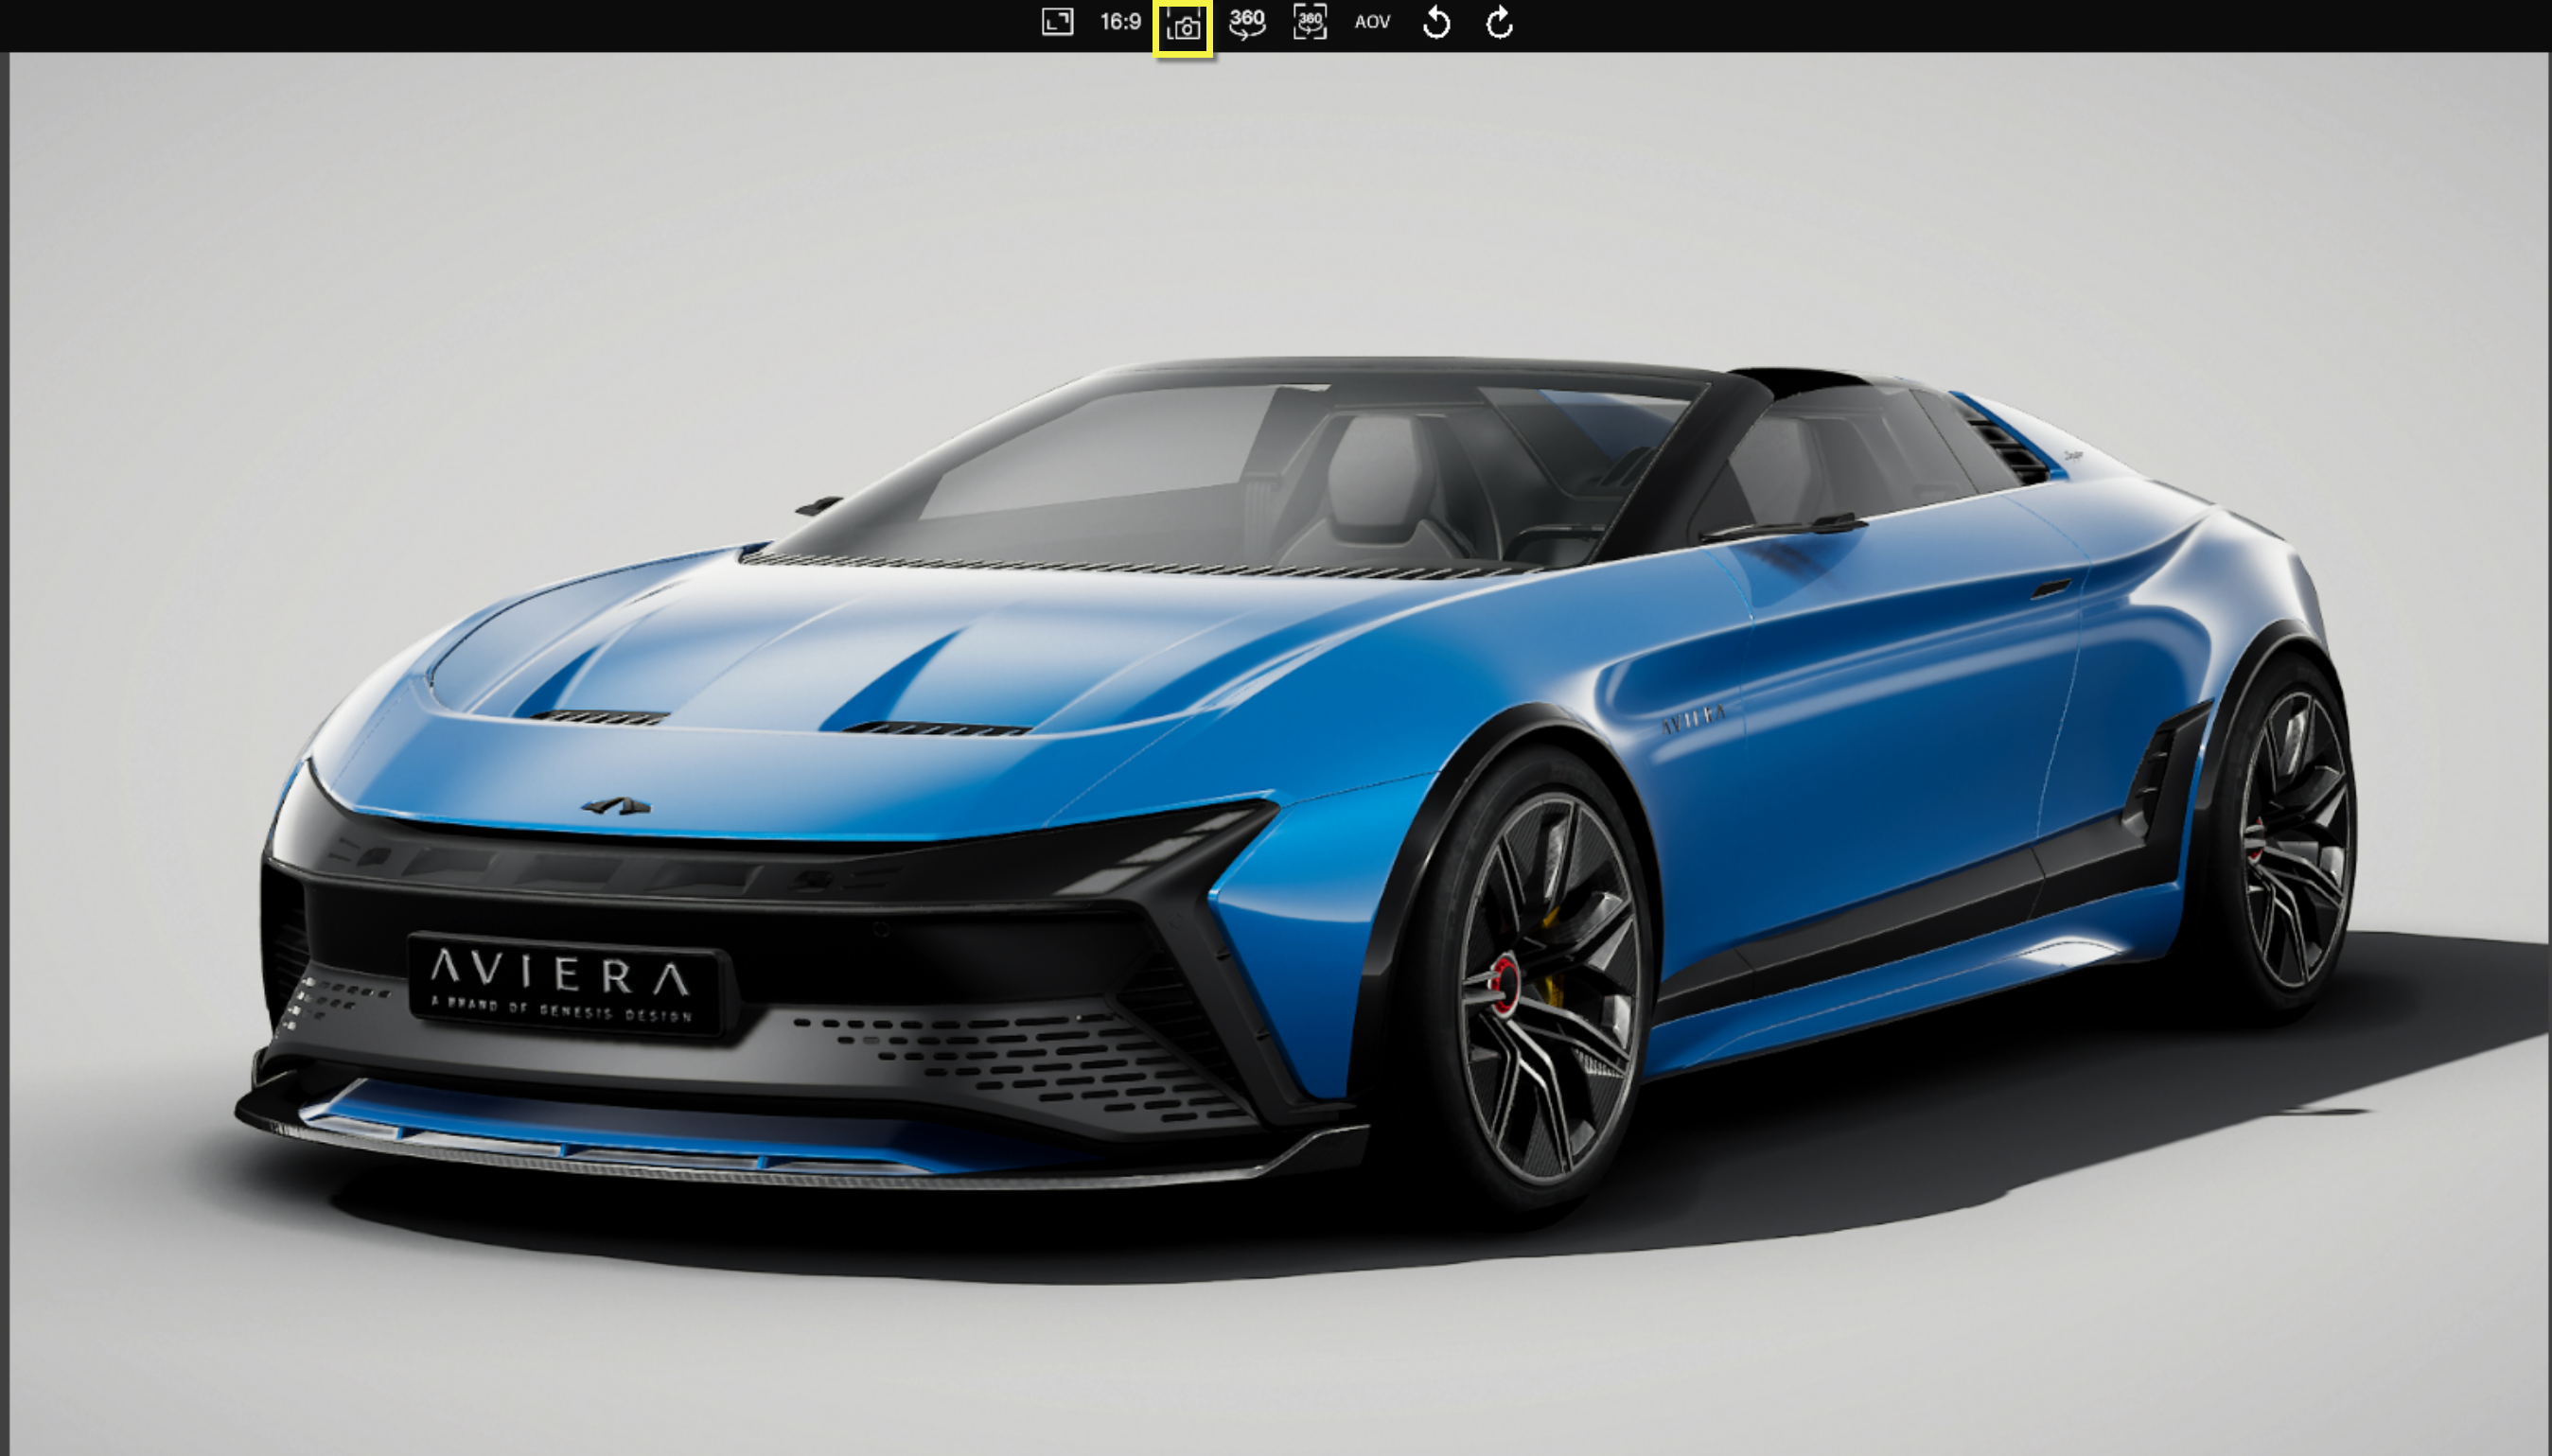
The system shows a preview of the image with a path to the directory where the shot is saved. - (Optional) To open the directory where the shot is saved, select the preview thumbnail (after a few seconds, the preview disappears).
<img src=images/renderStudio-revealFileLocation.png alt="Show file location" width="500"> - (Optional) To see all shots that you have taken, select the Gallery button.
Create a shot from an existing Forma Camera view
To create a shot from a Camera view that you already set up in Forma, select the Camera button and then select the view you want to use for the Forma Render shot.
Deleting shots
To delete a shot, select the shot in the Gallery and press the Delete key on your keyboard.
IMPORTANT: You cannot restore deleted shots. When you delete a shot, it is deleted from the file directory and the list of shots in the Gallery.
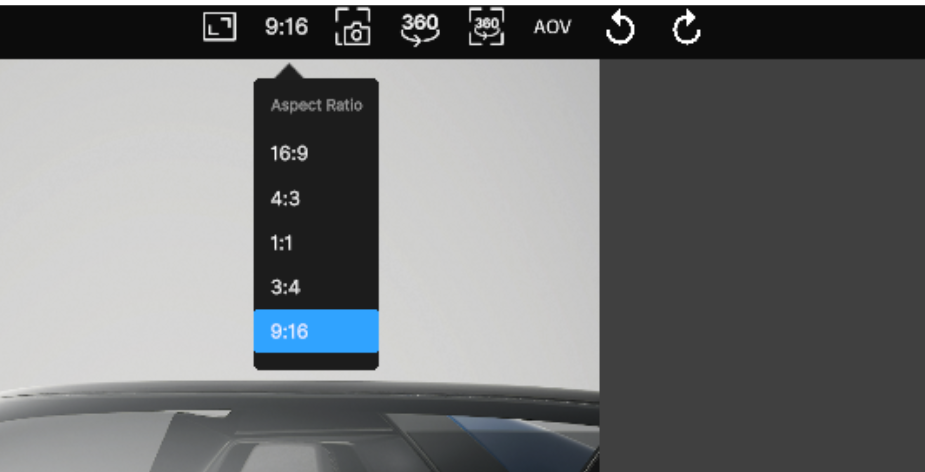
Changing the aspect ratio for a shot
If you want to capture a detailed visual of a specific part of your Product, you can change the aspect ratio.
By default, you can select from these aspect ratios:
- 16:9
- 4:3
- 1:1
- 3:4
- 9:16
To change the aspect ratio, follow these steps:
- Click on the aspect ratio button.
- Select the ratio you want to use.
Changing the resolution of the shot
To support users on different hardware and software platforms, you can render the same shot with different resolutions.
To change the resolution of your shot, go to Settings > Output and select the desired resolution (2K, 4K, 8K, 16K).

IMPORTANT: Make sure that you select the HDRP Quality level in Project settings and in the Profile that you use to export your Forma Render application.