Batch Rendering
Individually rendering multiple shots for the same Product from different camera angles or with different settings can be time consuming and tedious. Batch Rendering lets you render multiple shots at the same time.
For example, you can automatically render shots of the interior of a car with different upholstery and seatbelt colors for high and low quality marketing assets.
Setting up Batch Rendering involves specifying the base shot of the Product and Variant Sets from Unity Forma that you want to render shots for, configuring it with customized Variants and views, and then setting up different quality and image Profiles for the set of shots. A base shot acts as the "base" of the batch and any Variant. The system applies any View changes to the Camera state or Environment on top of the base shot.
Set up a new Batch Render
Note: Before you start, make sure that the individual shot that you want to use for the base shot already exists.
To add a new Batch Render configuration, follow these steps:
- In the Forma Render interface, select the Batch Rendering icon.
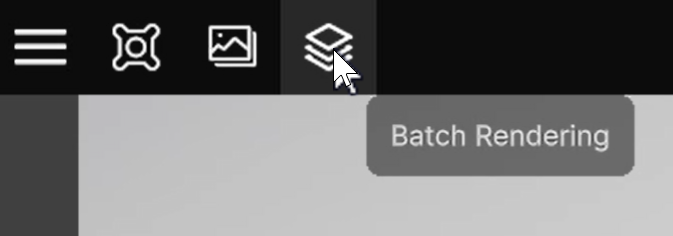 .
.
The Batch Rendering window opens. - Select the Add (+) Batch button.
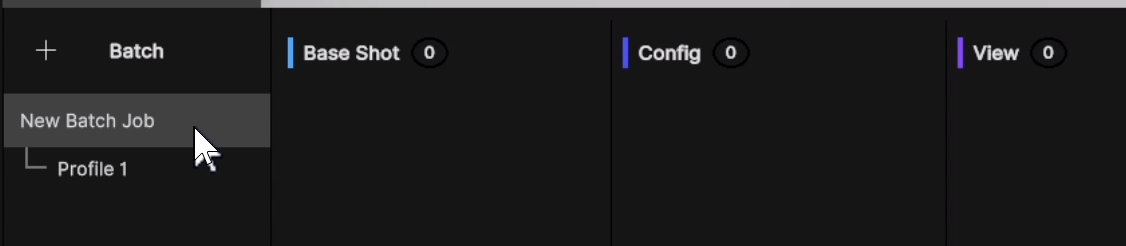
- To rename the new Batch, right-click and then select Rename.
- To specify the base shot you want to use for this Batch, open the Capture Gallery and drag and drop the shot you want to use as the base shot into the Base Shot column.
- To specify the Variant Set you want to use for the Batch, open the Configurator settings panel and drag and drop the Variant or Pack Set(s) you want to use in this batch to the Config column.
- To select the Variants you want to include in this Batch, expand the set and select the correct Variants.
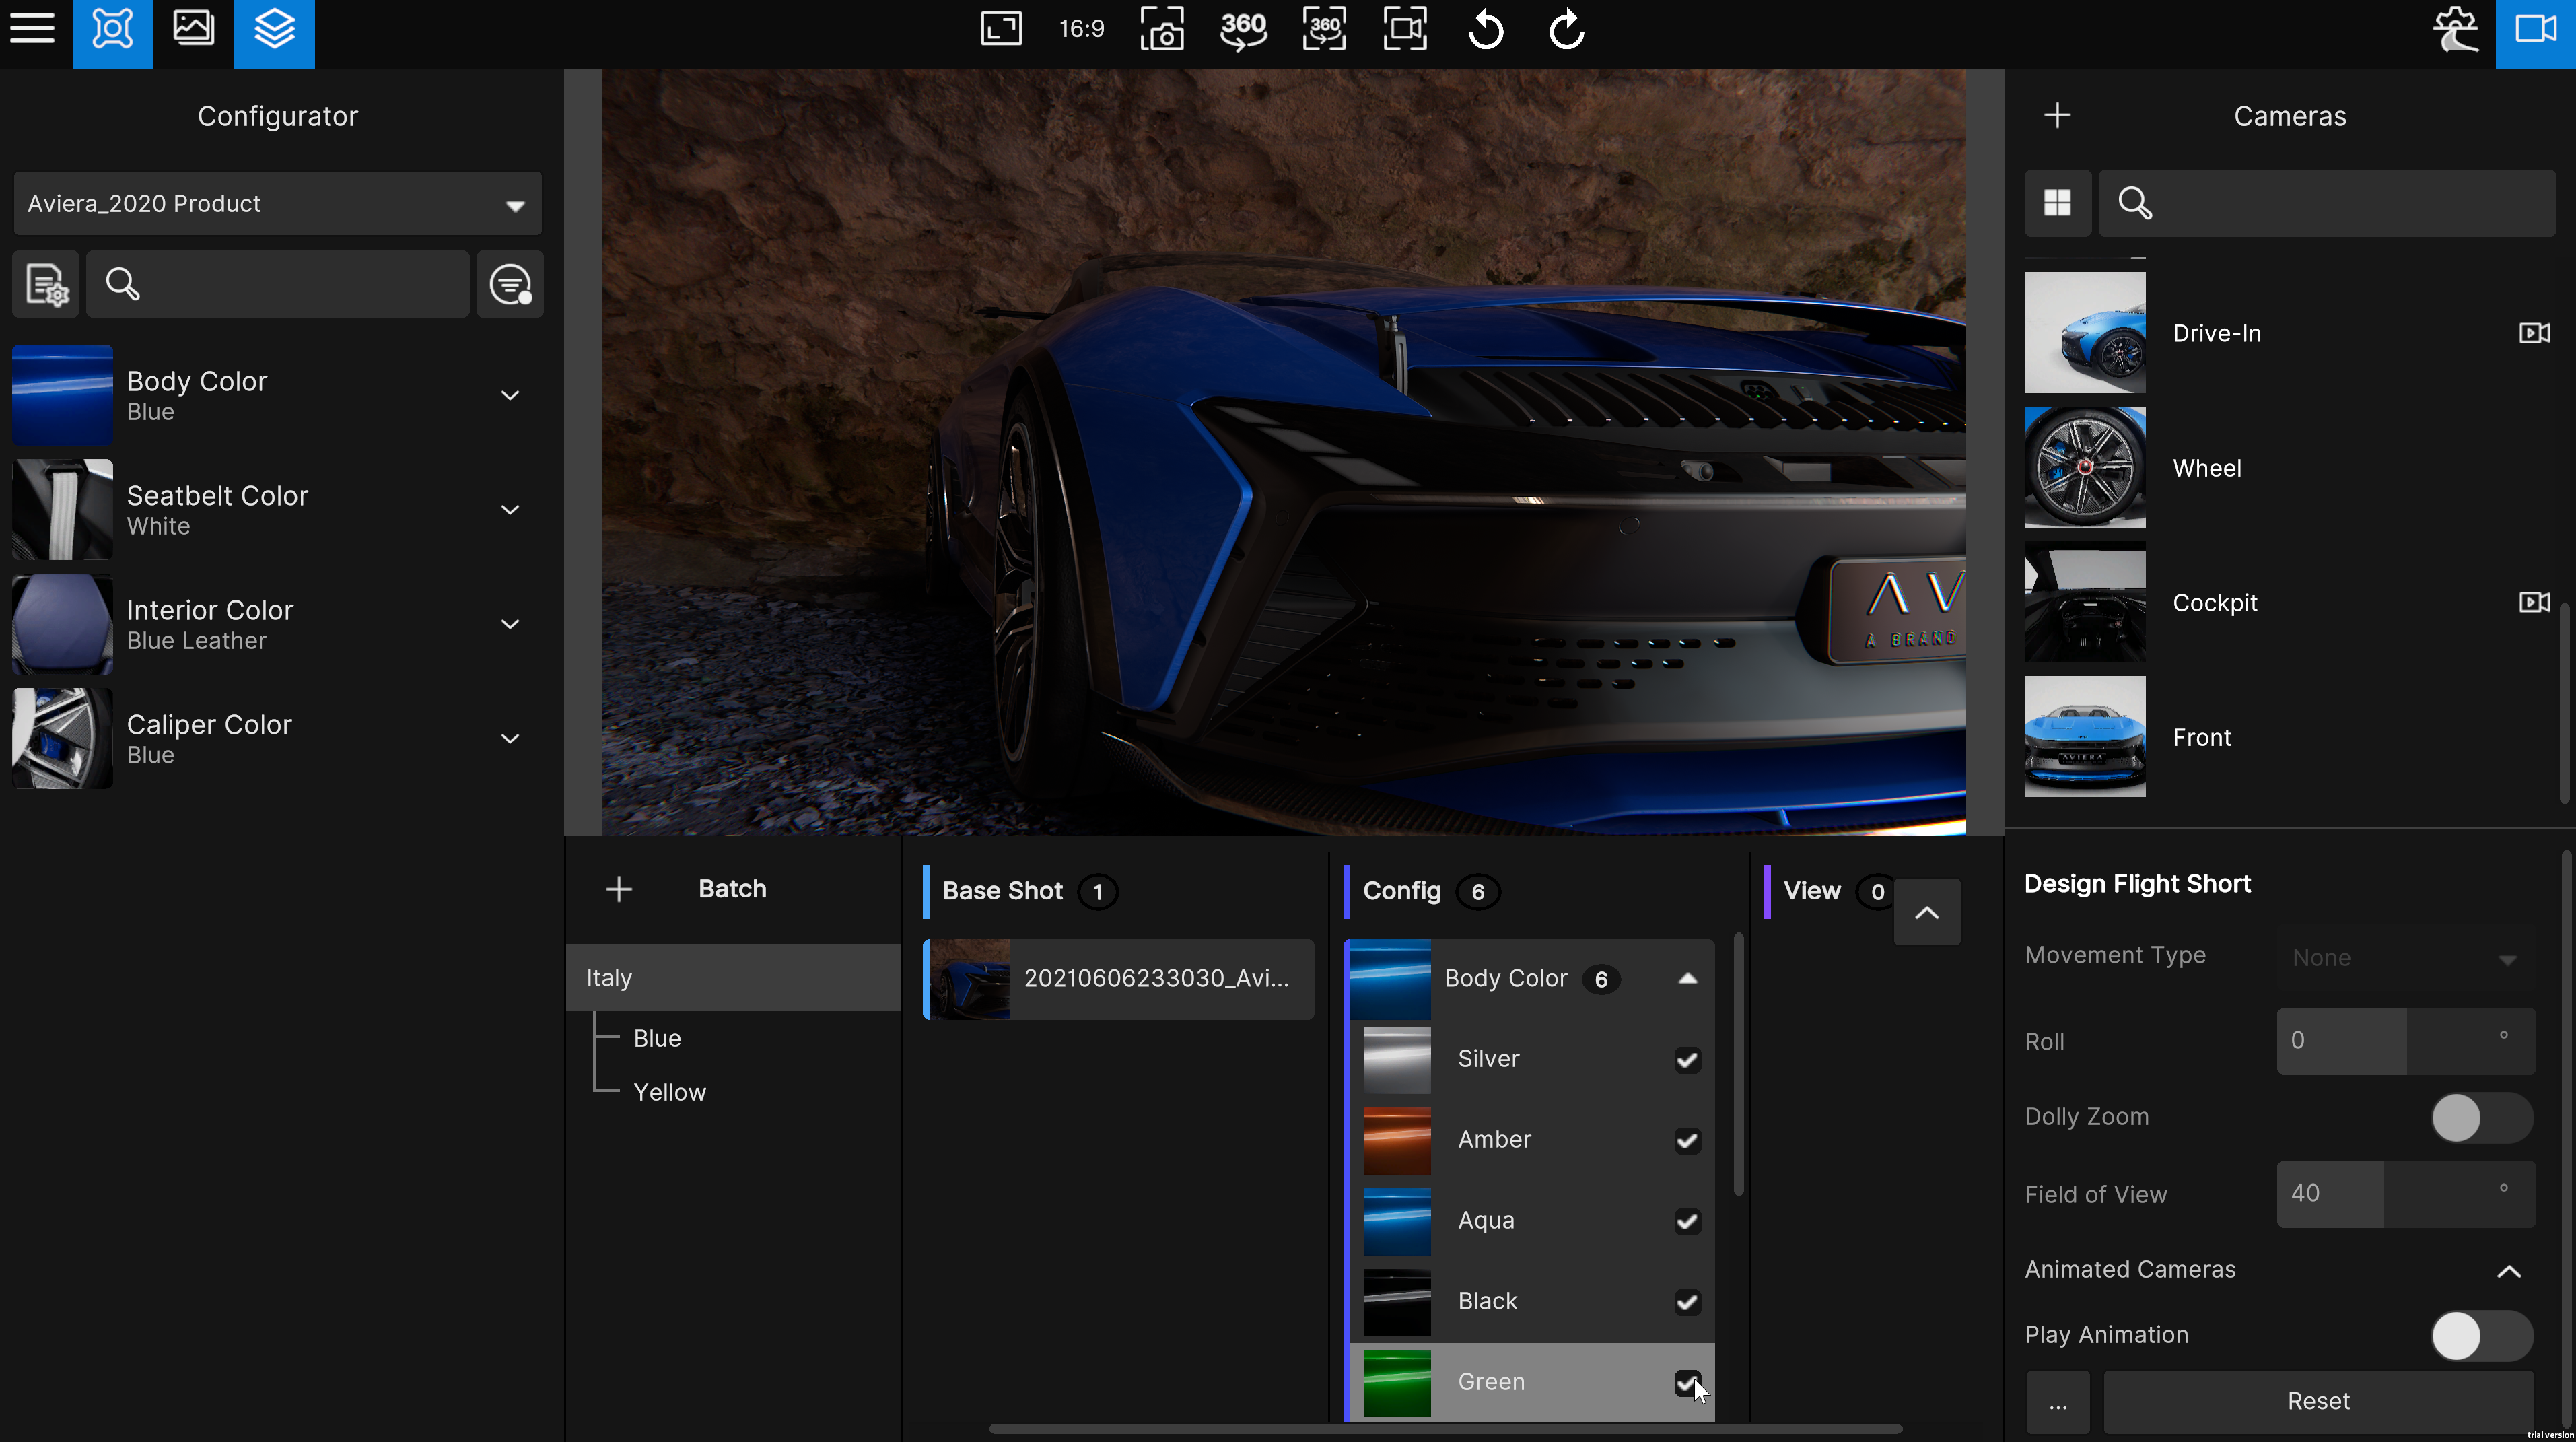
- To specify the view you want to use for this Batch, open the Capture Gallery and drag-and-drop the shot you want to use as the view into the View column.
Now, you can set up output Profiles for the new Batch.
Add Output Profiles for the new Batch
Output Profiles define the format and quality of the shots you render for the Batch. A Profile is automatically created when you create a Batch but each Batch can have many Profiles.
To add and configure a Batch Profile, follow these steps:
- Select the Batch you want to add a Profile to and then select Add Profile. A new Profile appears under the Batch.
- Rename the Profile if necessary.
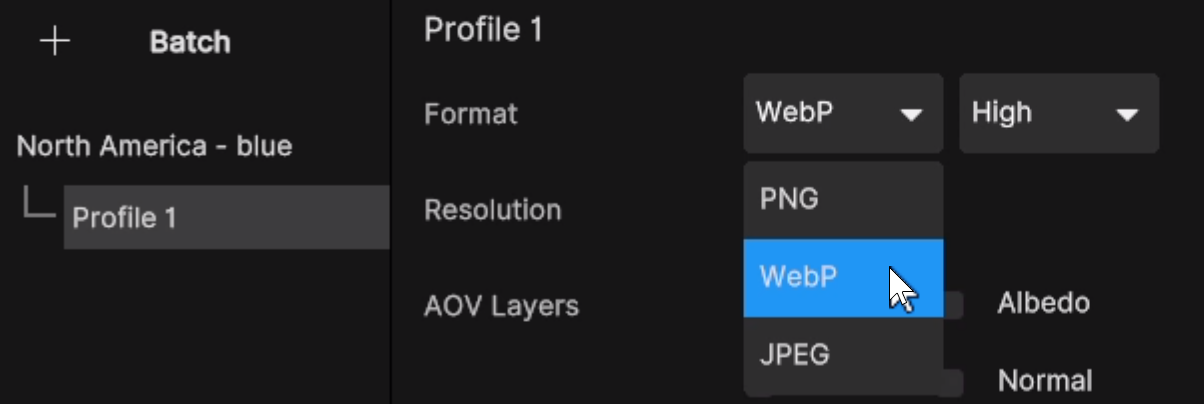
- In the Format drop-down, select the image format (PNG, WebP, or JPEG) that you want to render for this Profile and then select the image quality (High, Medium, or Low).
- In the Resolution drop-down, select the image resolution you want to use.
- Select the AOV Layers you want to include in the shot.
- Configure your Watermarks, if required.
- To render all the shots for this Batch using the Profile you configured, select the Render button. Depending on the number of shots included in your batch, this can take several minutes.
The shots for the Batch Render are saved in the same directory as your individual shots.