Hotspots
Hotspots let you add custom behavior to a feature of your Product that consumers can interact with.
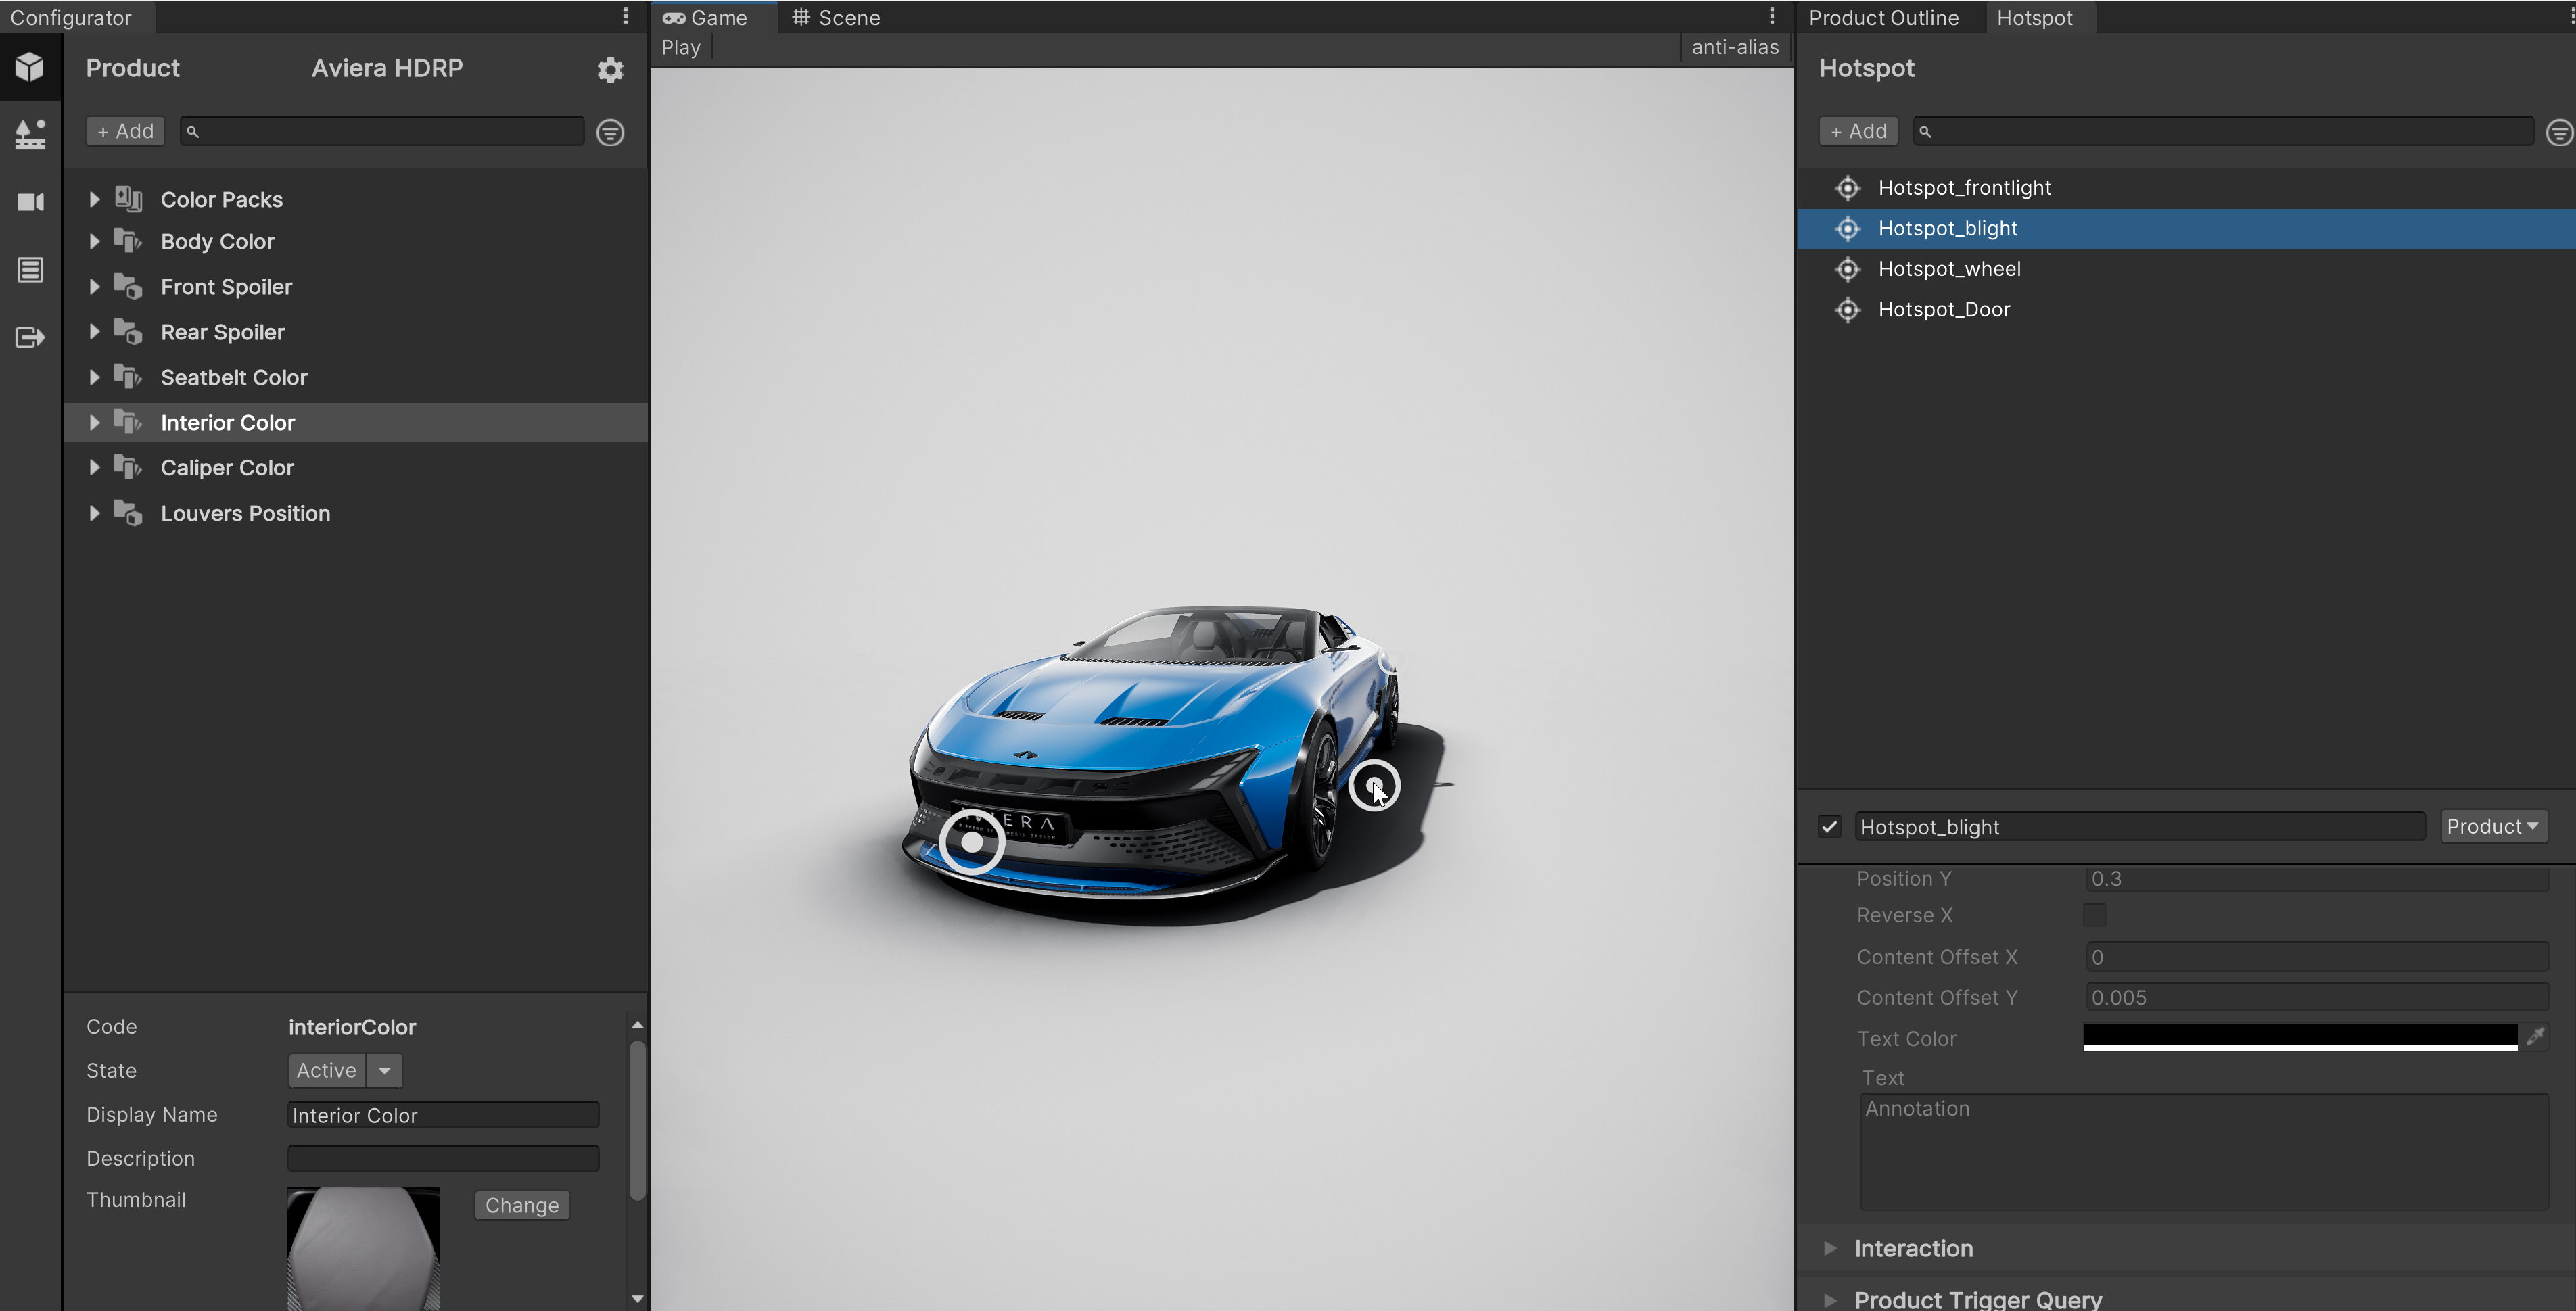
For example, you can define a behavior that causes a car door to open or headlights to activate when a consumer selects a specific Hotspot in the application.
Unity Forma offers tools that let you customize Hotspot behavior in several ways:
- You can customize a Hotspot with an animation script that you already created in Unity. For example, you can add a script that opens a car door when the user selects a Hotspot on the handle.
- You can create a Hotspots for specific parts of your Product or other objects in your Environment.
- You can create rules for when a given Hotspot is visible to the consumer. For example, you can create one Hotspot on a door and then display Hotspots for window controls or the steering wheel after the door opens.
- You can create a Hotspot that triggers a specific Material or Visibility Variant selection in the application.
- You can cause a specific text to appear in the application when the user hovers over or selects the Hotspot.
- Change the appearance of the Hotspot in the application by changing the scale or adding a custom 2D or 3D asset.
This image shows a Hotspot that consumers can select to open the car doors.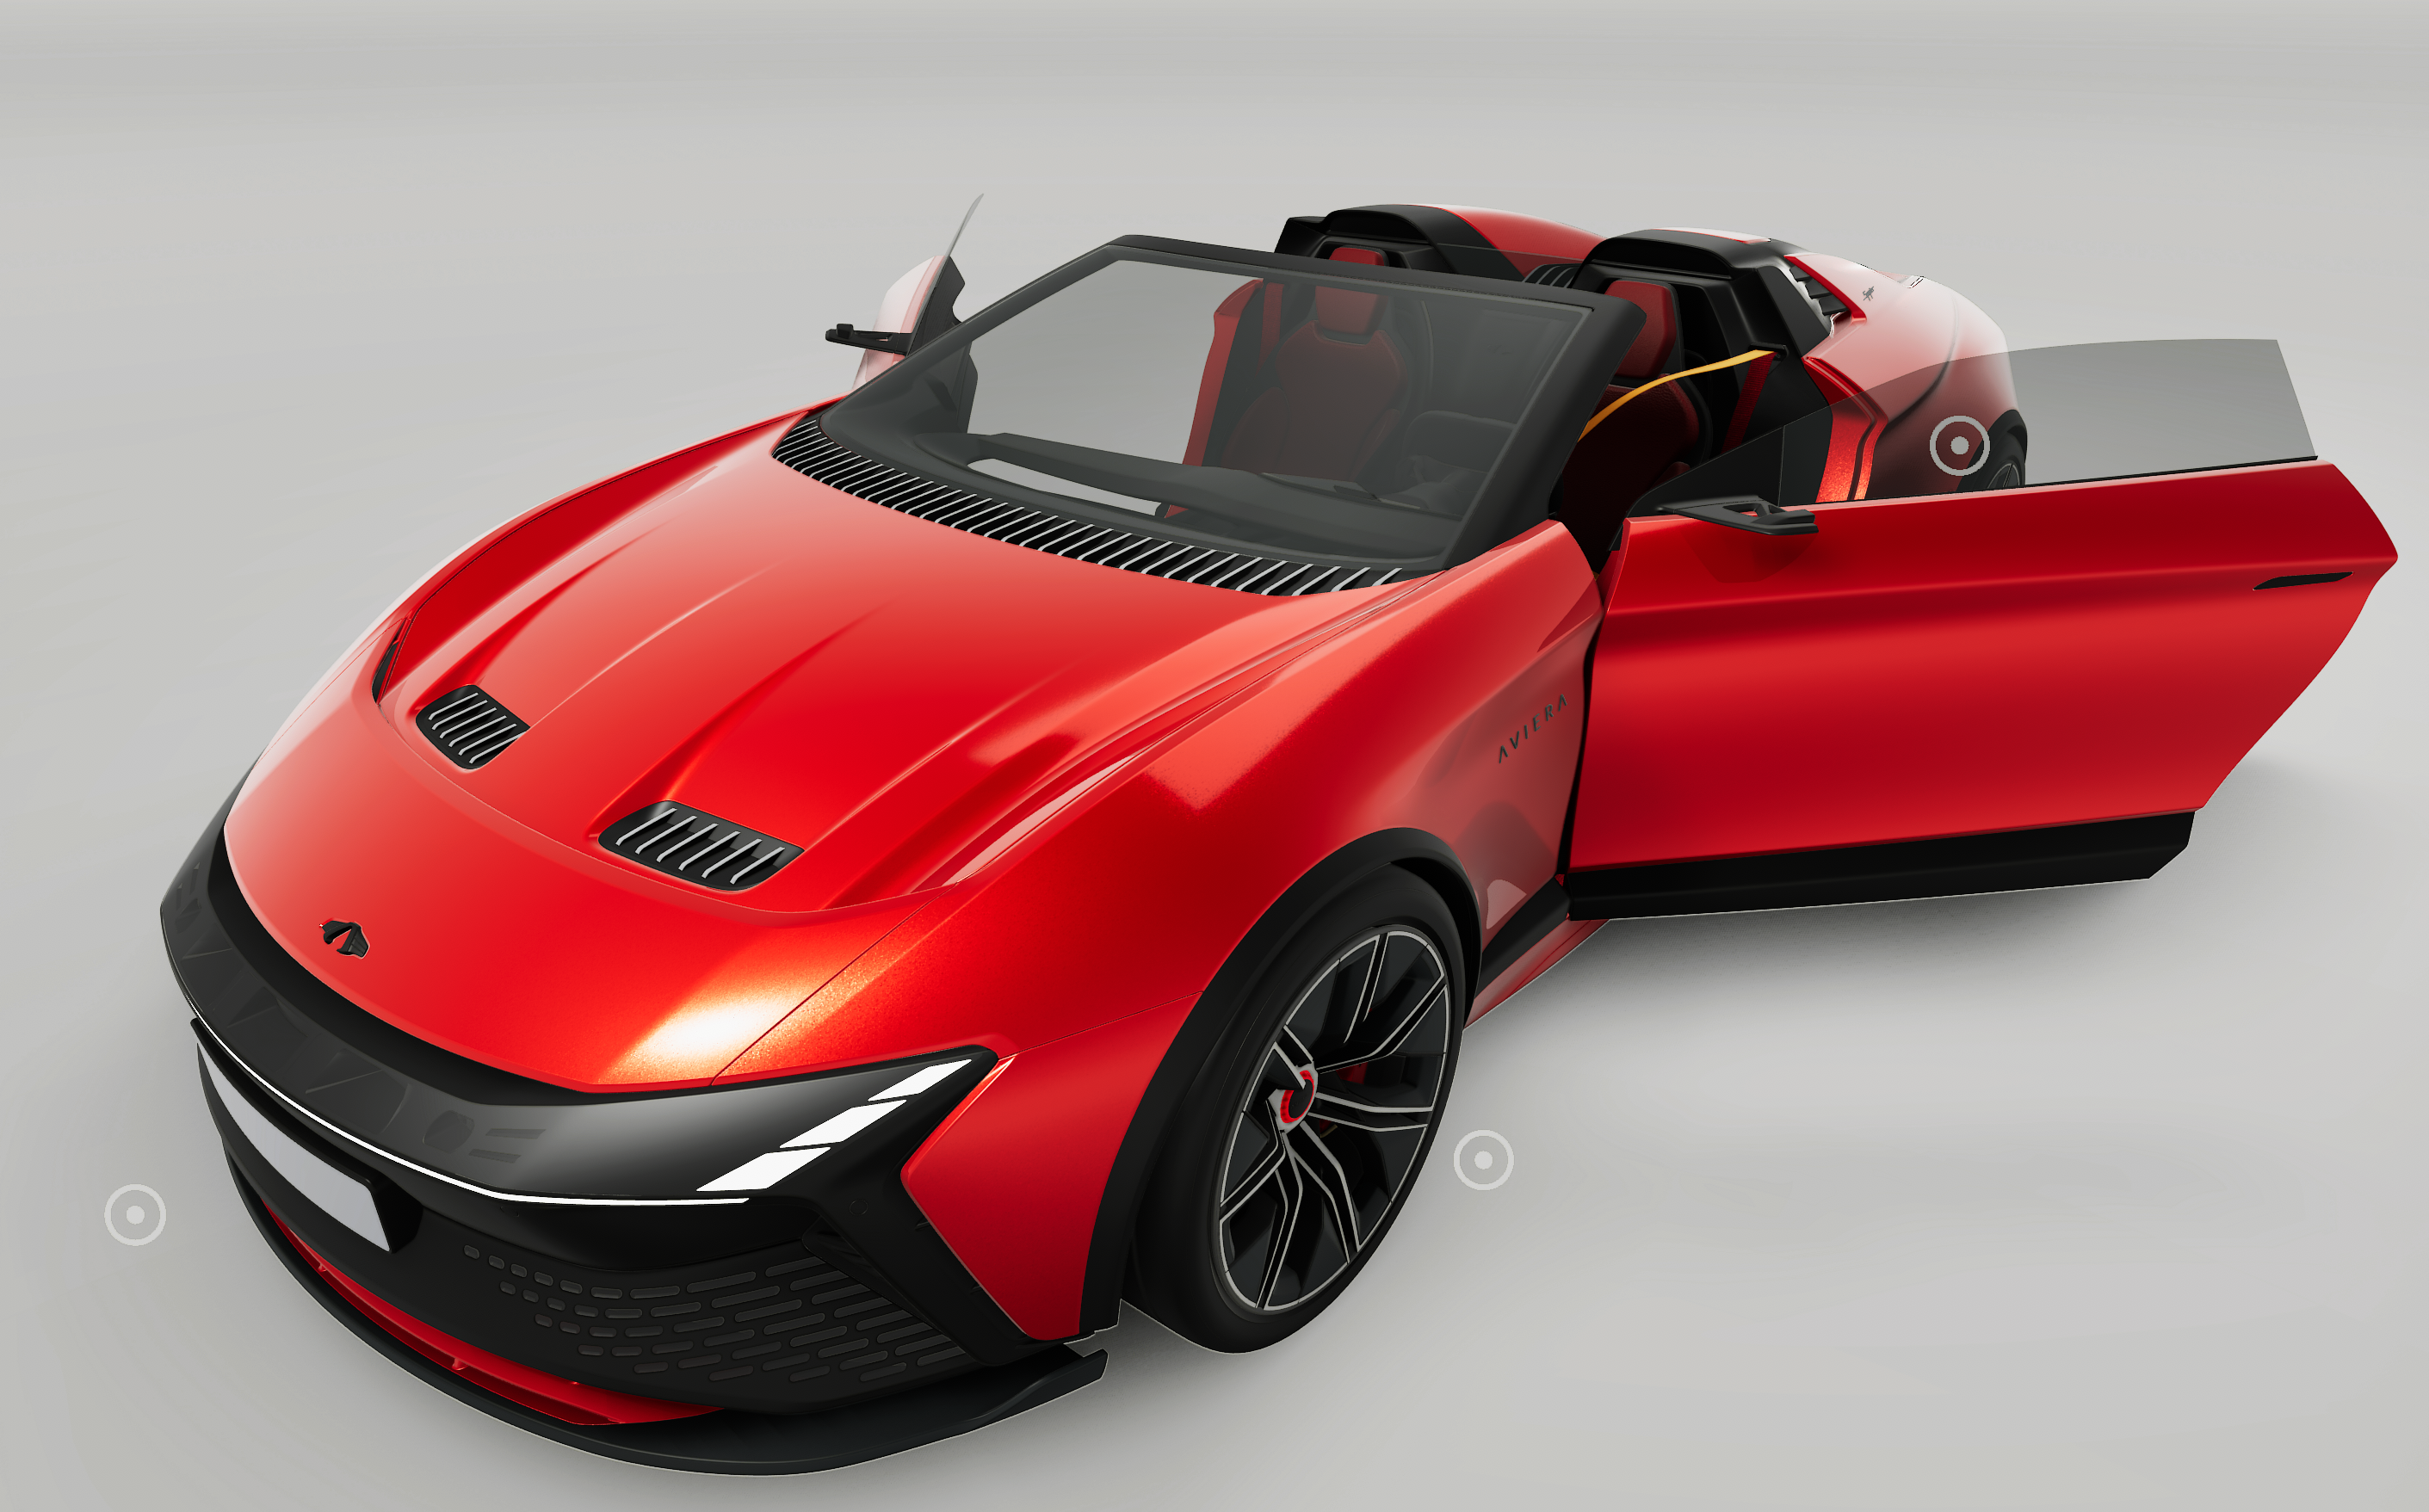
Add a Hotspot
- In the Unity Forma interface, select the Hotspot tab (next to the Product hierarchy tab).
- Select the +Add button and then select Hotspot Group.
 .
.
The new Hotspot appears with a random name in the list of Hotspots. - To activate the Hotspot so that it appears in your configurator, select the Active checkbox.
- Associate the Hotspot with the Project, the Environment, or the Product.

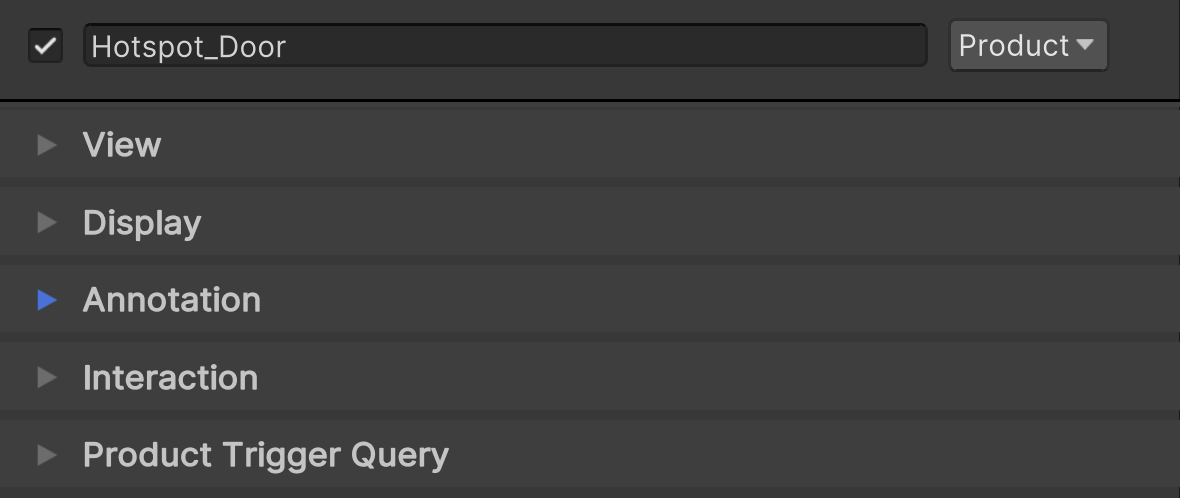
To customize parameters for a Hotspot, select it in the list. The options for customizing a Hotspot appear below the list.
 .
.
Customize the appearance of the Hotspot
- Select the Hotspot and then select View
 .
. - In the View Type drop-down, select one of the following options:
- To display no 2D or 3D for this Hotspot, select Empty.
- To display a Sprite (a 2D graphic) for the Hotspot, select Canvas and then use the selector to choose the Sprite you want to use.
- To display a 3D object for this Hotspot, select Mesh and then use the selector to choose the Mesh you want to use. In the Collider drop-down, select the shape you want this object to have in the environment.
Customize when the Hotspot appears in the Environment
- Select the Hotspot and then select Display.

- To make the Hotspot appear aligned with the consumer's camera view of the Environment, select Align to Camera.
- To make the size of the Hotspots change relative to the consumer's view of the Product, select Relative Scale.
- To make the Hotspots appear only when the consumer mouses or hovers over it, select Show mouse-input
- To make the Hotspot only appear when the Consumer mouses over a specific part of the Environment, select Show in Volume.
Customize text for the Hotspot
- Select the Hotspot and then select Annotation.
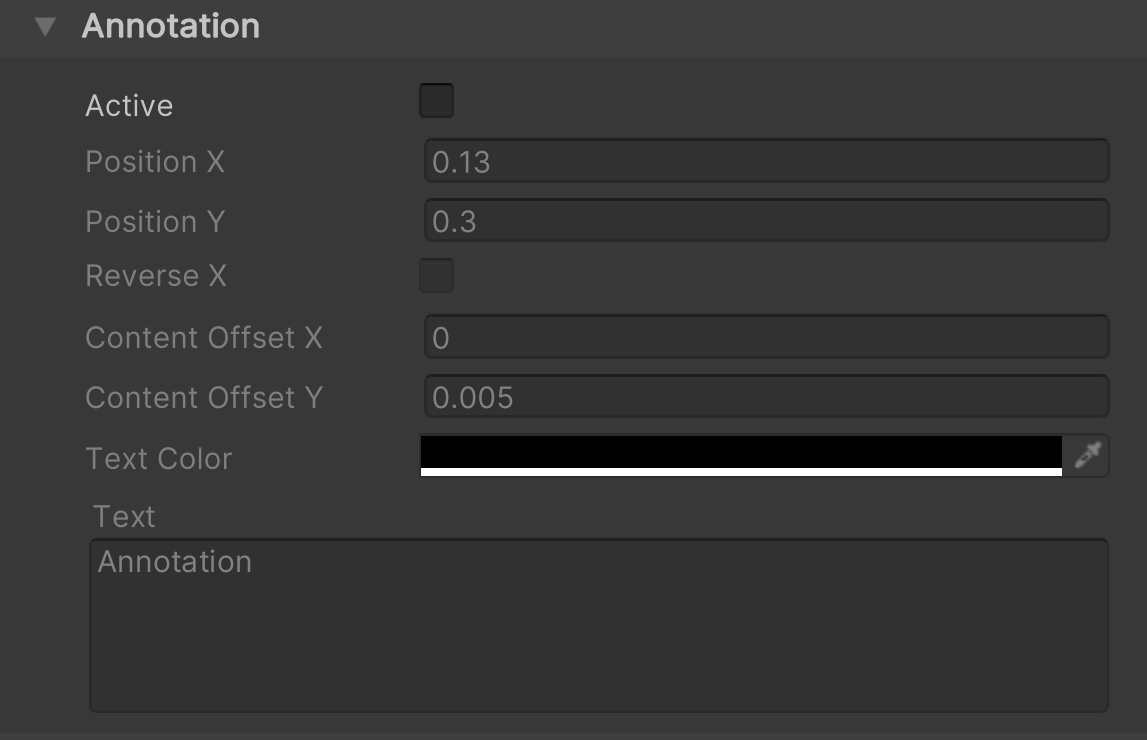
- To add an annotation for this Hotspot, select the Active checkbox.
- Use the Position X and Y parameters to select a position for the annotation.
- To reverse the X axis value, select the Reverse X checkbox.
- Use the Content Offset X and Y parameters to set the content offset.
- To customize the color of the text, use the Text Color picker.
- In the Text box, enter the text you want to display for this annotation.
Customize how consumers can interact with the Hotspot
- Select the Hotspot and then select Interaction.

- In the Camera drop-down, select the Camera view that the application uses when a consumer selects the Hotspot.
In the Action drop-down, do one of the following:
- To use a custom interaction that you created in the Unity Editor, select Custom.
- To start an animation that you created with Cinemachine when the consumer selects the Hotspot, select Animation and select to the animation timeline you want to use.
- To trigger a Variant Set selection when the consumer selects the Hotspot, select Variant Set and then select the Variant Set you want to use.
Customize the parts of the Product that appear when a consumer selects the Hotspot.
- Select the Hotspot and then select Product Trigger Query
- Drag and drop the objects you want to appear into the list.
Organize Hotspots into groups
You can create groups of tiered Hotspots for the different details of a single Product part. For example, a Hotspot Group for a car door might include different Hotspots for the door handle, driver door controls, and upholstery.
To add a Hotspot group, follow these steps:
- In the Unity Forma interface, select the Hotspot tab (next to the Product hierarchy tab).
- Select the +Add button and then select Hotspot Group.
 .
.
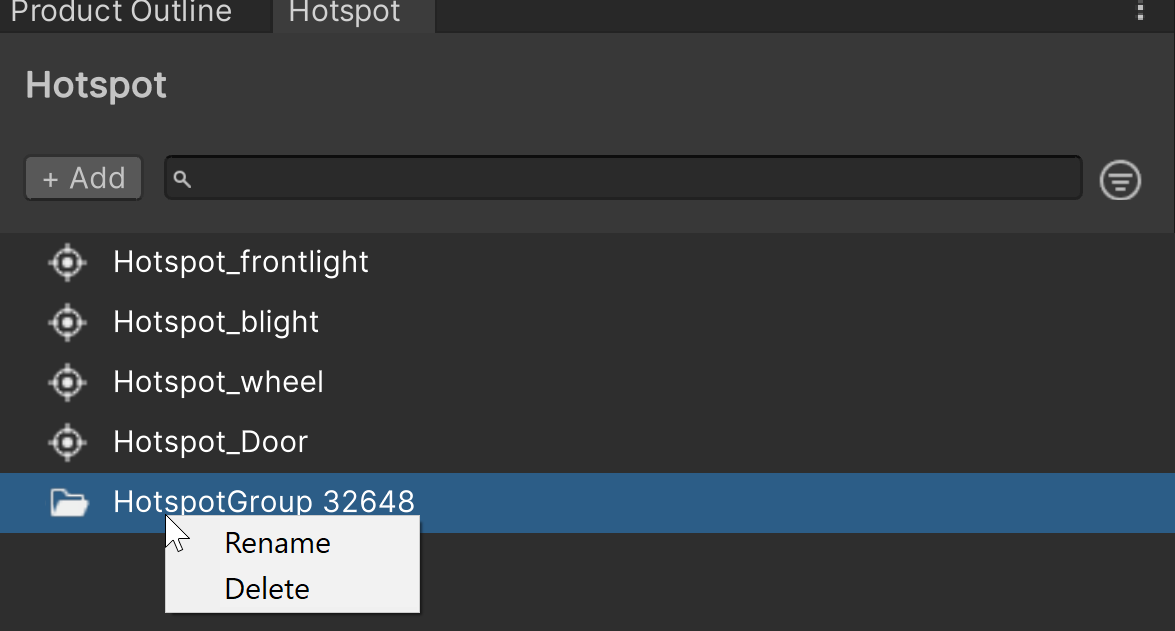
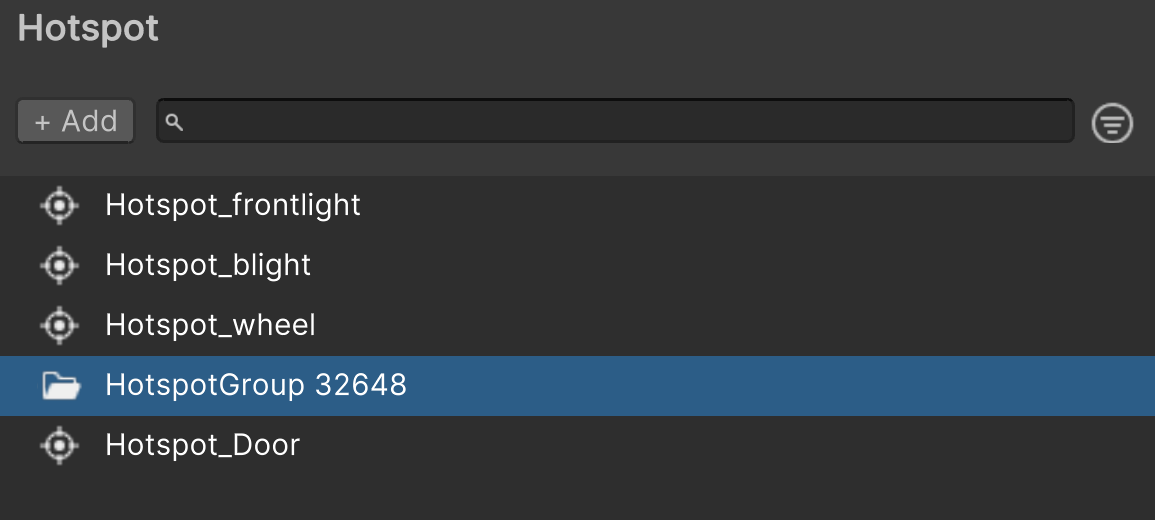
The new group appears with a random name in the list of Hotspots. The system uses folder icons to identify each group.
 .
. - To give the group a new name, select and hold (right-click) the new Group and then select Rename.
- To add a Hotspots to the group, select and hold (right-click) the Hotspot you want to add, select Group, and choose the group you want to add it to.
