Standard Mobile UI
By default, Forma offers a web-friendly UGUI Runtime interface. If you need your configurator UI to support consumers on smaller screens and mobile devices, you can configure Forma to use a UIToolkit-based standard mobile user interface.
The Standard UI can be built for all major platforms.
Before you start
To function correctly, the Forma Standard Mobile UI relies on the following software:
- For Unity 2020.3.xx: Minimum version of Unity 2020.3.16f1 and UIToolkit Preview 16 or higher package
- For Unity 2021.1.xx: Minimum version of Unity 2021.1.16f and UIToolkit Preview 16 or higher package
- For Unity 2021.2 and higher, UI Toolkit is built in and UIToolkit Preview package is obsolete and should not be added to your project.
Who Should Use This?
The Standard UI is a UIToolkit-based UI better suited to smaller screens than Forma's UGUI Runtime. More space is allotted for each option and there is a stronger emphasis on visuals, making the UI appear less cluttered than the UGUI version. Additionally, the UI is divided into tabs rather than displaying everything on a single screen, reducing the emphasis on scrolling and making it more useable on small screens.
Consider using the Standard UI over the UGUI Runtime if you have the following:
- Only minor UI customization is required (text size, UI color).
- Target platforms include smaller screens such as mobile devices.
- The target device screens are narrow and require different UI between Portrait and Landscape mode
Consider using the UGUI Runtime instead if you require the following:
- Medium-heavy UI customization.
- The Unity Editor version is higher than 2021.2.
- You cannot use preview packages in your project.
Set up
If you are using Unity 2021.2 or higher, skip to step 4.
- From the Unity Editor, open the Package Manager.
- Select the Add button (+) and then select Add package from git URL.
- Type in "com.unity.ui" to install the UIToolkit package.
- Find the Configurator GameObject in the Hierarchy of your scene.
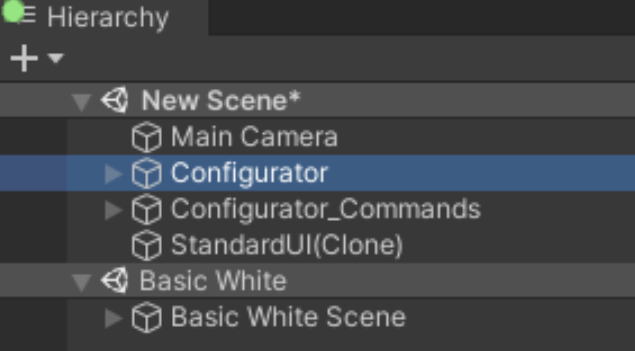
- In the parameters for the Configurator GameObject, find the Configurator Settings component.
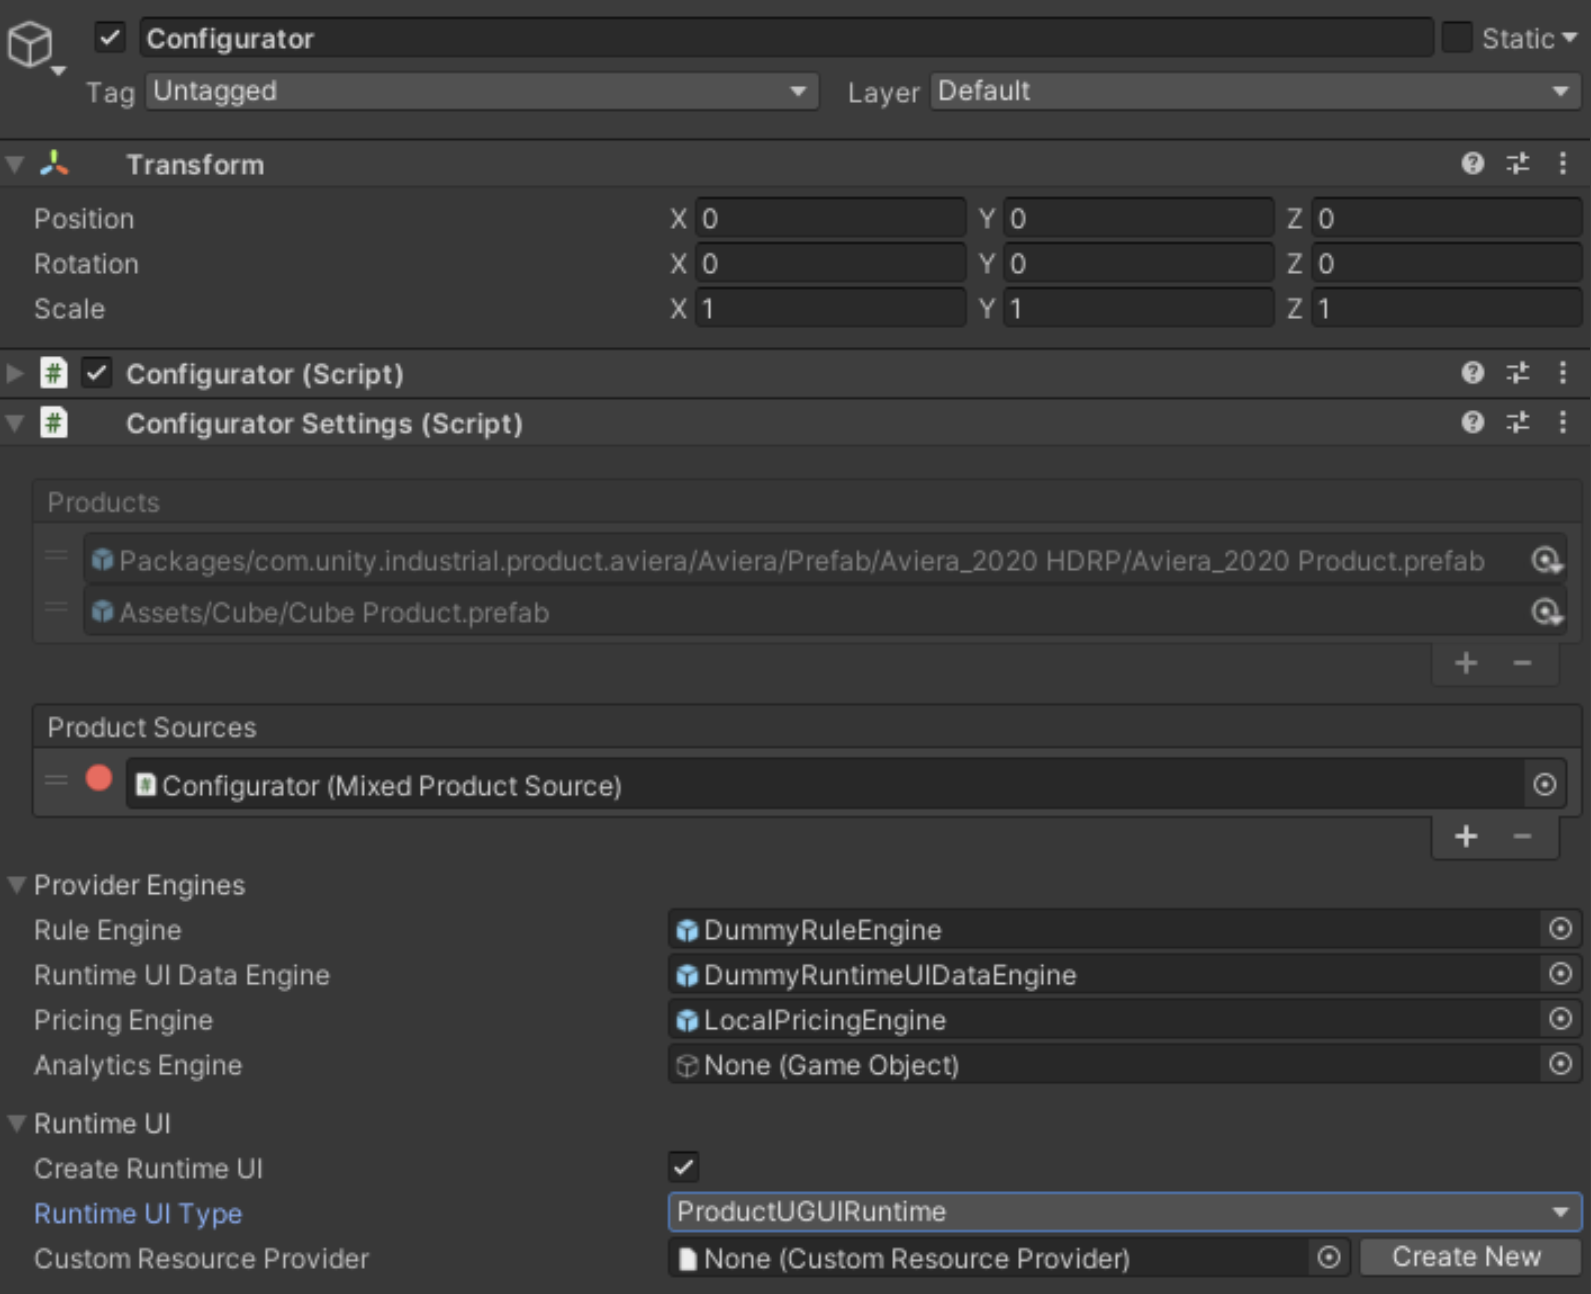
- Under Runtime UI, find the Runtime UI Type drop-down and select StandardUI.

The system imports the assets and a new StandardUI(Clone) GameObject appears in the scene. In the Project Hierarchy, a new StandardUI folder appears. The following assets should be present: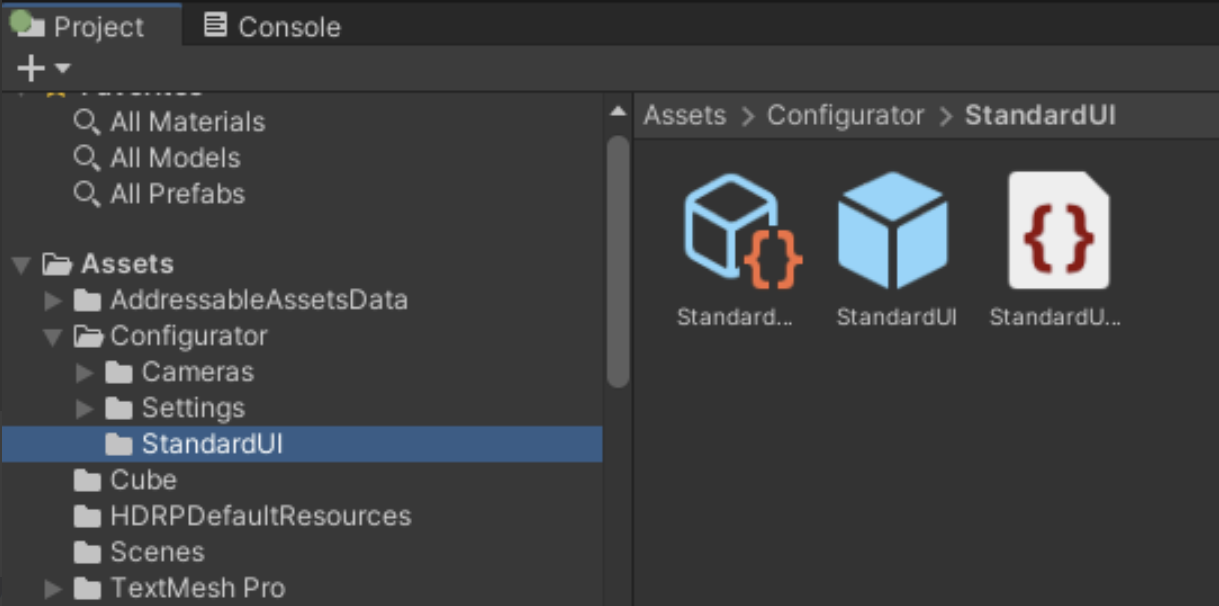
StandardUI GameObject Settings
The StandardUI GameObject has the following components:
- A StandardUILoader script
Responsible for loading the UI at runtime. - A StandardUI Settings
Controls the settings. - A Standard UI subscriber script
Handles certain events. - A UIDocument component
Similar to the Canvas component, this script is required to render UI with UIToolkit. - A Standard UI Resources References script.
Holds hard references to UI elements so they are not stripped from the build. Do not change this.
Available settings for the UI include:
- Show Prices
Specifies whether to display variant prices and the total price of the current product configuration. - Stylesheets
Customizable stylesheets that you can add to the UI. Do not change these settings without expert knowledge.
The UIDocument component also links to a PanelSettings asset. The PanelSettings asset is a UIToolkit asset that controls UI scaling. After you add the StandardUI to the project, the PanelSettings asset should be located in your project files at Asset/Configurator/StandardUI/StandardRuntimeUI.asset.
The system stores two copies of the PanelSettings asset. Because certain fields are inaccessbile through script, the copies are not created through code.
UI Anatomy
You can only preview the Standard UI in Play mode. The interface includes a Toolbar and several other features.
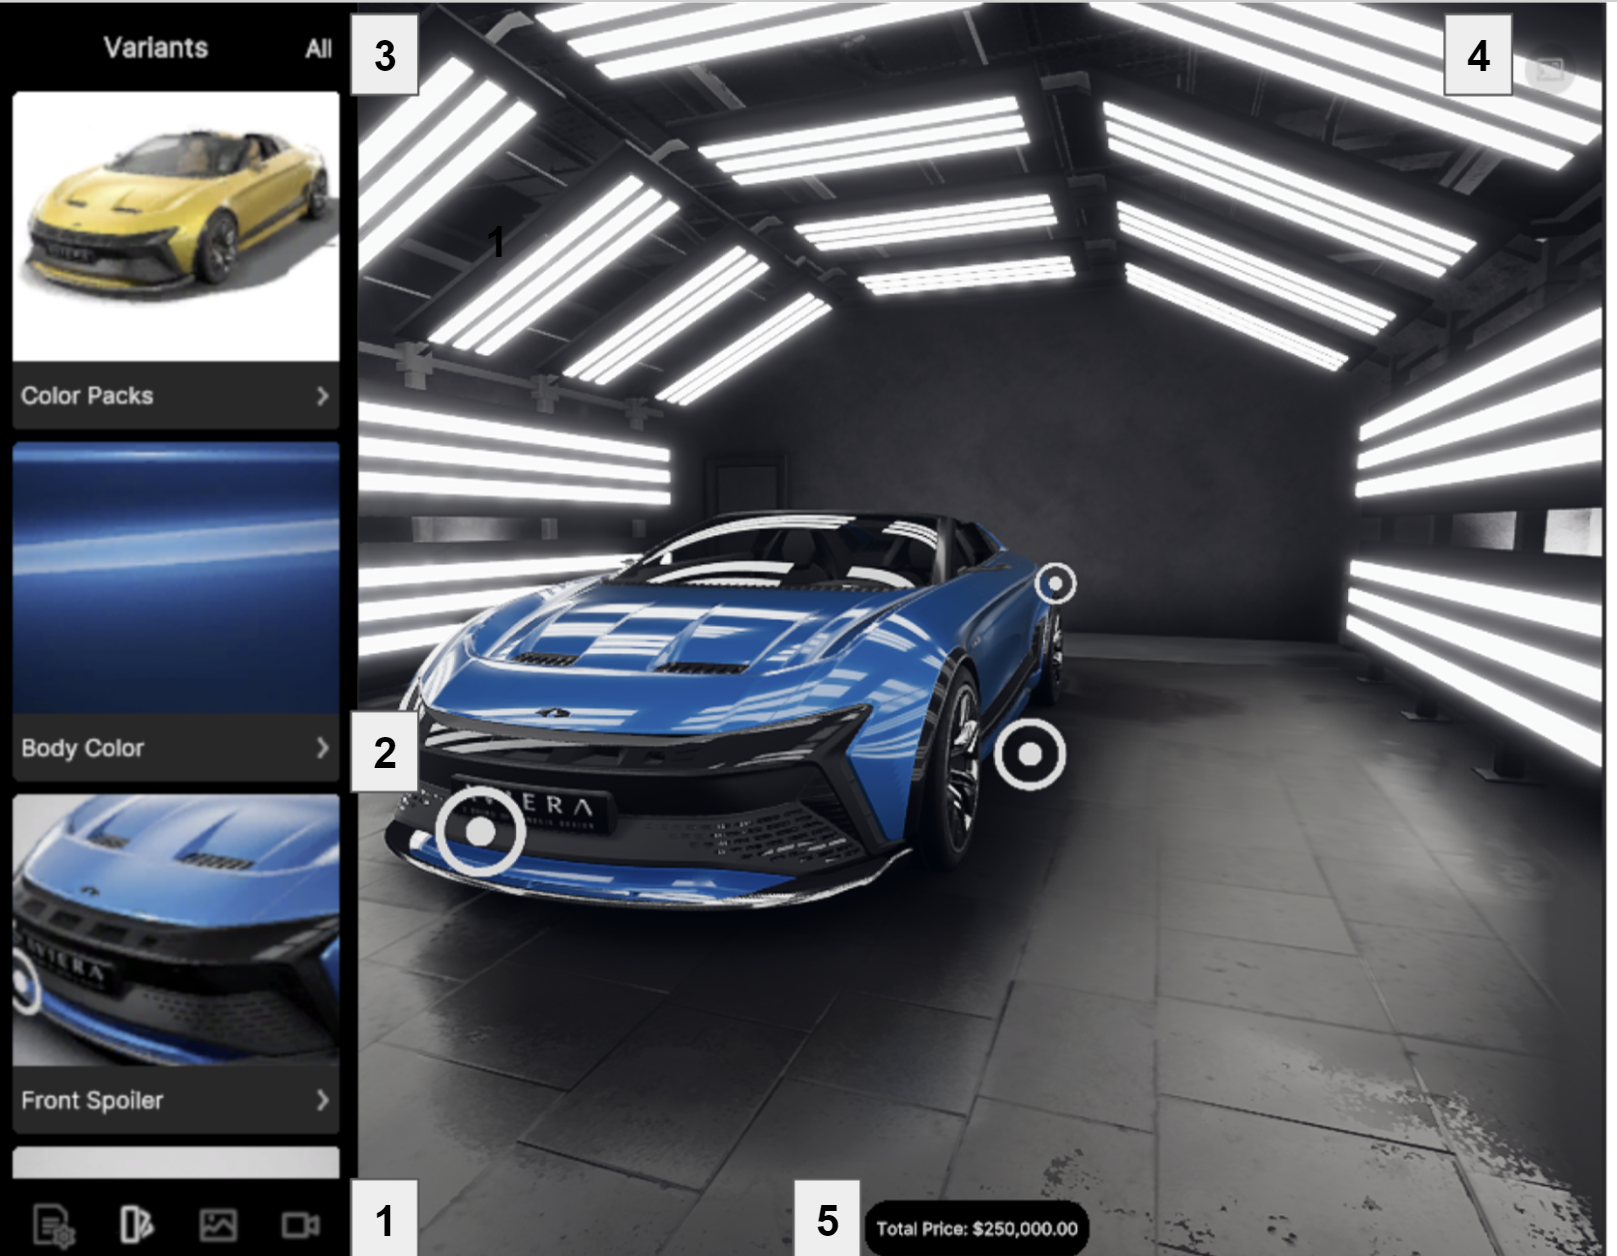
1. Toolbar
The toolbar is located in the lower part of the screen. It shows controls for navigating the UI. There are buttons for each tab of the UI:
- Contexts and Product Selection
- Variants
- Environments
- Camera
2. Content list
The Content list shows the options that appear when a user selects one of the tabs on the Toolbar. It shows drop-down selections and cards. Each card shows a thumbnail and a label for the pack or variant set they show.
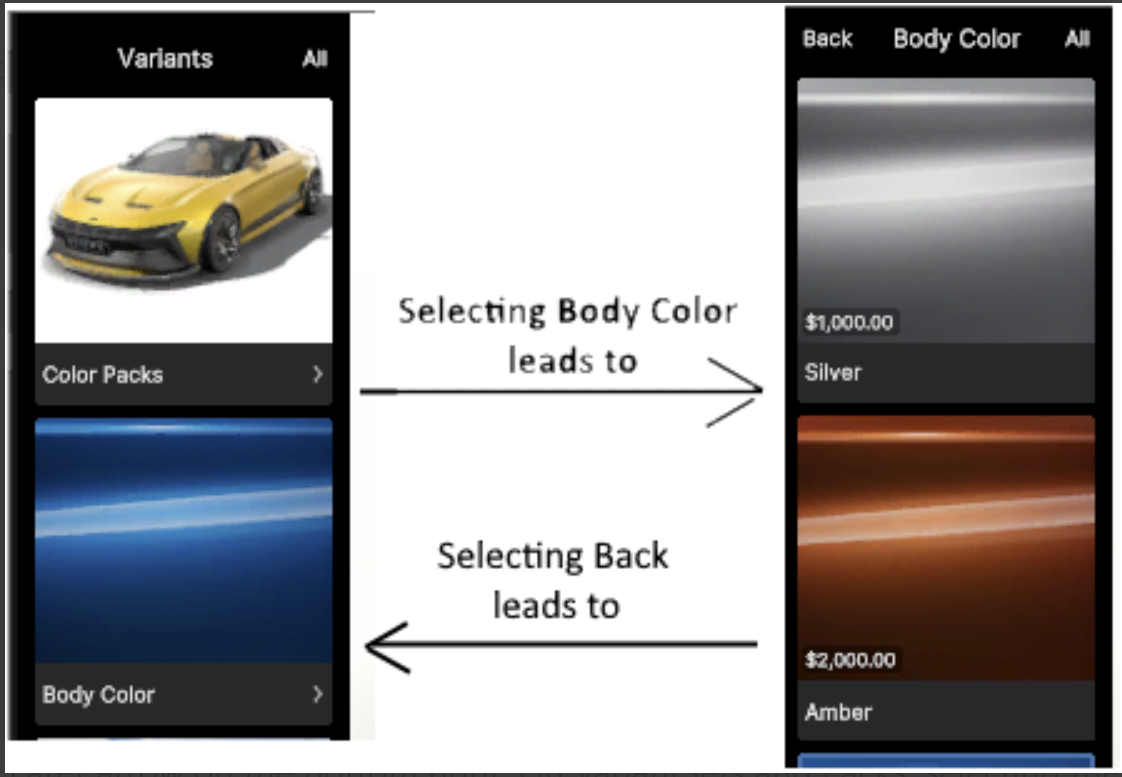
Where a pack or variant set is nested, or there is detailed information about an option that the user can see, the label also shows a carat arrow for navigating to subordinate menu items or detailed information.

3. Header
The header for the configurator is displayed in the upper left of the screen. It shows which tab or variant/pack set is currently displayed. The All text on the right will put the UI into full-screen mode. When the UI is in full-screen mode, the All text changes to Close. Selecting Close restores the UI to its original size.
When Back is displayed, the user can select it to show the Variants tab again.
4. Hide control
Users can select the Hide control in the upper right to hide or show all of the UI except the control itself.
5. Total price
Displays the total price of the product with the users' selections. You can disable the Total price display from the Configurator GameObject in the Unity Editor.
Setting up the UI data
The StandardUI GameObject gets data from the different tabs of the Configurator window. Variants and the UI data associated with them is authored in the Variant Table (in the Product Setup tab of the Unity Forma Editor interface).
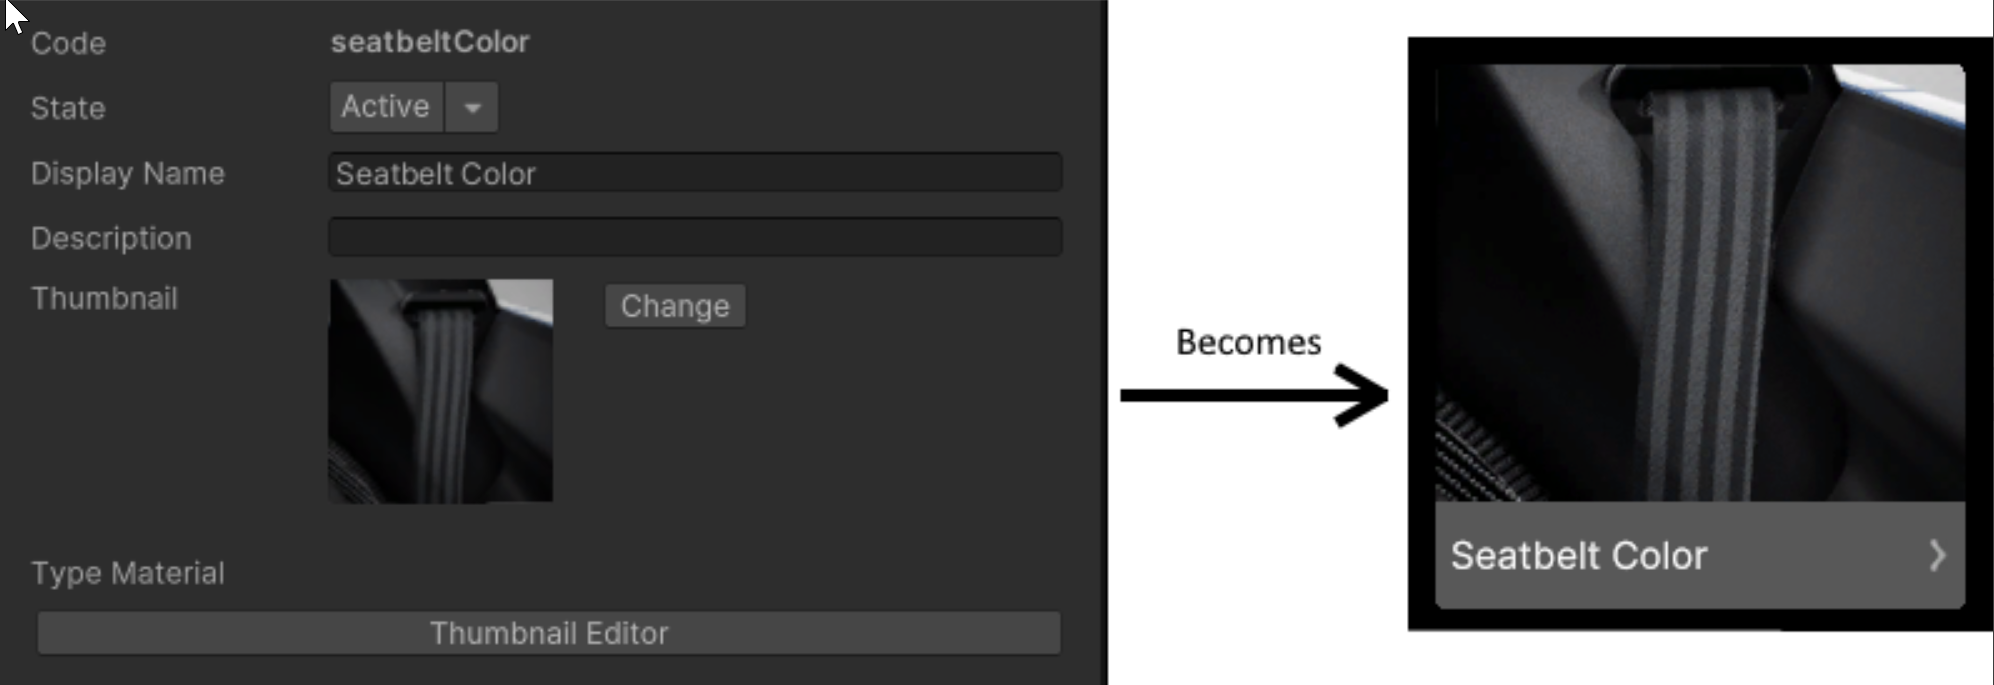
Display Name and Thumbnail for a Variant
Selecting a VariantSet or Variant in the VariantTable opens an editor in the lower part of the tab where you can edit information for it.
You can specify a label for each variant Card in the Display Name field of the StandardUI. Use the Thumbnail field to specify a thumbnail image for the variant.
 .
.
Variant states
The runtime information editor also has a field for state. There are three possible states:
- Active (default state)
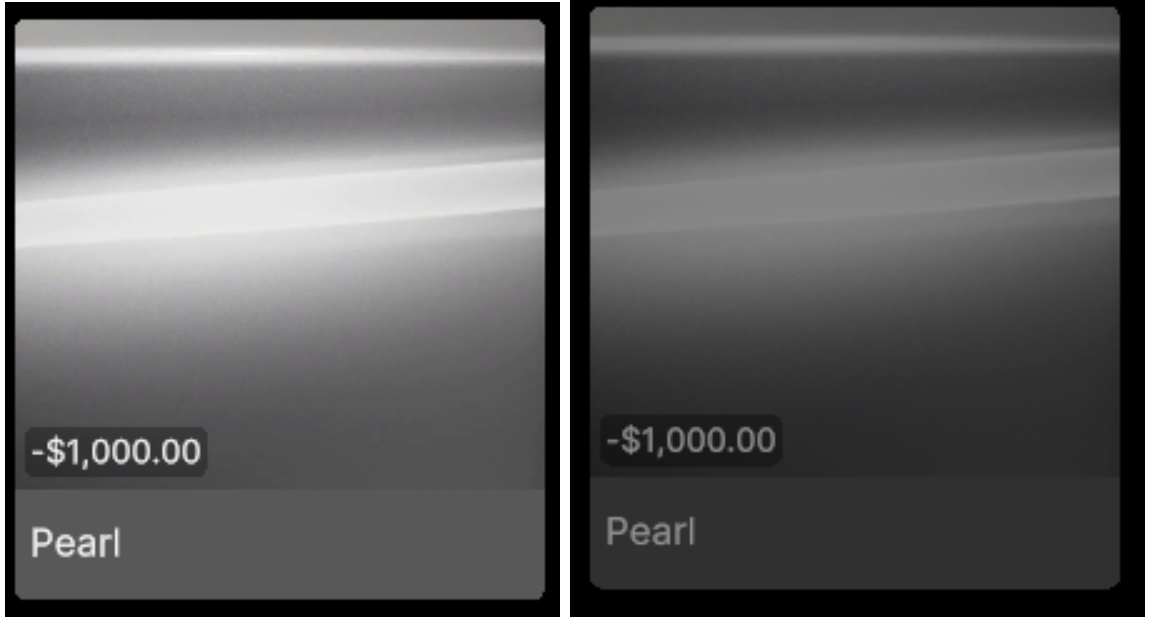
The variant is visible and users can select it in the UI. - Disabled
The variant appears in the UI, but it is grayed and users cannot select it in the UI.
- Hidden
The variant does not appear in the UI.
Environments and cameras
The UI gets the list of Environments and Cameras from the Environment Setup and Camera Setup tabs in the Unity Forma Editor interface. The Configurator window shows Environments and Cameras in your project, with the labels and thumbnails you specify for them there.
Make a Camera or Environment invisibile in the UI
You can make a Camera or Environment invisible in the runtime UI from the details editor for that object:
- From the Unity Forma Editor interface, select the Camera Setup or Environment Setup tab.
- Select the Camera or Environment you want to make invisibile.
- In the details editor for that object, deselect the Visible in Runtime List checkbox.

Context and price information
Context and price information for the StandardUI are created when the product data is imported to Unity Forma. You can create and edit the information after you import the product.
UI customization
The StandardUI supports limited customization. If you want to customize the UI extensively, use the UGUI Forma UI. You can find the different features that you can customize in the StandardUIVariables.uss stylesheet. After you add the StandardUI GameObject to your project, the stylesheet is automatically copied into the Assets/Configurator/StandardUI folder for you to edit.
Editing the stylesheet
You edit the .uss file using a text editor, such as Notepad++, Rider, or Visual Studio. Visual Studio has a Unity plugin that support autofill and shows options for differnt values, such as --title-font-style. To change features such as the UI or text color, you can edit the correct values in the stylesheet.
Important: You must not edit variable names.
All values that are measured in px must remain in px if you change them (unless the value is 0).
Troubleshooting the UI
Exceptions and missing components or scripts
Upgrading from 2021.1/2020.3 to 2021.2+ causes the Standard UI to show errors for exceptions and missing components. To resolve the problem, follow these steps:
- In the Unity Editor, on the Configurator GameObject, find the Configurator Settings component and deselect CreateRuntimeUI.
- Delete the StandardUI(Clone) GameObject from the scene.
- Delecte the Assets/Configurator/StandardUI folder from the project.
- Find the Configurator Settings component again and select the CreateRuntimeUI checkbox again.
The StandardUI Prefab regenerates and the problem resolves.
The StandardUI does not appear in the Configurator drop-down list in Unity 2021.1 and lower
Ensure that the UIToolkit Package is installed in your project.