Setting up Cameras
You can set up static Cameras in the Scene and then select the Camera views that consumers will see in your configurator.
To set up a Camera view, follow these steps:
In the Configurator window, select the Camera Setup tab.
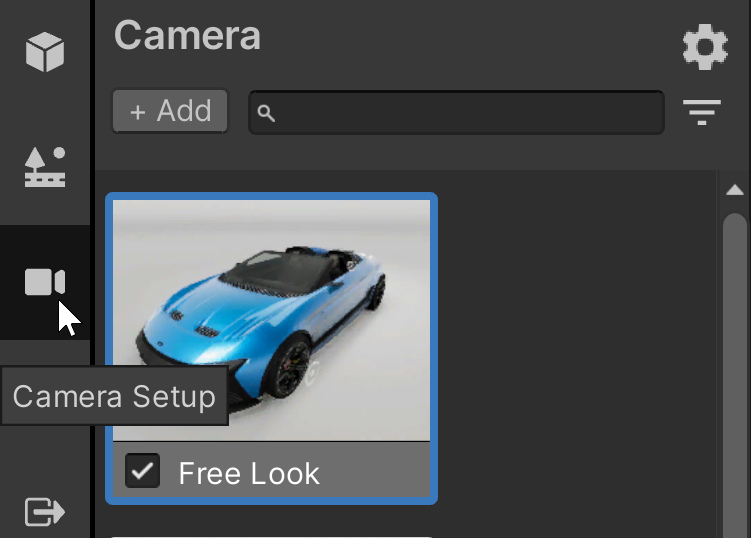
To add a new Camera View, select +Add. Settings for the new Camera View will appear. The new Camera View will inherit the position and angle of your active camera in the Scene view.
(Optional): In the Scene view, adjust the camera to the desired position and hit the Update Camera button.
<img src="images/forma-camera-update.png" width=500>Type a name for the new Camera View.
Use the drop-down box to specify whether the camera will apply to the entire Project, to the Product, or to only this Environment.
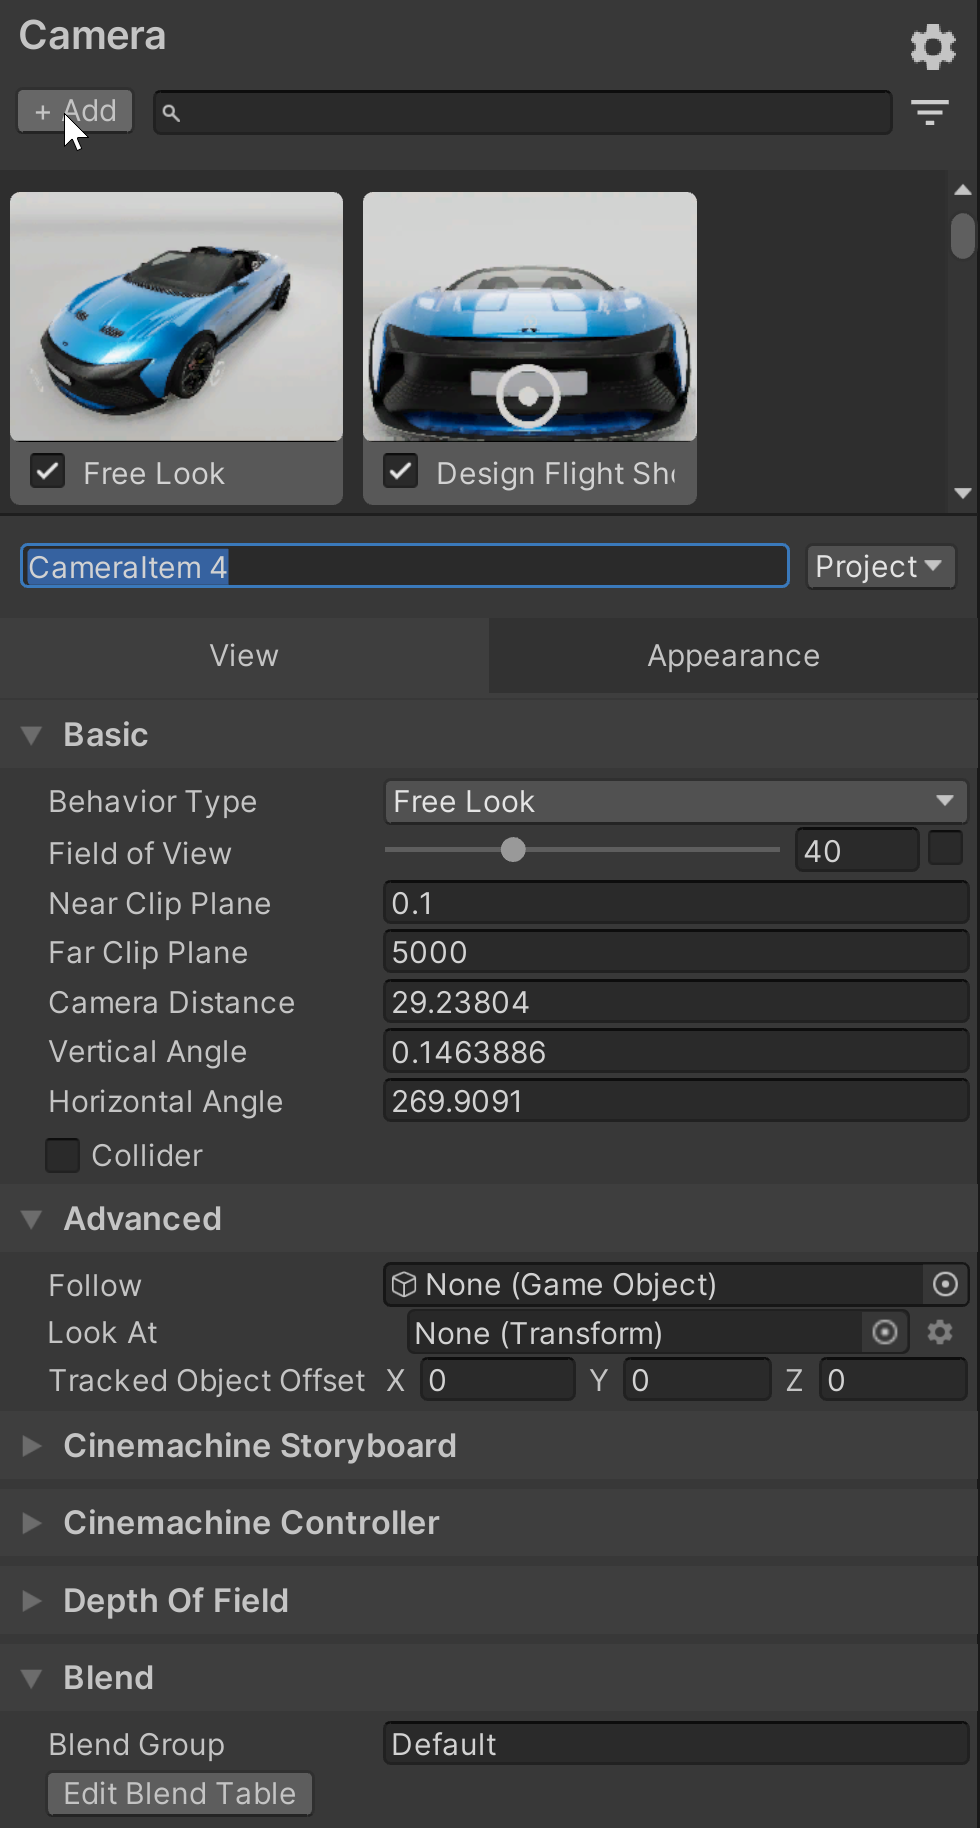
In the View tab, specify values for the following Basic properties:
- Behavior Type: the Camera can Free Look, Rotate, Walk, Orbit, Pan, or do nothing (None).
- Field of View
- Near Clip Pane
- Far Clip Pane
- Camera Distance
- Vertical Angle
- Horizontal Angle
- Collider
Select to give the Camera physics properties so that it can collide with other objects in the Environment instead of moving through them.
For cameras that orbit or are centered on an object, set the following Advanced Properties
- Follow
- Look At
- Tracked Object Offset
For animated cameras, set the Cinemachine Storyboard, the Cinemachine Controller, the Blend and the Animation properties. More details on these settings can be found in the Cinemachine package documentation
If post-processing effects in the Scene use physical properties, you can select the Appearance tab and set values for the following:
- Aperture
- Iso
- Shutter Speed
- Blade Count
- Curvature
- Barrel Clipping
- Anamorphism
- Lens Shift
In the Appearance tab, set the following Color Adjustment properties
- Contrast
- Saturation
In the Appearance tab, set the following Exposure properties:
- Compensation
In the Appearance tab, set the following Bloom properties:
- Intensity
- Scatter