Adding Scenes to use as Staging environments
Unity Forma has several tools that configurator creators can use to stage and reposition your product for consumers.
Before you can use Forma to position and stage a product, you need to add the Scenes that they will use as environments to your Unity Forma project.
You can add a Scenes to use as Unity Forma staging environments from the Editor.
Setting up a simple environment
To set up a new environment that configurator creators can use in the Unity Forma interface, follow these steps:
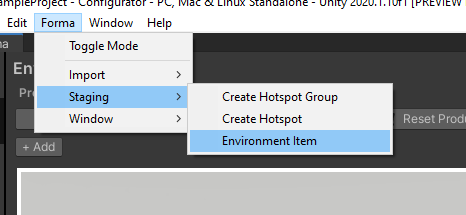
In the Unity Forma interface, select Forma > Staging > Environment Item.
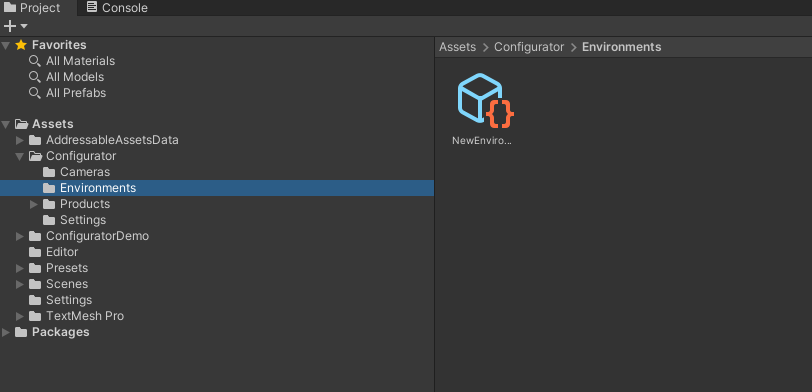
In the hierarchy, the system creates the asset under Assets / Configurator / Environments.
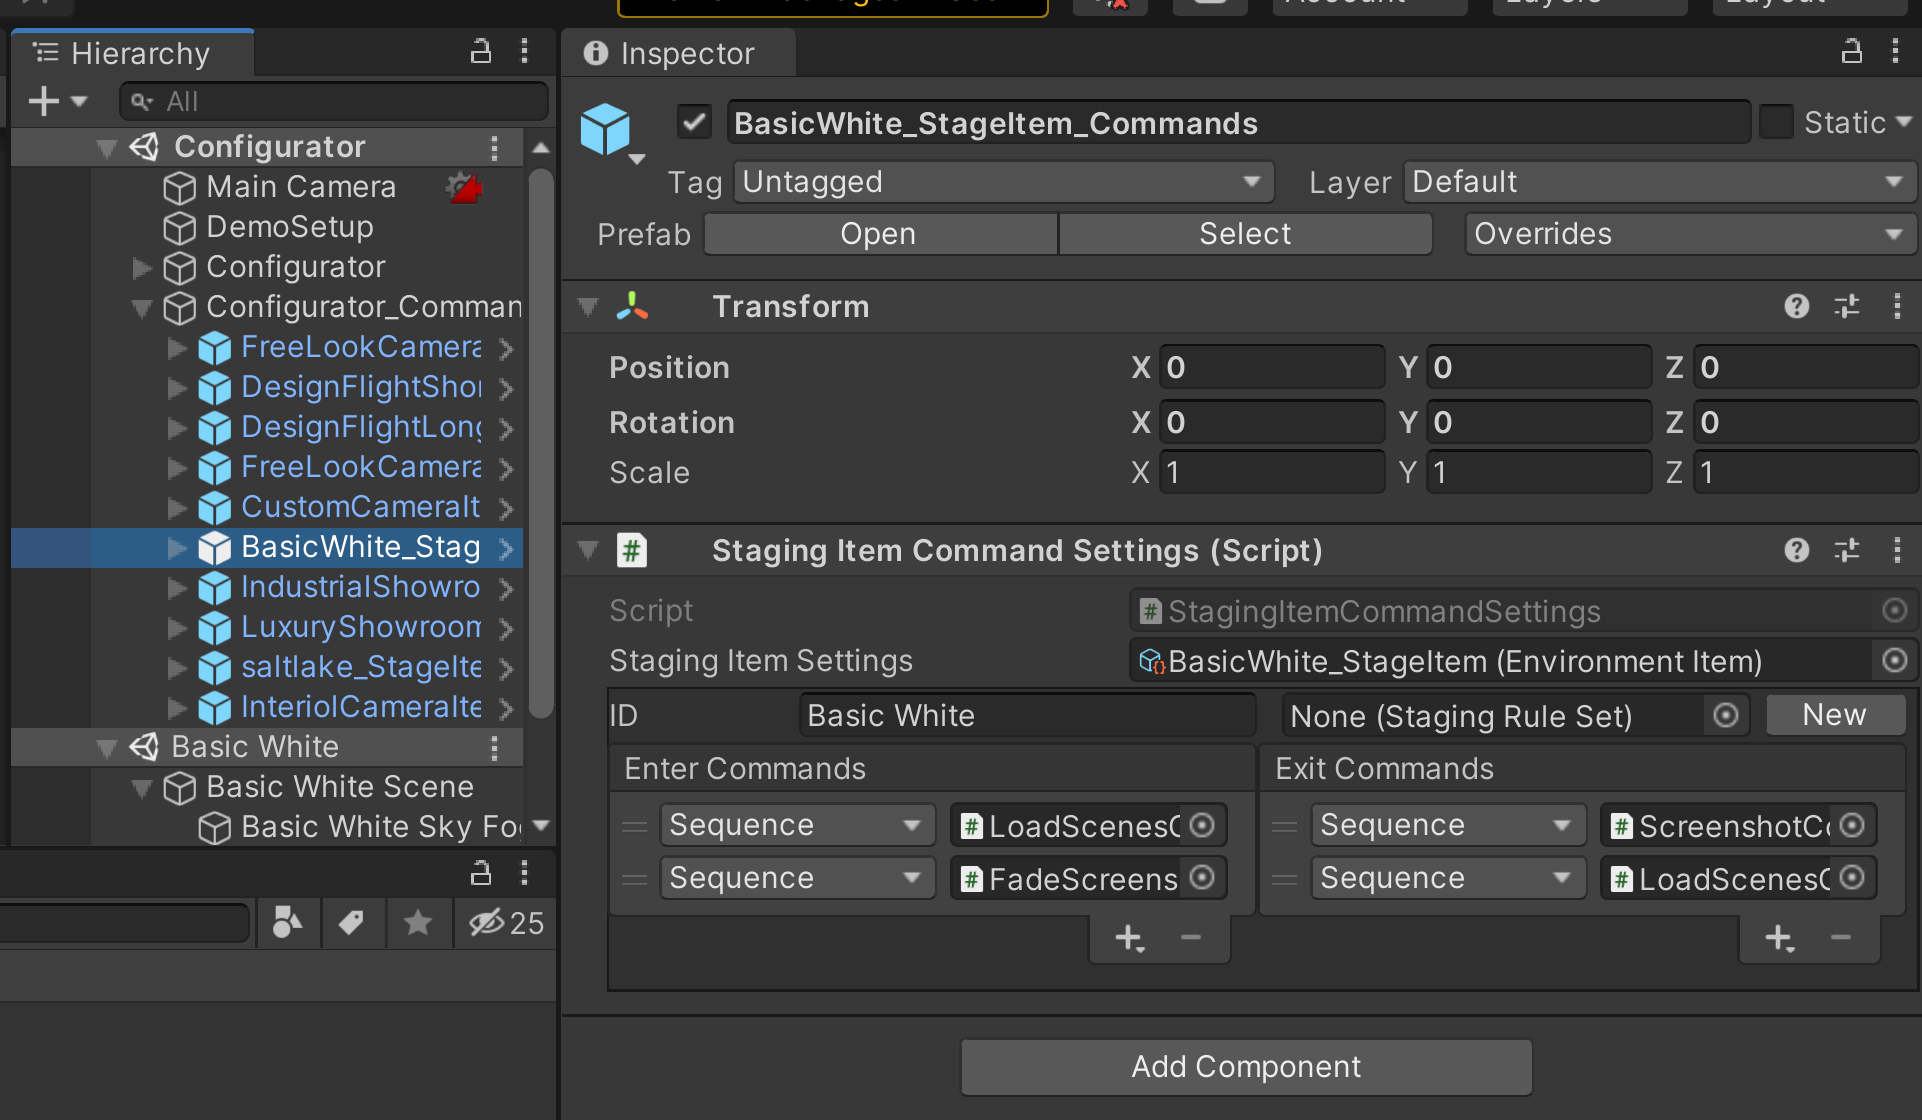
To load the Scene, the system uses the Commands Prefab. Create an empty GameObject in the hierarchy and then add a StagingItemCommandSettings.
- Under Enter Commands, add a LoadScenesCommandAsync and a FadeScreenshotCommand.
- Under Exit Commands, add a ScreenshotCommand and a LoadScenesCommandAsync.
The commands appear in the hierarchy, the commands appear as GameObjects.
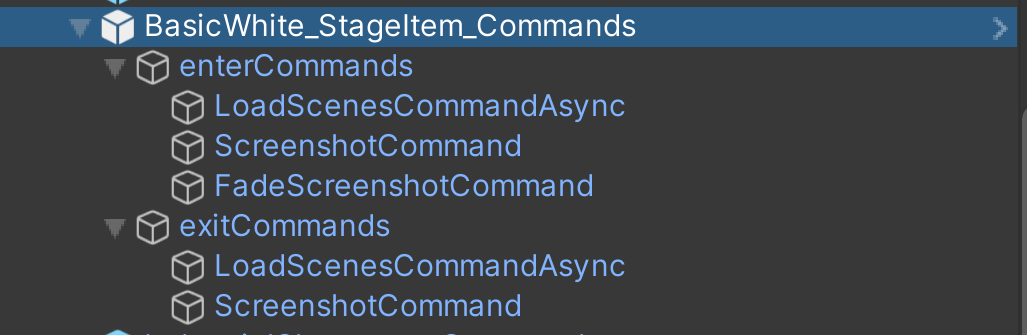
- Under enterCommands, select LoadScenesCommandAsync and drag the Scene that has the environment you want to load from the drag zone. Make sure that the Load option is enabled.
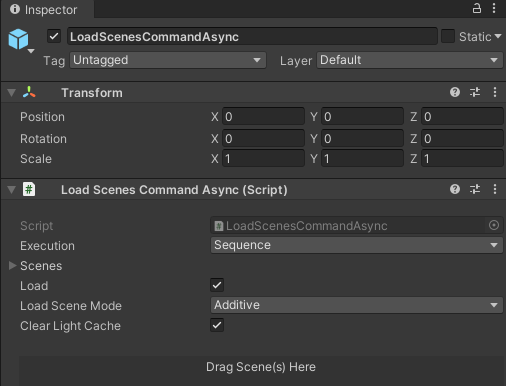
- Under exitCommands, select the LoadScenesCommandAsync and then select Populate from Enter Commands. Make sure that the Load option is disabled.
You can use the FadeScreenshot and Screenshot commands are intended to help the configurator transition between Scenes. - Drag and drop the root in the Project window to create a Prefab, and then delete it from the hierarchy.
- On the Prefab command GameObject from the Project window, link it to the environment item you created in the Staging Item Settings.
- On the environment item, link the Prefab command. You an also add a thumbnail and change the display name.
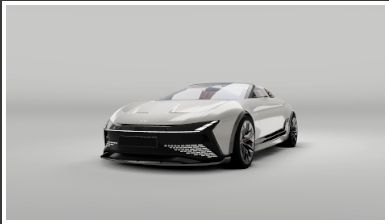
The Forma interface shows your product in the staging environment you added:
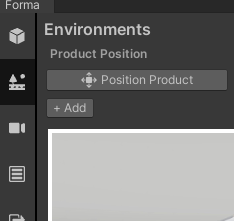
If the environment you added does not appear in the Environments tab automatically, select +Add to add it manually.
Staging tips
Use these features to improve the appearance of your product in the environments you add.
Setting up the splashscreen
When you setup the stage transition loading screen, you can set up the splashscreen that appears in your configurator. To set up the splashscreen, follow these steps:
- On the Configurator GameObject, scroll to find the Splashscreen Prefab.
- In the Assets tab, in the row for Splashscreen Prefab, select the Select GameObject button and then select the Splashscreen prefab.
The splashscreen appears when you open the exported configurator.
To modify the splashscreen, duplicate the Prefab and make the necessary modifications.
Setting up smooth transitions between environments
You can use the FadeScreenshotCommand and the ScreenshotCommand under the Environment Prefab commands.