Optimizing your configurator for different platforms
The user experience of your configurator can be different depending on the software and hardware platforms that a consumer uses to access your application. Unity Forma Profiles let you offer the best experience on each of the platforms you support. With Profiles, you can build applications using different combinations of Products and Environments and export configurators with higher or lower image quality.
You can create high and low resolution variations of the same Environment or Product to use for each platform.
Selecting the Environments or Stages that you can use in Profiles
You may have added several Stages or Environments to your project. To select a specific Environment to use in a Profile, it must be available in the Profile window.
To add an Environment or Stage that you want to use in Profiles, follow these steps:
- Select the Forma menu and then select Profile Settings.
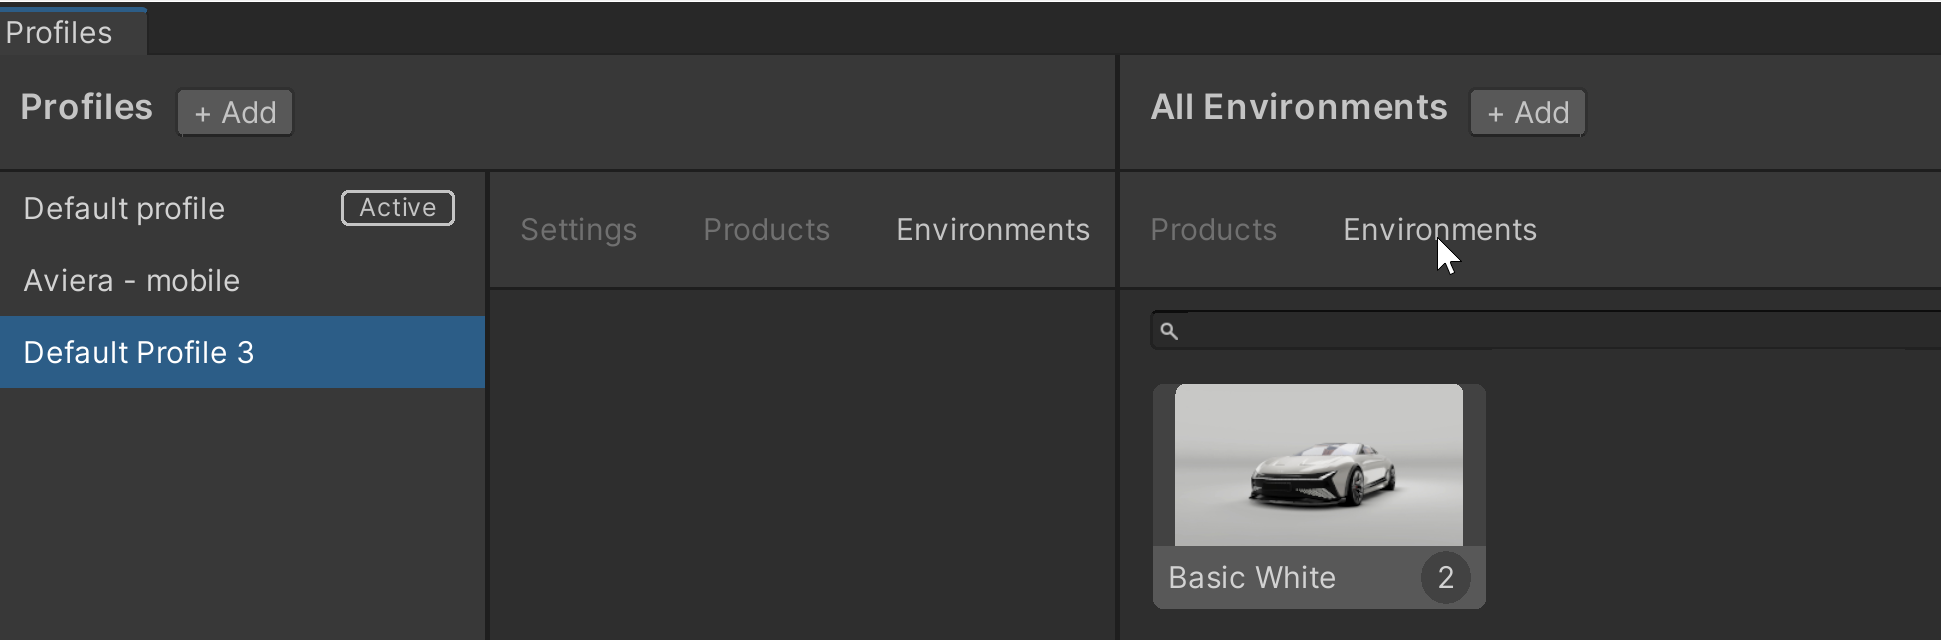
- In the right column of the window, select the Environments tab.
- Select the Add button and do one of the following:
- To add an environment using an existing Unity Scene as an Environment, select Add from Unity Scene and navigate to the correct asset.
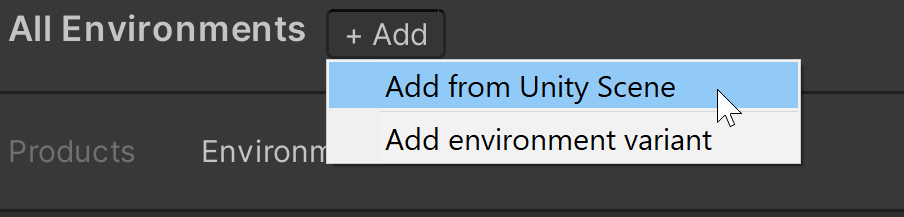
- To add an Environment that you already created in Forma using a Variant, select Add from Environment Variant and navigate to the correct asset.
- To add an environment using an existing Unity Scene as an Environment, select Add from Unity Scene and navigate to the correct asset.
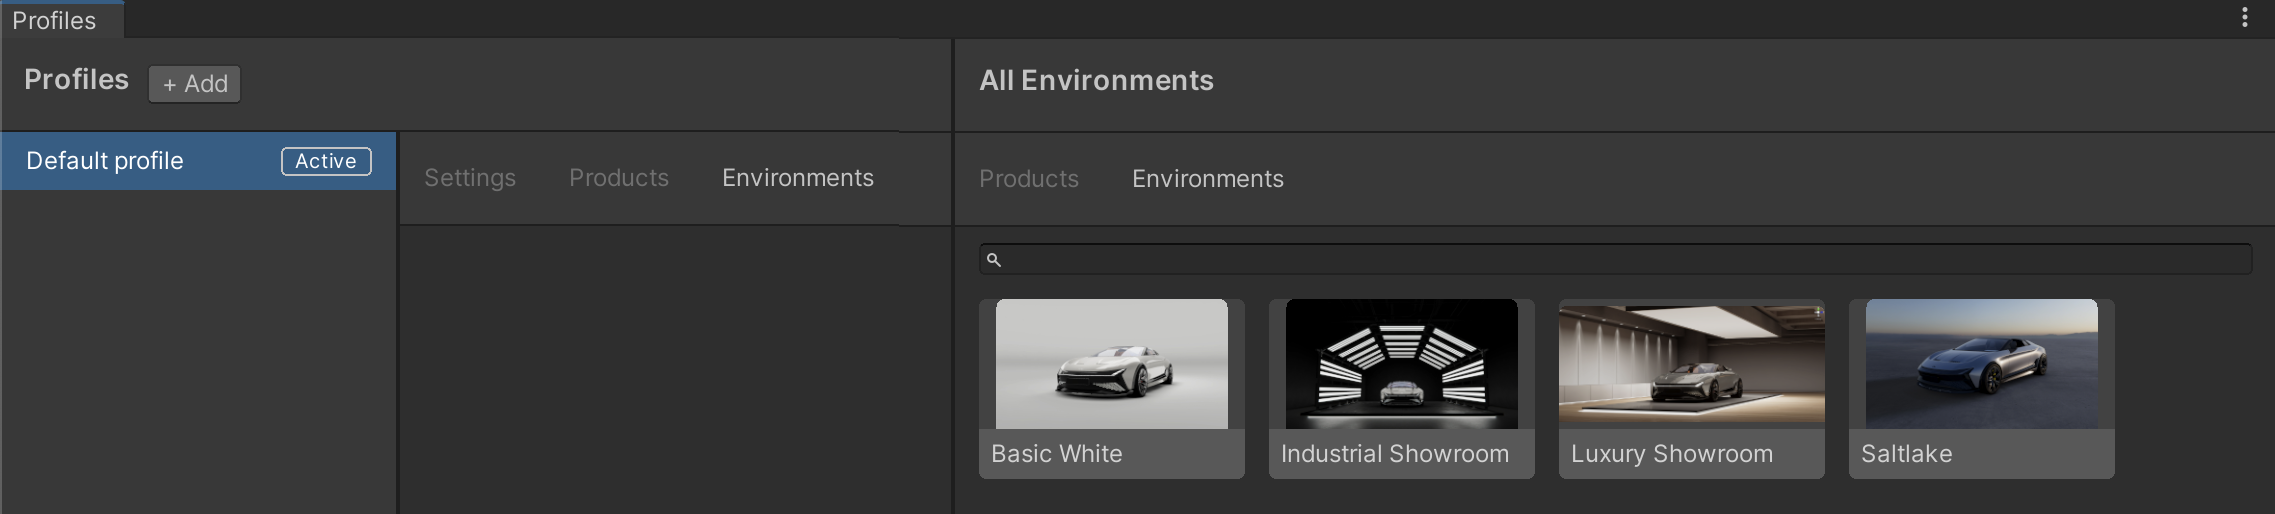
The new Environment appears in the list of All Environments that you can select from when you add a Profile.
Selecting the Products that you can use in Profiles
You may have several Products defined for your project. To select a specific Product to use in a Profile, you must make it available in the Profiles window.
To add a Product that you want to use in Profiles, follow these steps:
- Select the Forma menu and then select Profile Settings.
- In the right column of the window, select the Products tab.
- Select the Add button and do one of the following:
- To add a Product from a file in this project, select Add from File and then select the correct file.
- To add a Product from an existing Unity project, select Add from Unity Project and then select the correct asset.
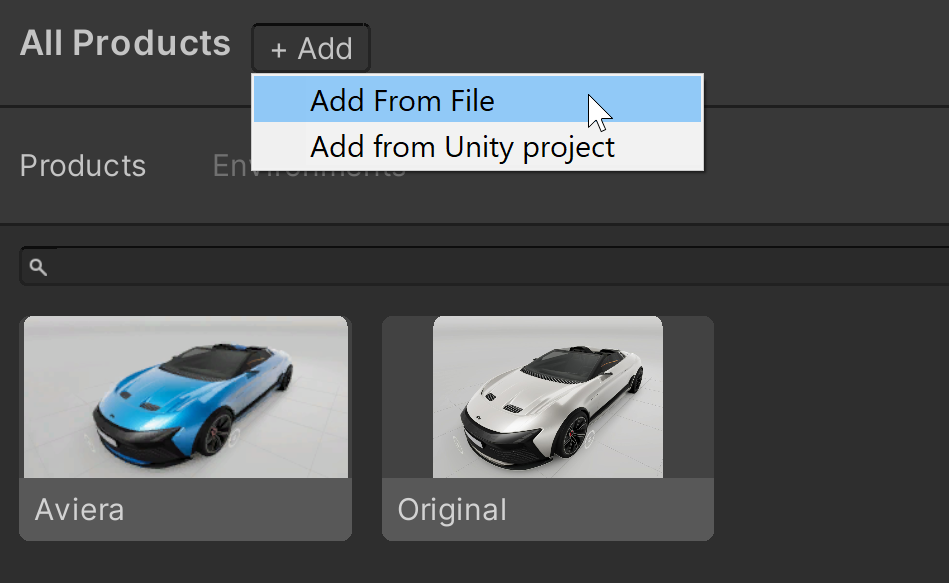
The new Product appears in the list of All Products that you can select from when you add a Profile.
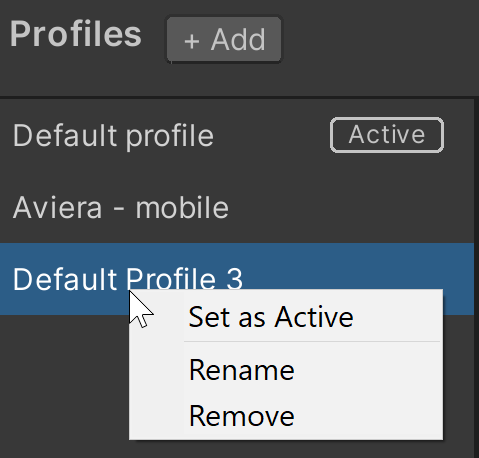
Adding a new Profile
To add a new profile, follow these steps:
- Select the Forma menu and then select Profile Settings.
- In the Profiles window, select Add.
In the list of Profiles, a new Profile appears with a default name that you can change.
- To select a quality level for this Profile, in the Quality Level drop-down, select from the available quality levels configured for your project.
Note: To define the different quality levels available for your project, select the Forma menu and then select Switch Mode. In the Unity Editor, follow instructions to customize Quality levels. Only Quality levels that you define for your project will appear in the drop-down list when you customize your Profile. - To specify which Products will appear in any applications you export using this Profile, select the Products tab and then drag and drop the correct Products from the All Products column to the list of selected Products for this Profile.
- To specify which Stages or Environments will appear in any applications you export using this Profile, select the Environments tab and then drag and drop the correct Environments from the All Environments column to the list of selected Environments for this Profile.
- Close the window and test your Profile by selecting it in a Build target for export.