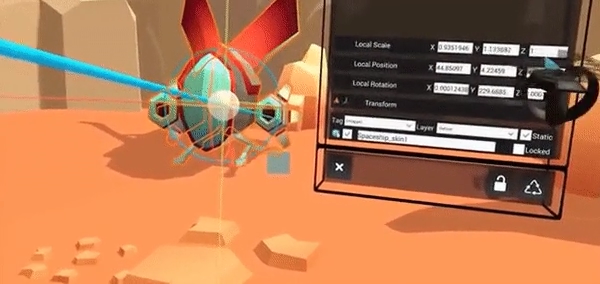
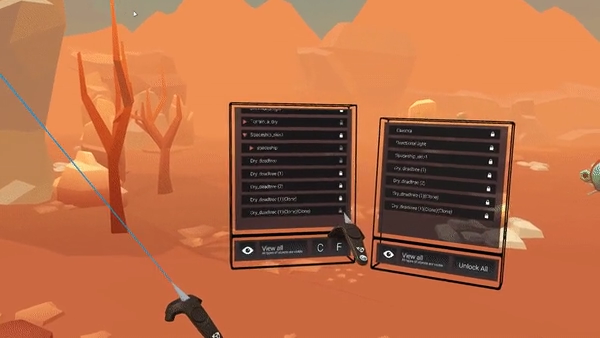
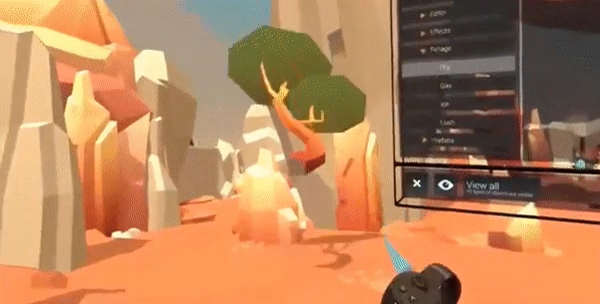
About EditorXR
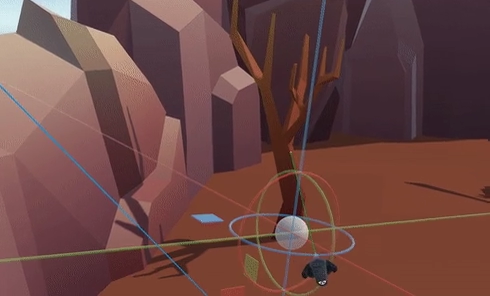
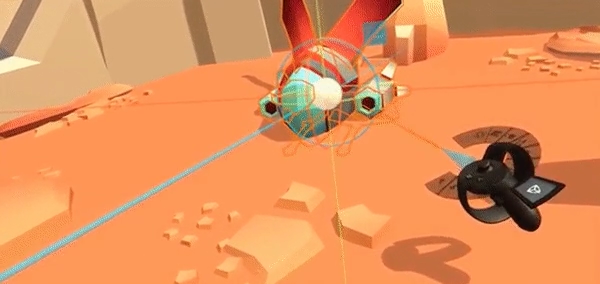
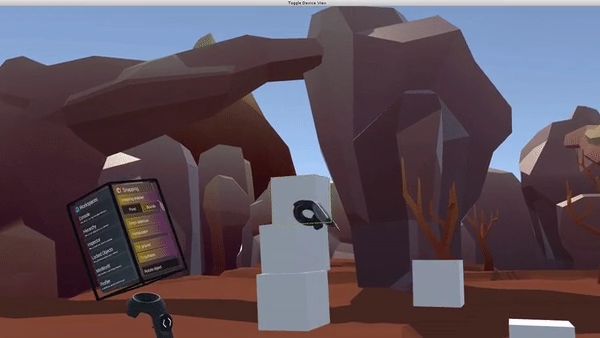
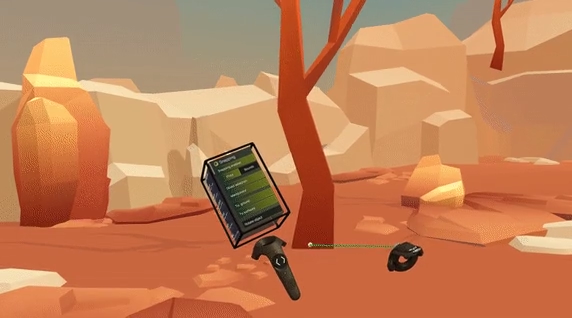
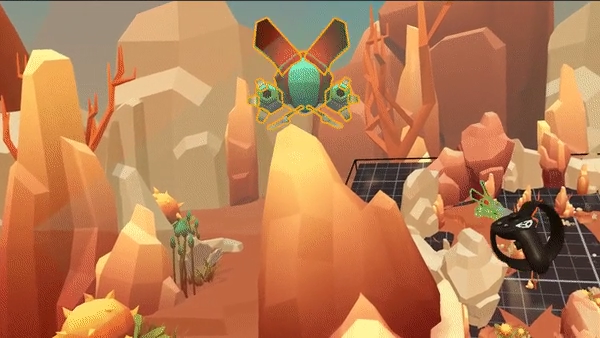
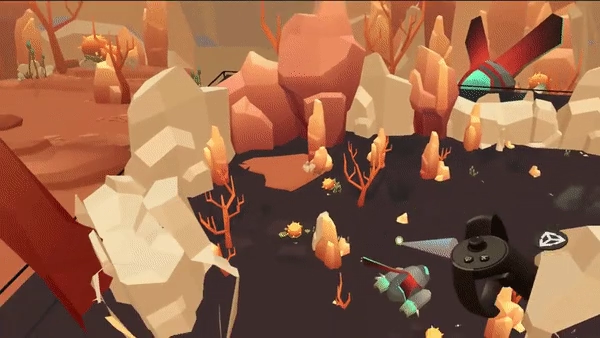
Use the EditorXR package to create content directly in extended reality. EditorXR allows you to see things from the user’s perspective while accessing the full capabilities of the Unity Editor. EditorXR Runtime lets you build tools into your experiences and bring authoring workflows to AR-capable smartphones and beyond.
Preview package
This package is available as a preview, so it is not ready for production use. The features and documentation in this package might change before it is verified for release.
Installation
To install this package, follow the instructions in the Package Manager documentation.
In addition, you need to to set up your default VR platform.
- First open Edit > Project Settings > Player.
- Be sure that Virtual Reality Supported is checked on, and if you want to use Oculus Rift + Touches, then Oculus must come first, before OpenVR.
Requirements
This version of EditorXR is compatible with the following versions of the Unity Editor:
- 2019.1.14f1 and later (recommended)
Known limitations
EditorXR version 0.4.10-preview includes the following known limitations:
- Undo/redo do not record all change history yet in the Radial Menu
- Toggles from the main menu are not yet supported (snap, locomotion type, etc).
- Other EditorXR menus and workspaces still draw above the Spatial Menu.
- The MiniWorld doesn’t show all types of objects or lighting for performance reasons.
- You cannot grab small objects in the MiniWorld easily. If you can’t grab something, try zooming in.
- The MiniWorld currently does not work in Single Pass.
- We need to tweak where objects instantiate in the Project Workspace.
- The alphanumeric keyboard has not been enabled yet in the Inspector.
- Performance improvements are an ongoing priority.
- Console + profiler can’t be resized.
- Single Pass Stereo + EditorXR is currently non-functional.
- Some actions can end up silently deleting the object to which you attach the EditingContextManager. For now, make sure it is attached to an empty object in your scene that is easy to recover.
- Some 3rd party image-effects can cause Unity to crash when performing the image-effect copy operation.
- Some copied camera settings will be overridden depending on the target platform.
Helpful links
If you are new to EditorXR, or have a question after reading the documentation, you can:
- Join our support forum.
- Follow us on Twitter.
Using EditorXR
To use EditorXR, go to Windows > EditorXR (or press Ctrl-E on your keyboard), then put on your headset. You might need to click the button Toggle Device View to have it show correctly in the headset.
EditorXR Controller Guide.
- Vive Controller Guide.
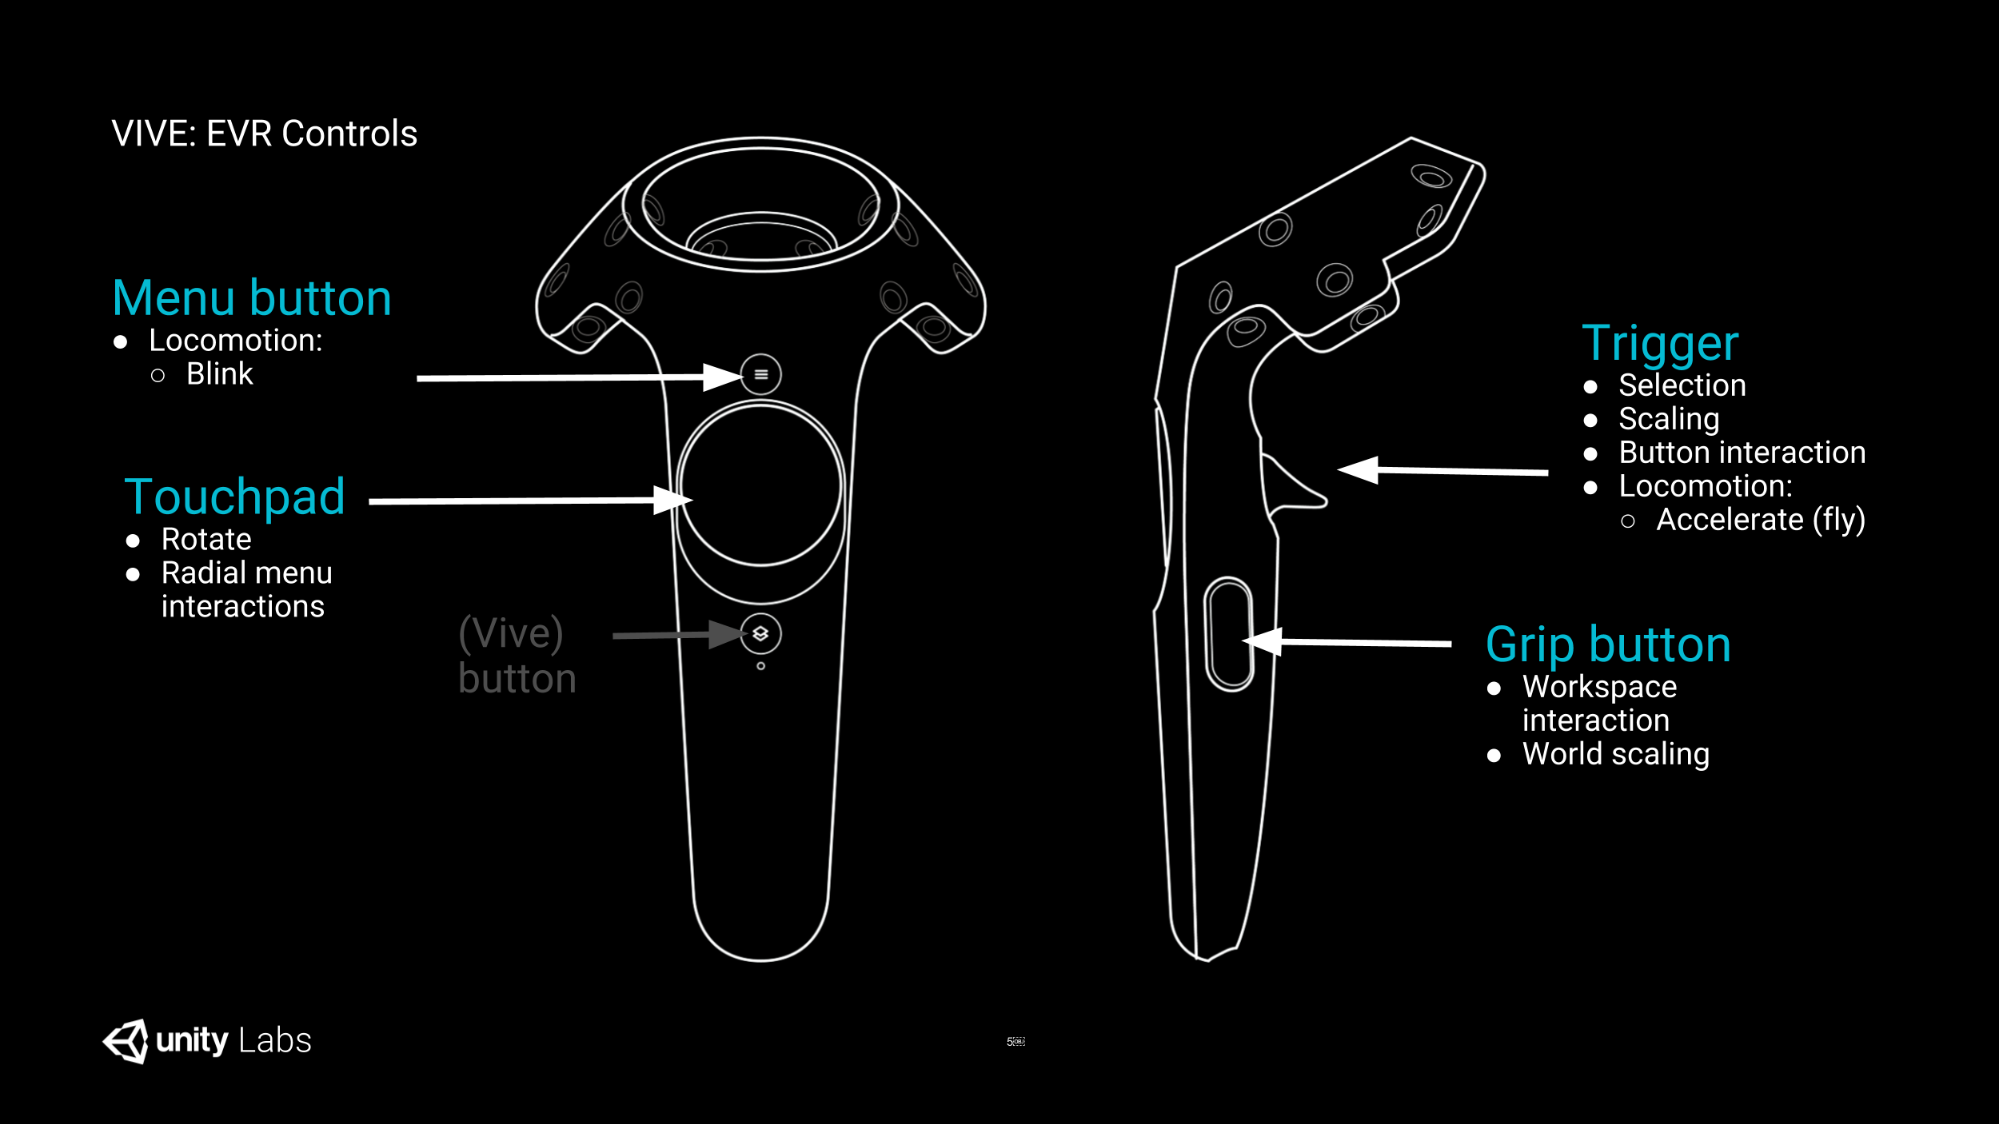
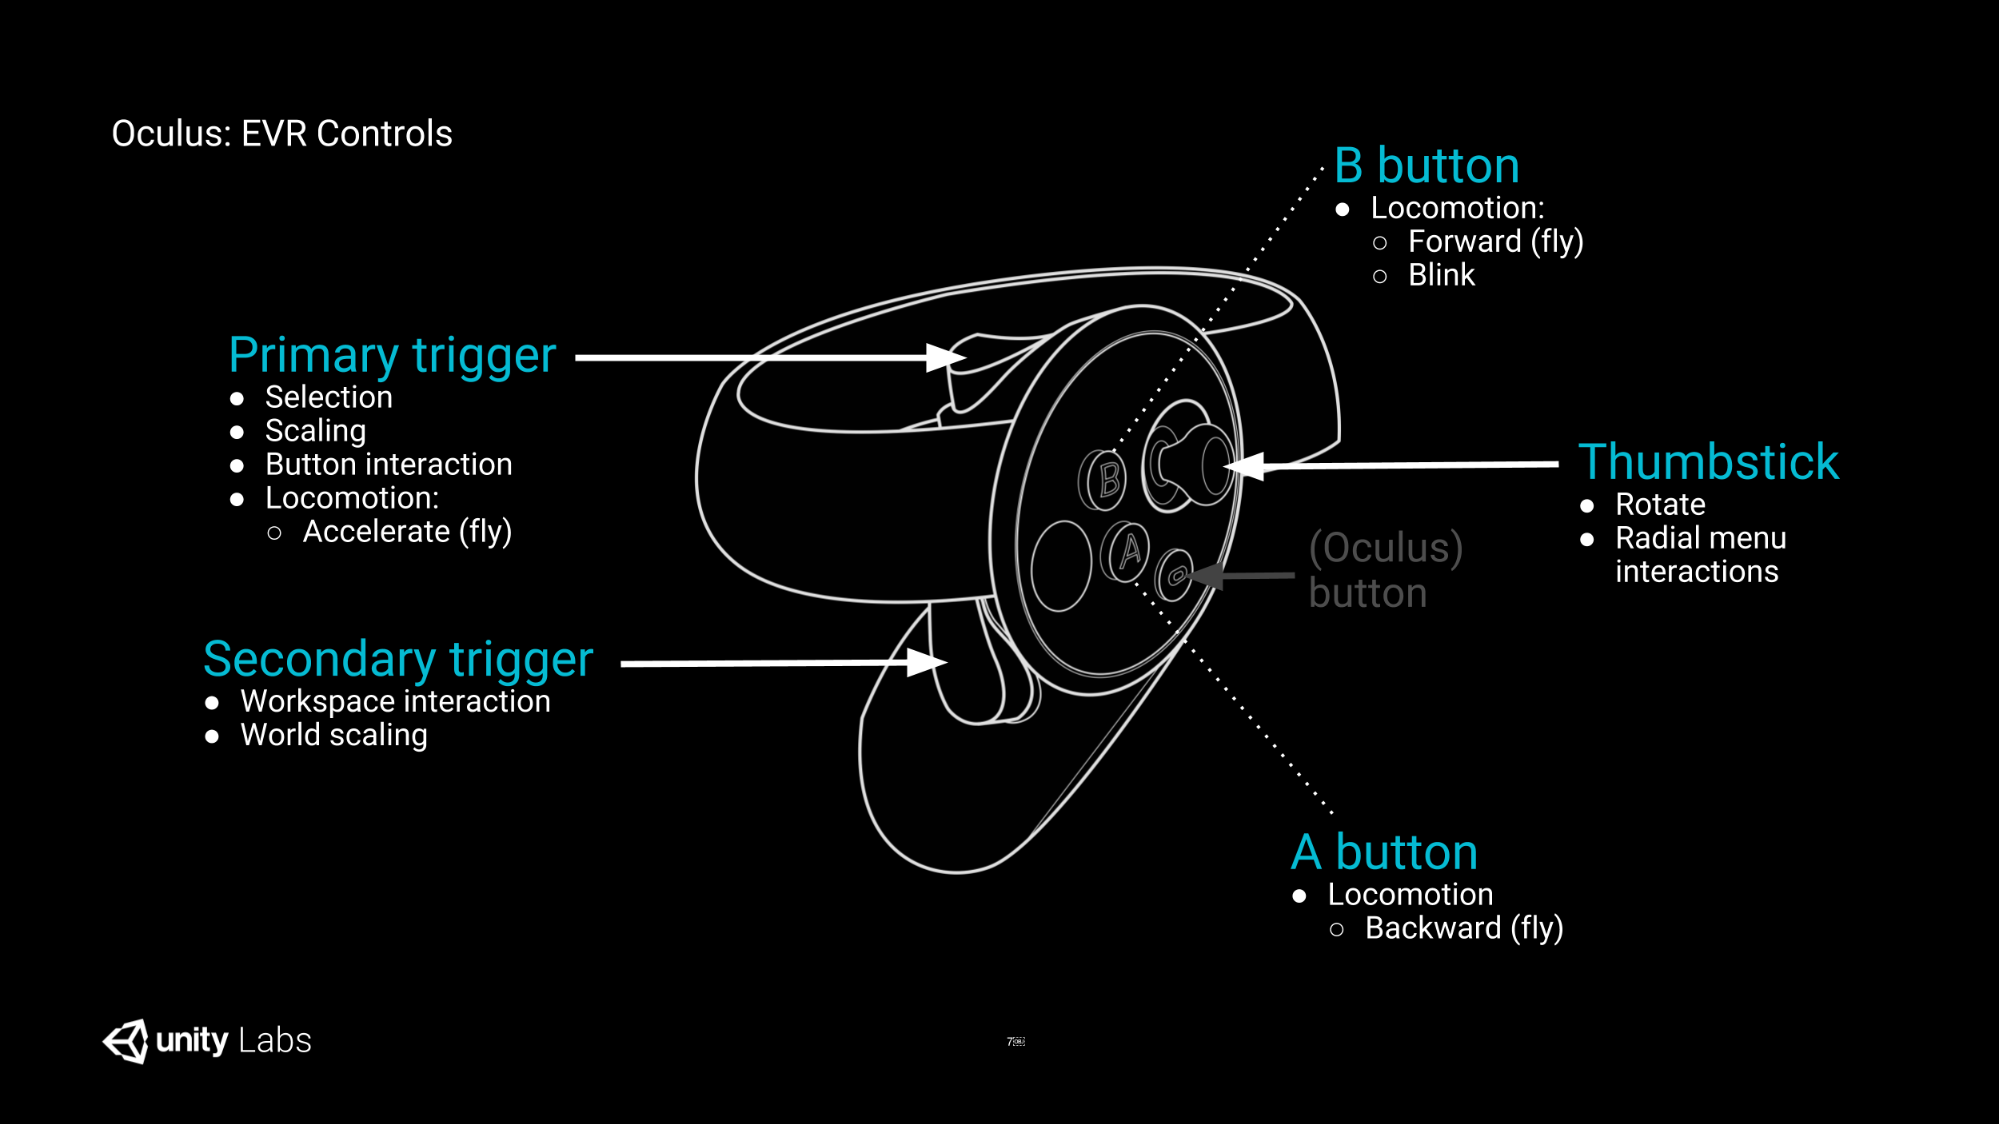
- Oculus Controller Guide.
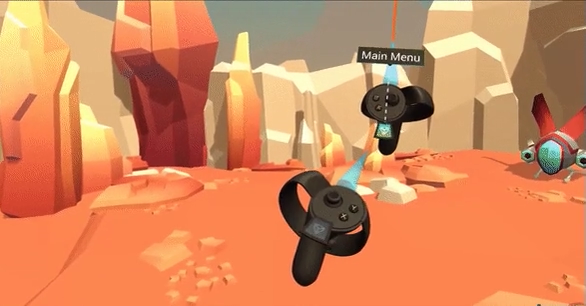
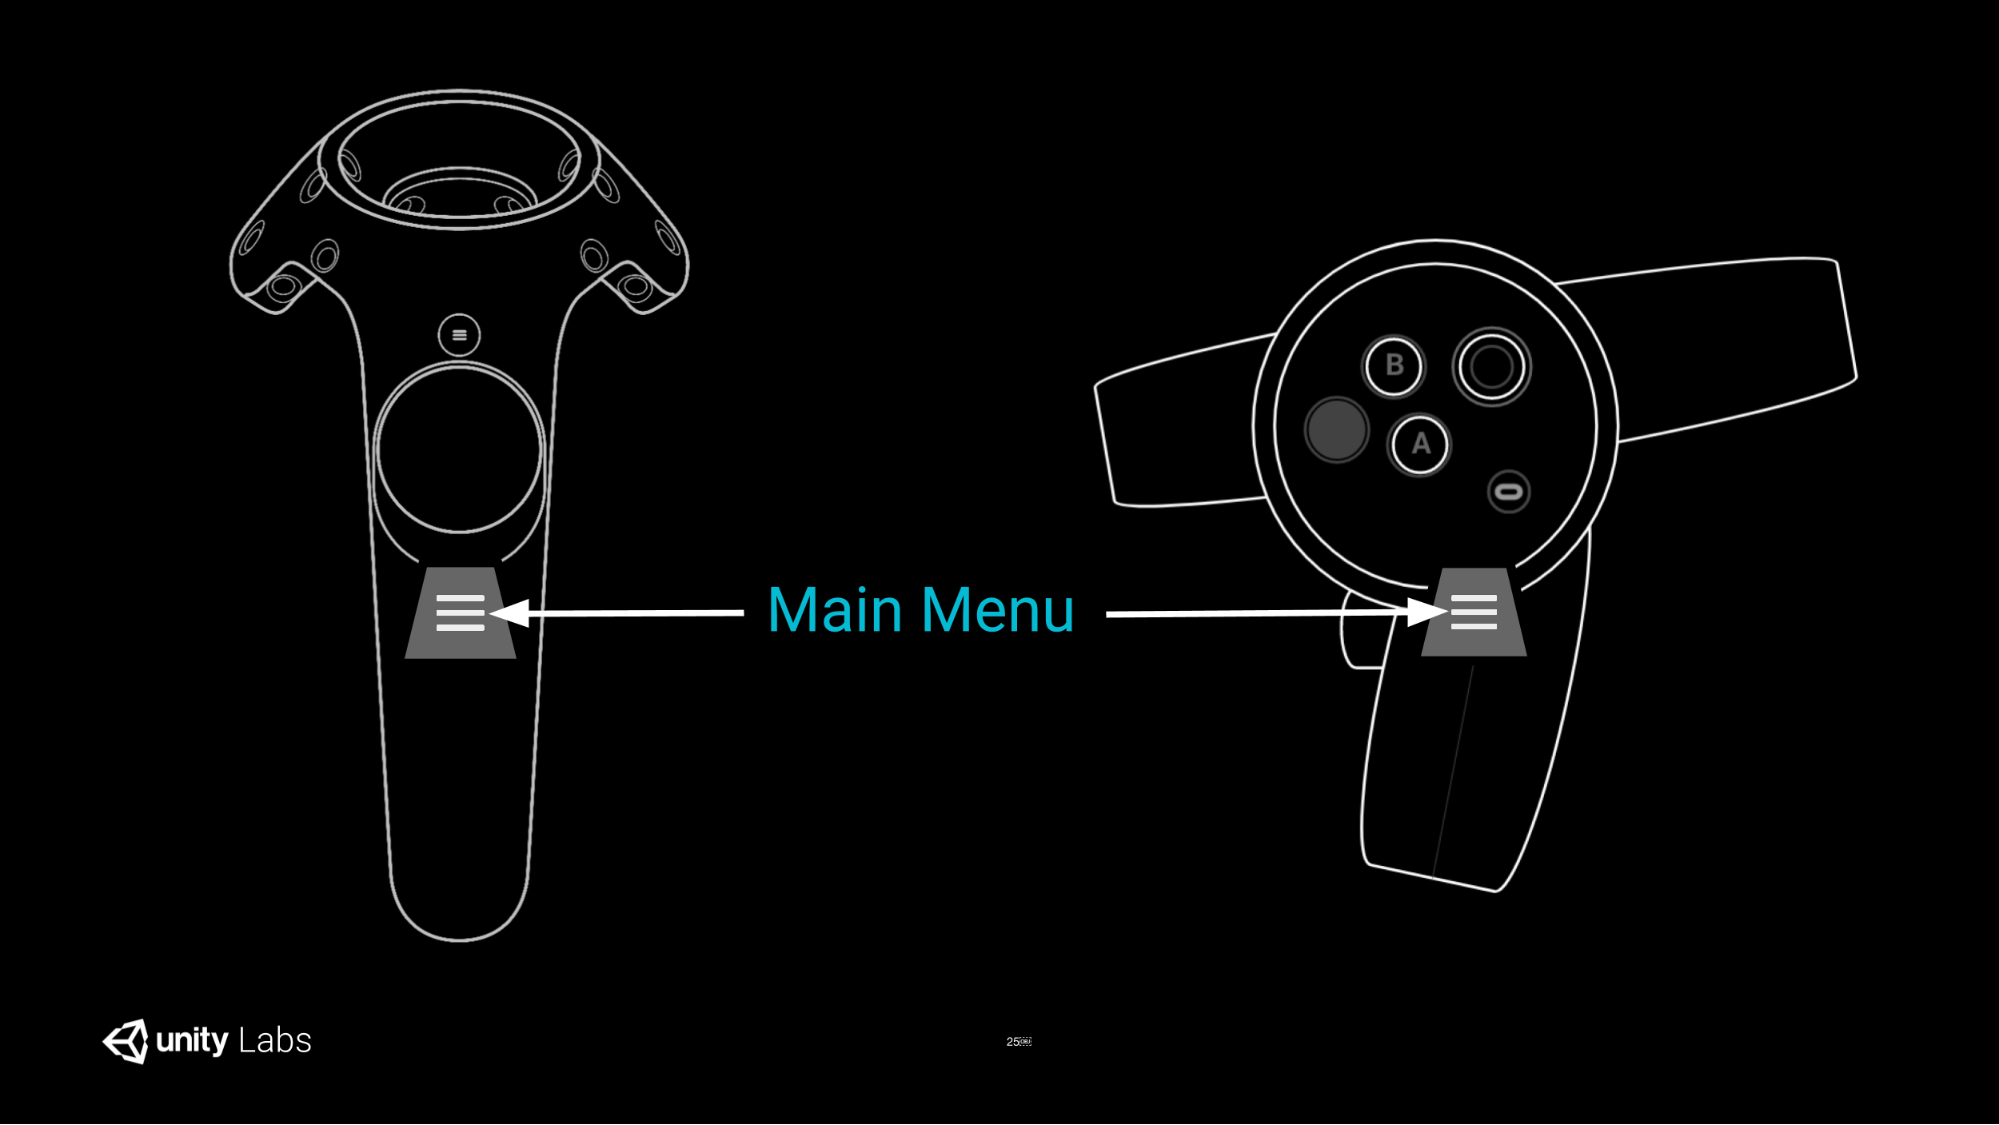
Main Menu.
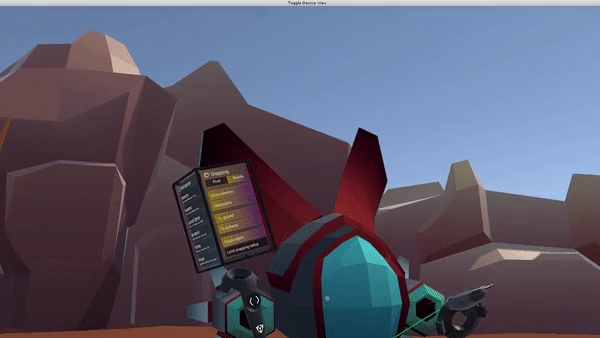
- The Main Menu is accessed by selecting the ubiquitous Hamburger button at the bottom of each controller. To select the button, point at it with the controller in your other hand, and pull the trigger. This opens up a menu for the hand you are selecting with. Please note, some tools are single-handed.
- The Main Menu is the 3D equivalent of the Unity menu bar: it allows you to access Tools, Workspaces, Settings, etc. in EditorXR.
- To open the Main Menu on either hand, activate the Unity button with the ray from the other hand by pulling on the primary trigger.
- Close the menu the same way: click the Hamburger button with the ray from the other hand.
- Swipe your thumb across the thumbpad (Vive) or flick the joystick (Touch) to rotate the menus on the hand that has the menu.
- Scroll a window by pointing at it with the ray and using the thumbpad (Vive) or joystick (Touch) while over the menu.
- Some menu buttons can open sub-menus (e.g. snapping settings). Click on the title text to navigate back to the parent menu.
Pinned Toolbar.
- The last tool you selected for a specific hand displays below the Unity button on your controller. If you have a tool active, navigate to the toolbar; here, you can hover over to the tool with the Selection Cone and push the [x] button to close it.
Radial Menu.
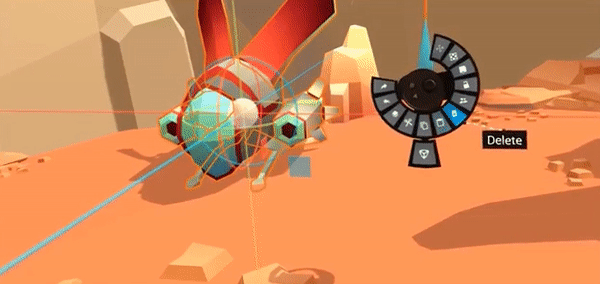
The radial menu appears when objects are selected, or certain actions can be taken. It is the equivalent of a 2D contextual menu.
The radial menu hides when there is no object selected, so to get rid of it you would deselect by pointing the ray over empty space and pulling the trigger.
Available actions in order from top to bottom with the latest version of EditorXR:
- Redo
- Clone
- Cut
- Copy
- Paste
- Delete
- Select Parent (move up hierarchy)
- Lock / Unlock
- Change Pivot (Center vs. Origin)
- Change Rotation Pivot (Local vs. Global) - The radial menu contents change depending on what you have selected and what actions are available. The illustration here shows an example of two new buttons being added to the menu.
- The radial menu is selectable in two ways: by using the thumb pad or joystick, or by selecting with the ray on the other hand.
- When an item is locked, hover over the object for a few seconds until the radial menu comes back up and then select the unlock button. You can select and unlock objects using the Locked Objects workspace.
Spatial Menu.
- One-handed menu control that is accessible independent of the user's viewpoint, or controller visibility.
- The Spatial Menu allows certain actions to be performed independent of the user’s viewpoint, without needing to utilize any of the other controller/hand-bound menus. This Spatial Menu will allow you access most tools, workspaces, and actions that EditorXR provides. The Spatial Menu was designed to obscure any content that would be in the user’s FOV while interacting with it.
- The Spatial Menu allows for multiple forms of input to drive it. The two core means of input that drive the Spatial Menu at this time are ray-based interaction, and thumbstick/trackpad based input.The Spatial Menu was designed to provide a foundation that can be extended to support gesture and other forms of input in the future.
- It is not necessary for the controller to be visible when opening & interacting with the Spatial Menu if using the thumbstick/trackpad form of input. Look anywhere, activate the menu, selection the menu element you’d like, without needing to move your hand or head.
- Means of interaction:
- Ray-based interaction:
- A controller/proxy ray can be used to aim and select items in the Spatial Menu. - Oculus Touch specific interaction:
- Hold “Up/Away” on the analog thumbstick to display the Spatial Menu.
- In order to highlight elements in the Spatial Menu do the following: while not releasing the thumbstick after holding up/away on the thumbstick, rotate the thumbstick in a circular manner in either direction. - Vive specific interaction:
- Tap and hold at the top of the trackpad to display the Spatial Menu. Do not click the trackpad.
- In order to highlight elements in the Spatial Menu do the following: while not releasing the trackpad after tapping and holding at the top of the trackpad, scrub the outer edges of the trackpad in a circular manner in either direction. - Common Interaction:
- Trigger will confirm the selection of the highlighted item.
- Grip will return to a previous Spatial Menu level, if the user has drilled down to a sub menu beyond the top-level of the Spatial Menu.
- One-handed menu control that is accessible independent of the user's viewpoint, or controller visibility.
Quick Tool Swap.
- If you have more than one tool added to one of your hands/controllers, you can quickly swap between your two most recently used tools by performing the following action:
- Hold the grip button, then quickly tap trigger, then again quickly release both buttons. If this action is performed in a second or less, your current tools will be swapped for the previously used tool on that hand/controller/proxy.
Locomotion.
Blink Locomotion
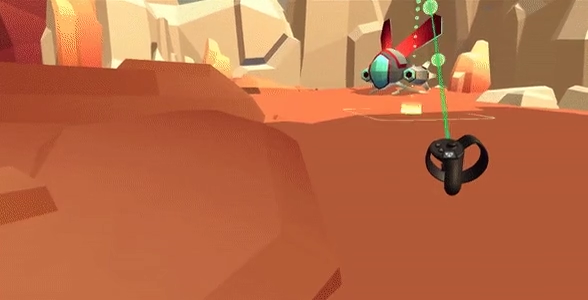
Blink locomotion lets you quickly move around large spaces by pointing an arc where you want to go with the trigger. To enable Blink locomotion, navigate to the ‘Settings’ pane of the Main Menu, and under the Locomotion Settings, ensure that ‘Blink’ is enabled. To blink, use the Menu button on Vive, or the B button on Rift. On release, you’re zoomed to the new position. You can cancel blink locomotion by pointing the arc up.
Fly Locomotion
To enable Fly locomotion, navigate to the ‘Settings’ pane of the Main Menu, and under the Locomotion Settings, ensure that ‘Fly’ is enabled. To fly, use the Menu button on Vive, or the B button on Rift; (with button pressed) to accelerate your flight, press the trigger.
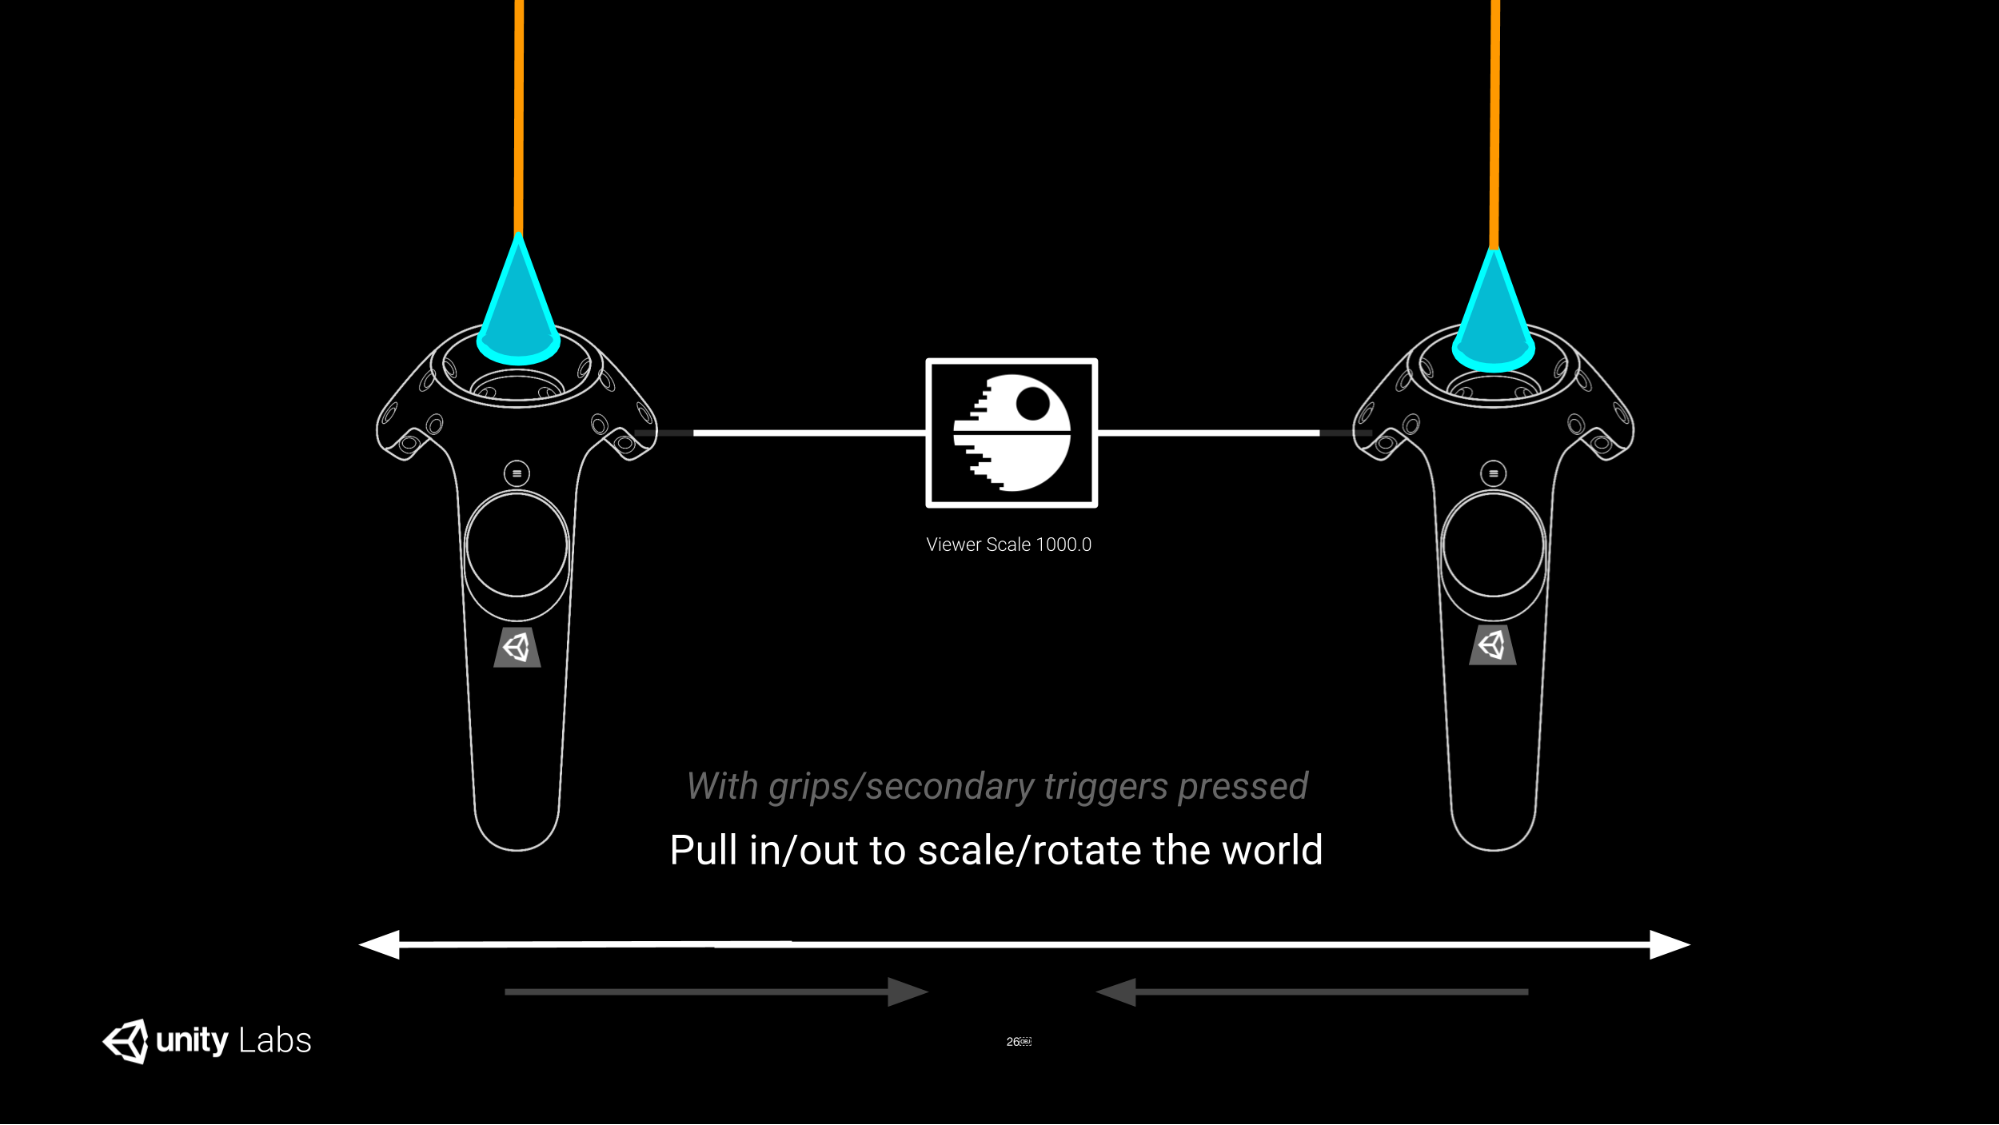
Re-Scaling the World.
Selection
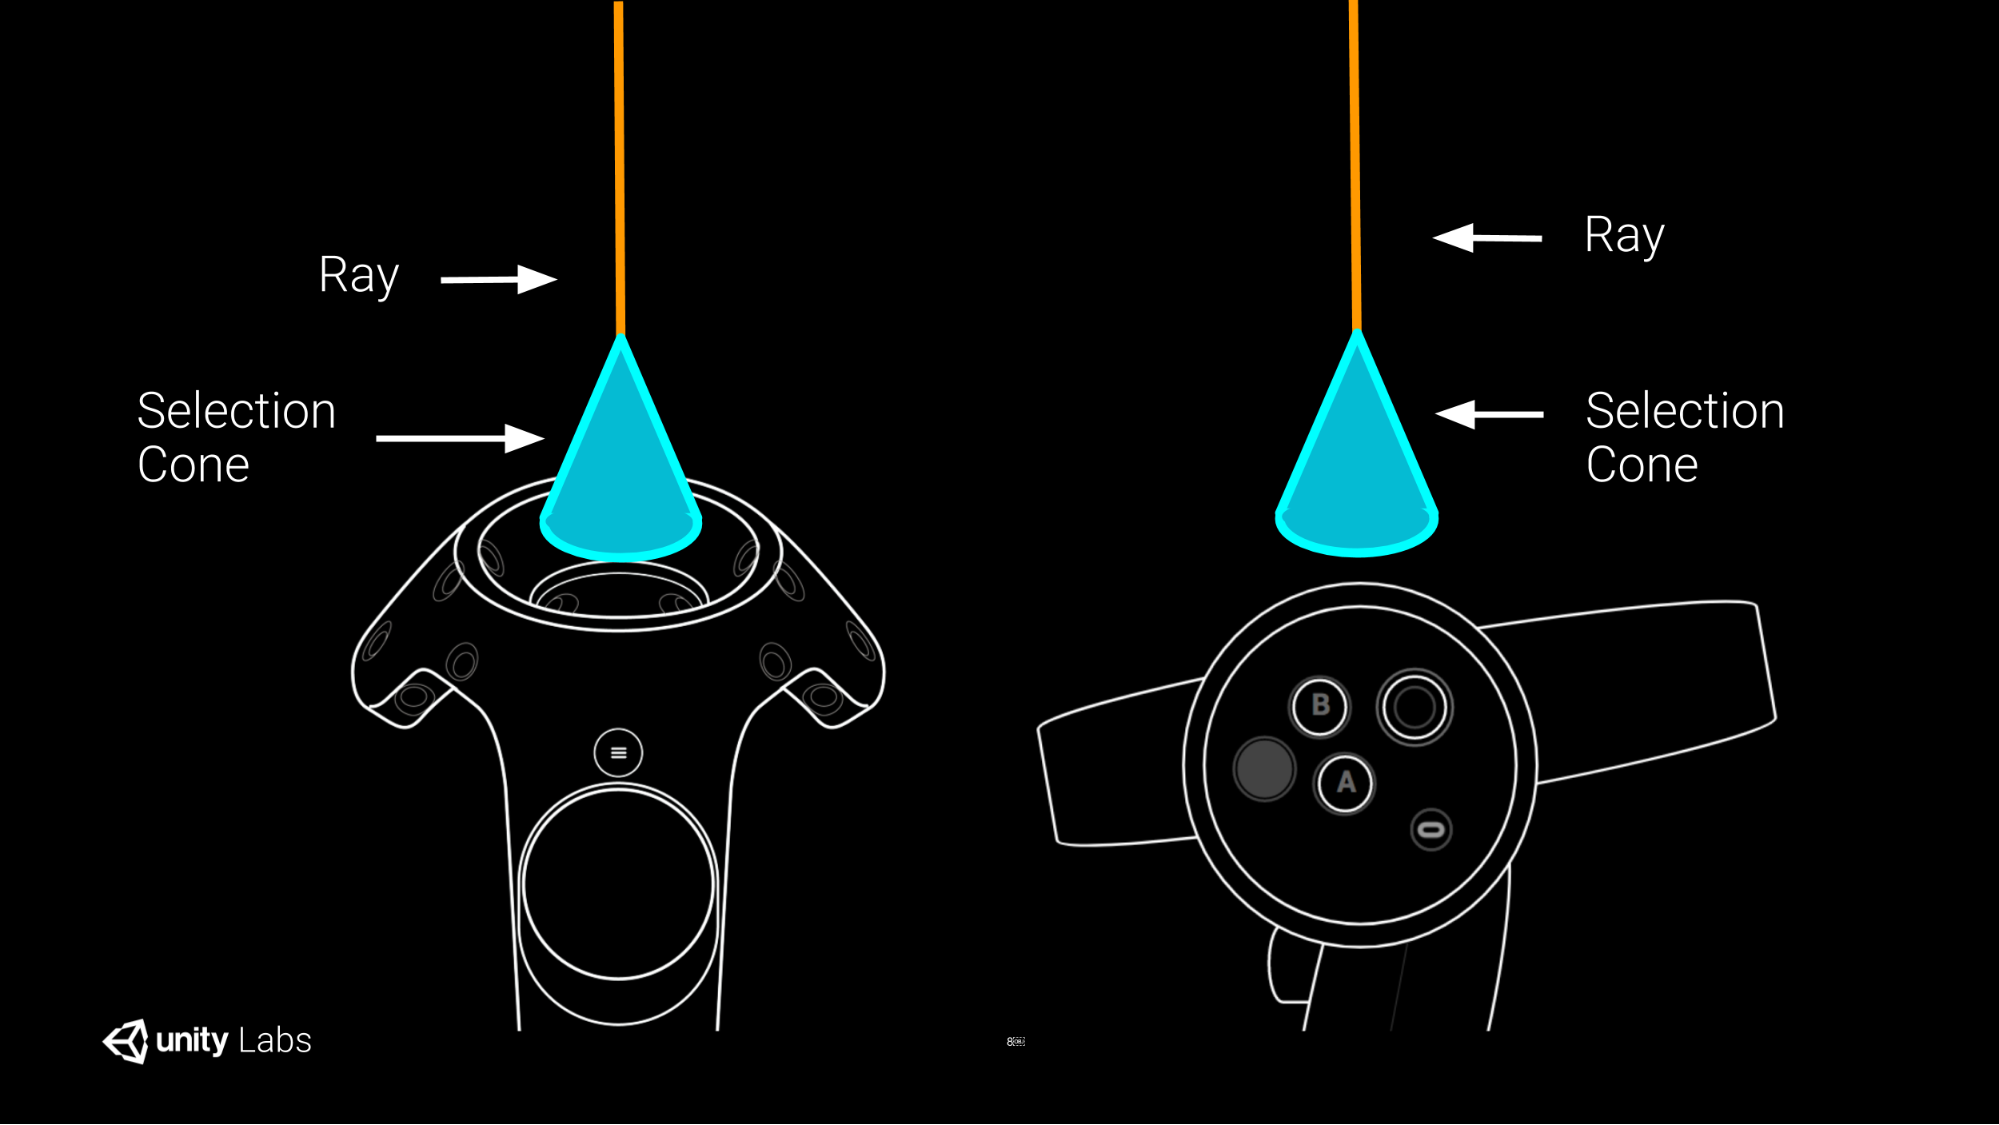
- There are two kinds of selection: direct selection and ray selection.
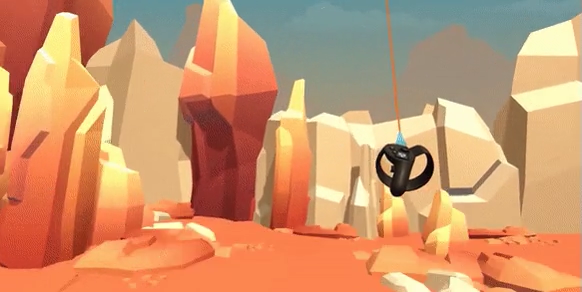
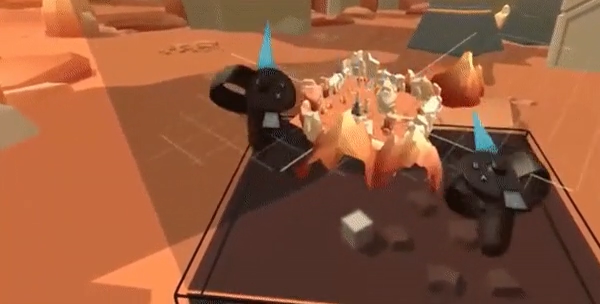
- Direct selection allows you to grab any object within arm’s reach. Dip the blue selection cone at the end of your controller into an object for direct selection and pull the primary trigger (usually under your index finger).
- Ray selection allows you to move objects further than arm’s distance away. When objects are selected with the ray, the Manipulator Gizmo comes up.
- Multi-Select
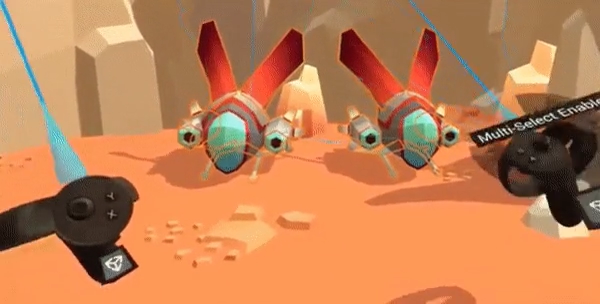
To enable multi-select: (with nothing selected) double click the grip buttons (Vive) or the secondary trigger (Oculus). A tooltip will pop-up to confirm you are in Multiselect mode.
When multi-select is enabled, you can select multiple objects and manipulate them simultaneously. (In this context this trigger is used as a 'shift/cmd' modifier).
Block Selection
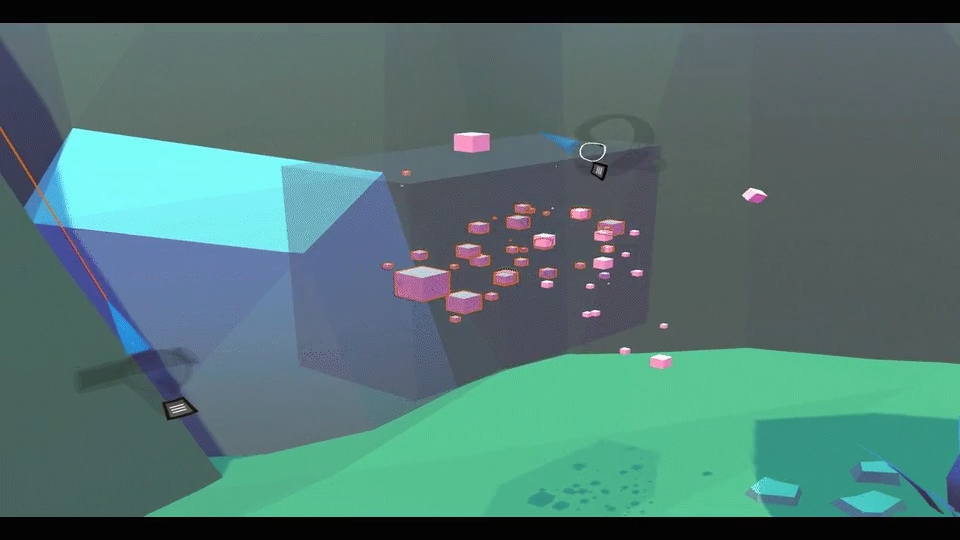
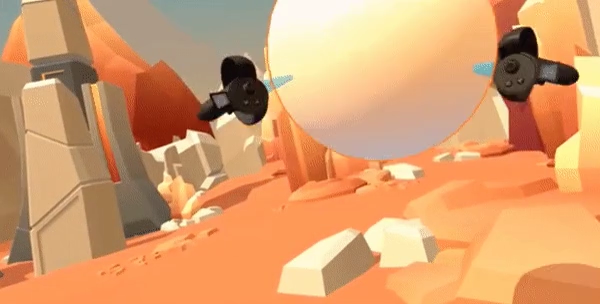
- There are two kinds of block selection: cuboid selection and sphere selection. Both methods are activated by holding down the primary trigger in an open area and moving the controller to resize the selection shape. You can switch between the two methods in the Settings Menu
- Cuboid selection allows you to trace a cube to select any objects within arm’s reach. The cube extents are defined from the blue selection cone at the end of your controller.
- Sphere selection allows you to create a selection sphere. The center of the sphere is defined by where you first hold down the trigger, while the controller’s distance from that point defines the radius.
- There are two kinds of block selection: cuboid selection and sphere selection. Both methods are activated by holding down the primary trigger in an open area and moving the controller to resize the selection shape. You can switch between the two methods in the Settings Menu
Two-handed Scaling
- To enable two-handed scaling: With an object directly selected, use the trigger on both controllers, and pull in/out to resize.
The Manipulator Gizmo
Select a plane or axis of the Manipulator Gizmo to move the object along that path, or select the free selection sphere in the center to move the object freely. The three types of movement are:
- Plane movement
- Axis movement
- Free selection sphere: move the joystick (Rift) or thumbpad (Vive) back and forth along the Y-axis to move the object closer or further away.
Snapping
Snapping can be enabled or disabled by using the section on the main menu labeled ‘Snapping’. Here, you can direct how the mode will function, i.e. snap via pivot or bounds, via direct selection or manipulator, snap to ground or surfaces, etc.
By enabling ‘Bounds’, objects can snap to each other by directly selecting them and stacking them on top of one another.
By enabling ‘Pivot’, objects can snap to a surface by selecting an object via the free selection sphere (center of the manipulator gizmo), and navigate the object to the desired surface.
By enabling ‘Rotate object’, objects will automatically rotate to their root orientation when snapped to a surface.
Workspaces
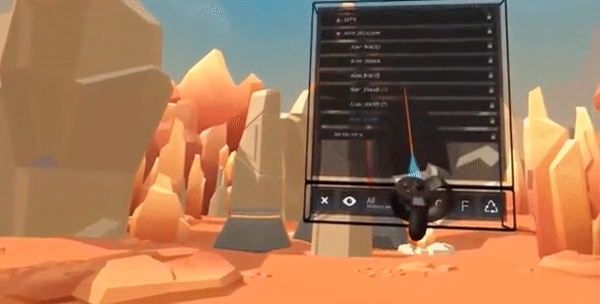
- Workspaces are the equivalent of 2D windows in VR. You can open various workspaces using the Main Menu.
- Workspaces can be moved, resized, or rotated.
- To move or rotate: Put the selection cone inside the front face of the workspace, then select by pressing down on the secondary trigger (Rift) or the grips (Vive). Make sure you’re grabbing the face, not the scale or view UI.
- To resize: Hold the controller near an edge until the resize arrows show, then hold down the secondary trigger (Rift) or the grip button (Vive).
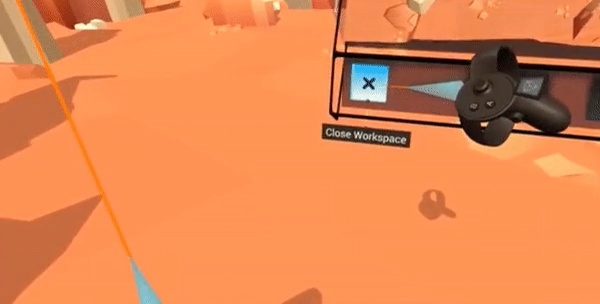
- To close a workspace, click the [X] on the front of a workspace.
- To scroll, either dip the selection cone directly in the pane, or use the ray or thumbpad.
- Here is the list of current workspaces that come as defaults:
- Console: View errors, warnings and other messages
- Hierarchy: View all GameObjects in your Scene(s)
- Locked Objects: View all locked GameObjects in your Scene(s)
- Inspector: View and edit GameObject properties
- MiniWorld: Edit a smaller version of your Scene(s)
- Profiler: Analyze your project's performance
- Project: Manage the Assets that belong to your project
MiniWorld Workspace
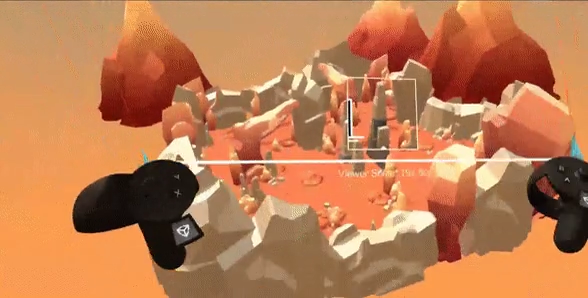
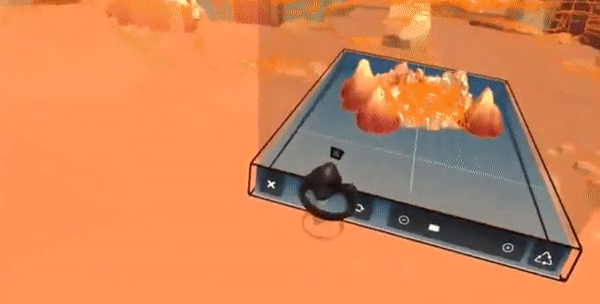
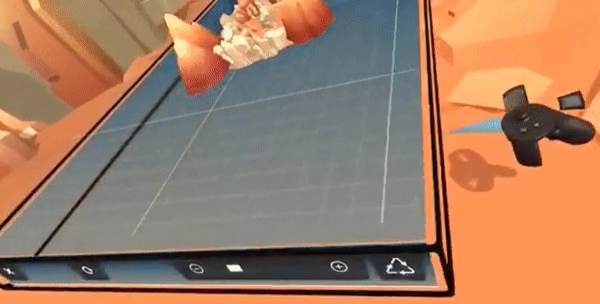
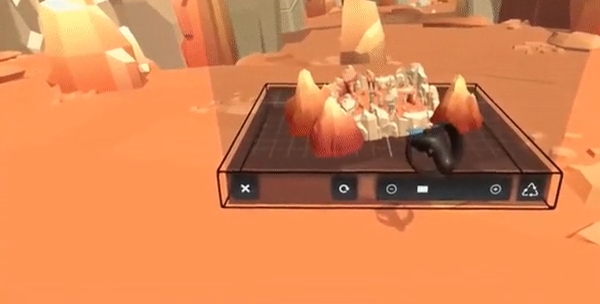
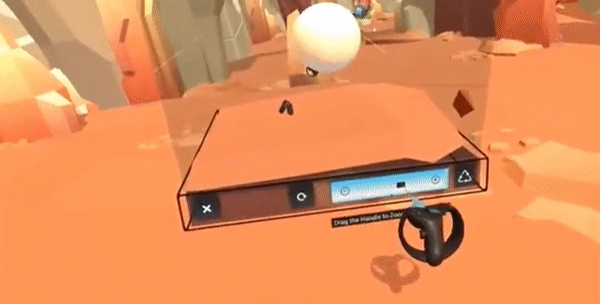
- The MiniWorld is a workspace that shows the exact same scene you’re already in, but smaller. It’s very useful for moving large objects or rearranging a lot of life-sized objects quickly.
- You can move objects in the MiniWorld using the selection cone (trigger). Read more about the difference between ray selection and the selection cone in the Selection section, above.
- To move the MiniWorld view, dip your cone into the top-pane of the workspace (which initially displays the grid) and move it around using the secondary trigger (Rift) or the grip buttons (Vive).
- You can scale/rotate the MiniWorld view, similarly to world-scaling the physical scene, by dipping your controllers into the MiniWorld view and using the grip buttons (Vive) or the Secondary Trigger (Oculus) on both controllers.
- If you lose where you are in the MiniWorld, you can select the Reset icon to get back to the root, or the button labeled ‘Center on Player’.
- To move yourself from one point of the world to another, grab yourself in the MiniWorld and move yourself around.
Project Workspace
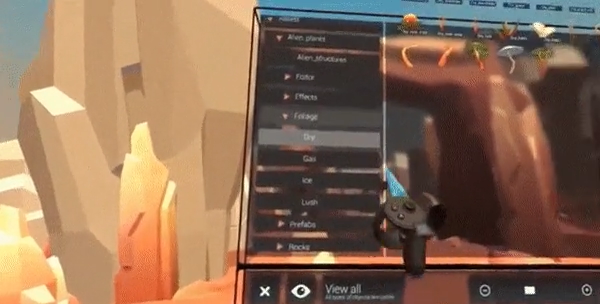
- The Project workspace (see Unity documentation on the Project view) works much the same way it does in regular Unity: you can open and close folders, look at different types of Assets, drag them into the Scene, and filter by Asset type.
- The left-hand side of the view shows folders, and the right-hand side shows Assets. Prefabs and models aren’t rendered in the Project view until you hover over them. This is for performance reasons.
- Drag objects out of the Project view to add them to the Scene. The bigger they are, the further away they instantiate from you. This is so they don’t hit you in the face.
Hierarchy
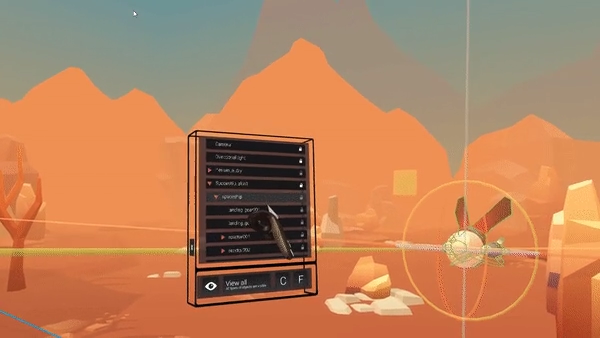
The Hierarchy (See Unity documentation on the Hierarchy window) shows which GameObjects are currently in your Scene. Click on an object in the Hierarchy to select the object in the Scene (Note: you may have to look around for it!).
- The Inspector
The Inspector (See Unity documentation on the Inspector window) is used to view and edit the properties and settings of GameObjects, Assets, and other preferences and settings in the Editor.
When you select a GameObject in EditorXR, or from the Hierarchy Workspace, the Inspector displays the GameObject’s components, including Transform, which exposes position, rotation, and scale values.
- Locked Objects
EditorXR workflows
To create assets:
From the Main Menu, scroll to the Create Section. Here, you will find tools that enable you to create assets to place in your scene.
To create primitive assets:
In the Main Menu, scroll to the Create Section and select Primitive.
Select Cube, Sphere, Capsule, Cylinder, Plane, or Quad with your ray or cone.
To place, draw the object in the desired space.
After you are done with creation and would like to move back to selection, transforming, etc., turn off the tool by one of two means: Navigate back to the main menu and select the tool again to toggle it using the [X] button on the top right hand corner of the pane, or use the pinned toolbar below the Main Menu button on your controller to toggle it on and off.
To create annotations:
In the Main Menu, scroll to the Create Section and select the Annotation Tool.
To begin, choose a color from the gradient palette and draw using the trigger. You can change your brush size by sliding the thumbstick (Oculus) or touchpad (Vive) left or right.
When you’re finished drawing, you can close the tool by pointing your selection cone to the the tool doc, hovering over the Annotation Tool label, and press the [x] button.
To place assets:
To open the Main Menu, select the Main Menu activator (the round Unity logo button) on your controller, then navigate to the Workspaces face on the Main Menu.
Select the Workspace named Project; it will open up in front of you.
The folder list is on the left, and Assets are on the right. You can open and close folders using the ray or the selection cone, or use the View all menu to see only certain types of Assets.
To add Assets from your project to the active Scene, drag them out of the Workspace Asset grid (on the right side), and place them in the space surrounding you. This action is akin to dragging an item from the Project window into your Scene view or Hierarchy in the standard Unity editor.
Advanced topics
This section provides more information on the following topics:
EditorXR Runtime: explains the use of EditorXR in Play Mode and included in Player builds.
Minimal Context: explains the origin of ...
Image Effect and Camera Settings Copy Support: explains the origin of ...
Extending EditorXR: explains the origin of ...
EditorXR Runtime
As of version 0.2, EditorXR can be used in Play Mode and included in Player builds. This means that you can use your tools, workspaces, and menus alongside your experience. This feature is highly experimental, and requires careful consideration of how to integrate EditorXR with your application’s input and interaction code.
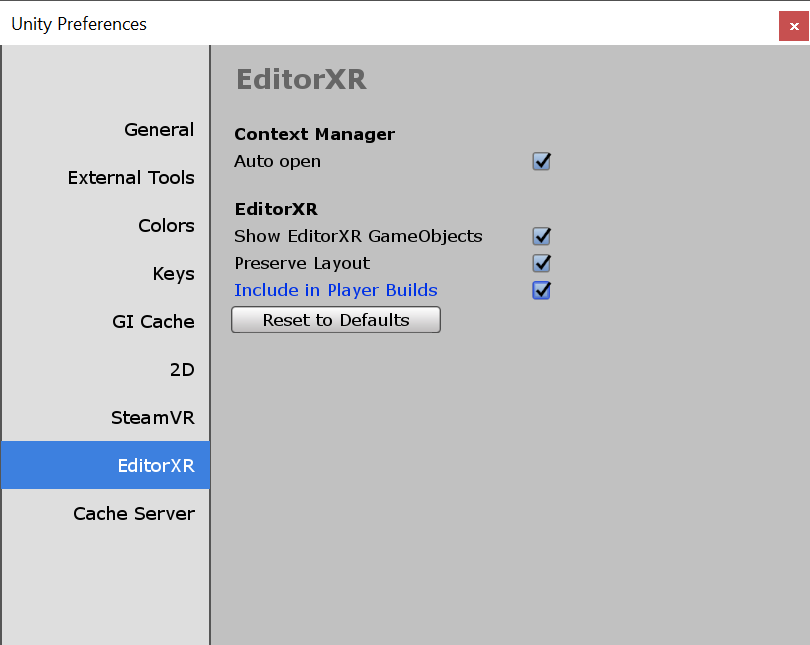
By default, EditorXR will strip its code out of Player builds to avoid increasing build size or causing conflicts with application code. However, if you would like to include EditorXR code in your player build, simply open the EditorXR preferences panel, and check “Include in Player Builds.”
To include EditorXR in your scene, simply create a new GameObject and add an EditingContextManager component. It will include a reference to the EditorXR context by default, but you can change it to whatever context you would like to have active on start. You should also be able to manage contexts via script, but it depends on your desired use case.
Before entering Play Mode or making a build, there is one final step: you must create a default resources asset. From the menu, go to Assets > Create > EditorXR > Default Script References
This will add support for the Script Importer functionality which many EditorXR systems rely on. This collects all of the MonoBehaviours that are instantiated during an EditorXR session and creates prefabs out of them, which will include asset references that were set in the Script Importer inspector. If you have created any new EditorXR systems you may want to ensure that you update this asset as you make changes, or tag your classes with the interfaces used within the DefaultScriptReferences class.
Minimal Context
- Ideal for lightweight client builds not requiring much of the EditorXR UI
- Unobtrusive context with no tools or menus other than the Spatial Menu
- Improvements to context handling (can hide workspaces, define preferences per context-type)
- Can be set via the Default Editing Context setting window:
- Edit / Project Settings / EditorXR / Default Editing Context
- Can be located in the project at :
- Assets/EditorXR/Scripts/Core/Contexts/Minimal
Image Effect & Camera Settings Copy Support
EditorXR has limited support for automatic copying of (post)image effects to the EditorXR camera(s), from the MainCamera in your scene. This includes the in-HMD camera, and the “presentation camera”. Both cameras are created by EditorXR on startup of an EditorXR session.
- In order to enable Image Effect support for EditorXR cameras, please perform the following:
- Select the Camera in your scene that you’d like the effects and settings copied from.
- Verify that Camera’s tag is set to “MainCamera” preferences per context-type)
- Select the EditorXR context that you’re currently using in the project tab.
- Default contexts are located in the project at : Assets/EditorXR/Scripts/Core/Contexts/
- To verify which context you’re currently using, select the following menu option:
- Edit / Project Settings / EditorXR / Default Editing Context
- After selecting your active context in the Project tab, you will be presented with 3 options in the the Inspector tab. These options are as follows:
- “Copy Main Camera Settings”
- This option allows for the copying of non-image-effect related Camera settings.
- “Copy Main Camera Image Effects to HMD”
- This option will copy any image effects from your MainCamera to the in-HMD EditorXR camera. This allows you to see these image effects in the HMD while using EditorXR in the editor, outside of play-mode.
- “Copy Main Camera Image Effects to Presentation Camera”
- This option will copy any image effects from your MainCamera to the EditorXR “presentation camera”.
- The presentation camera is better suited for demonstrations of an EditorXR session to an audience, and can be enabled via the “Use Presentation Camera” checkbox in an active EditorXR session view window.
- This option will copy any image effects from your MainCamera to the EditorXR “presentation camera”.
- Select the Camera in your scene that you’d like the effects and settings copied from.
