Get started
This getting started guide outlines the basics of setting up a project with Unity Identity.
Install the package
To install Unity Identity on a new or existing Unity project, install the Identity package using the installation instructions.
Register an application in the Unity Cloud platform
Unity Cloud projects require an application identifier when you build the application. The application identifier identifies your application in the Unity Cloud services and also enables the custom URI scheme association with the OS that's used in Unity Deep Linking and login operations.
Create an application identifier
To create an application identifier, follow these steps:
- Log into the Digital Twin Dashboard.
- Go to the Identity swagger page.
- Use
GET /api/auth/userinfo > [Try it out] > Executeto expose information about your Unity account. The response should look like the following:
    {
        "Id": "USER_ID",
        "Name": "USER_NAME",
        "Email": "USER_MAIL",
        "Organizations": [
            {
                "Id": "ORG_ID",
                "Name": "ORG_NAME",
                "AllowCreateNewProject": true,
                "IsPrimaryOrg": false,
                "AllowRequestLicense": true,
                "Role": "USER_ROLE"
            }
        ],
        // ...
    }
You might have multiple organizations in your response, if your unity account belongs to multiple organizations.
Select a target organization to register your app to, and copy its ORG_ID.
- Use
POST /api/applications > [Try it out]. Provide the
ORG_IDthat you previously fetched and then select aNameandDisplayName(refer to the following descriptions for more information):Name: A unique alphanumeric app name that's lowercase and between 4 and 10 characters.DisplayName: An arbitrary display name.
Select
Execute. The following is an example of the response:
    {
        "Id": "string",
        "Name": "string",
        "DisplayName": "string"
    }
Note: The URLs must be slightly adapted if you want to generate an API token on a different service environment than production.
- Copy the
Idvalue in your clipboard. You will need this value later to set up your Unity project.
Set up the application identifier
To set up the application identifier, follow these steps:
- Open your application project in the Unity Editor.
- Go to Edit > Project Settings > Unity Cloud > App Registration.
Enter your application identifier in the App Id field.
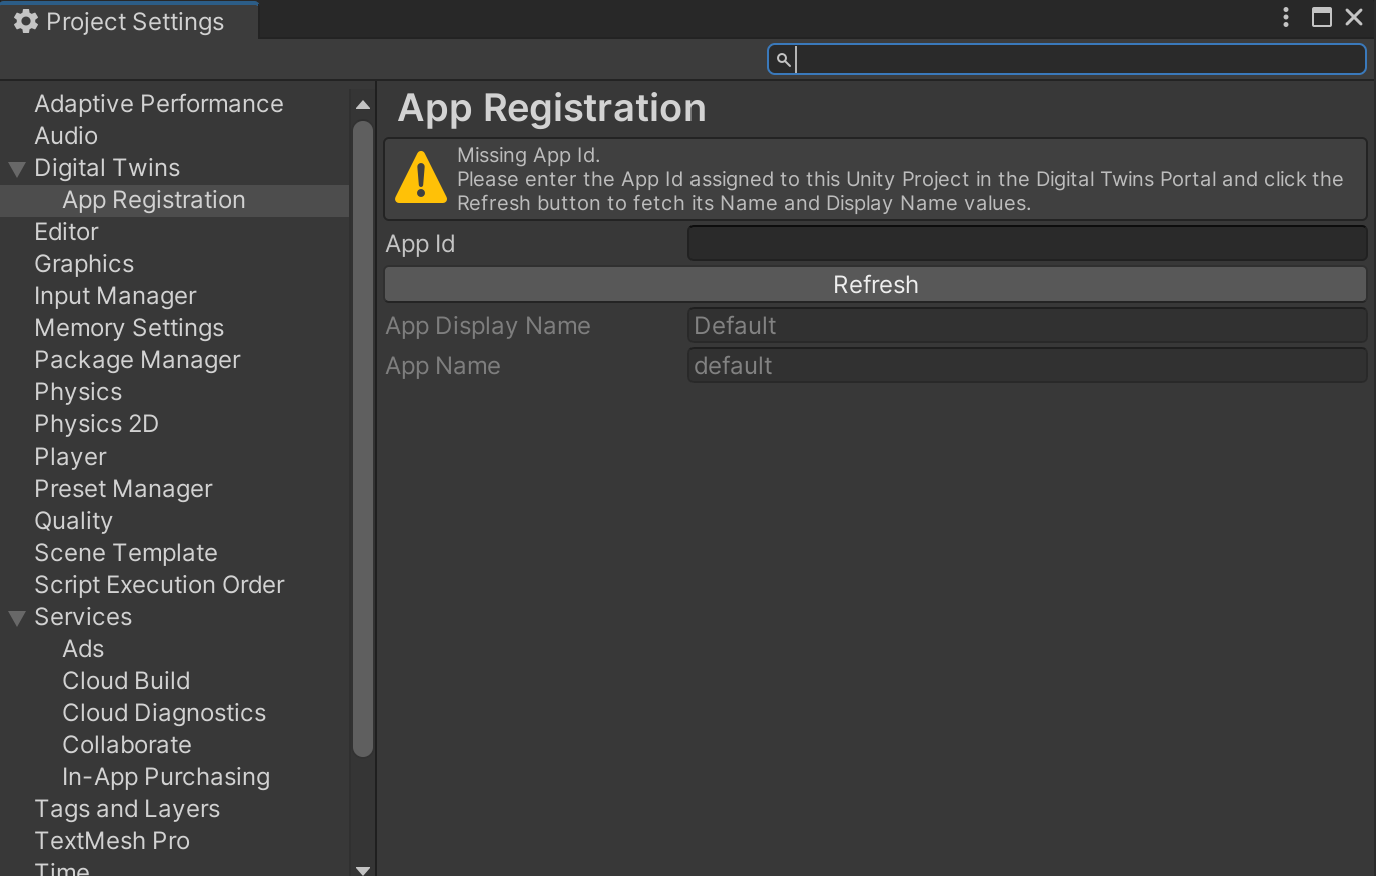
Select Refresh to update the application data in the Digital Twin Dashboard.
Your project is now set up.
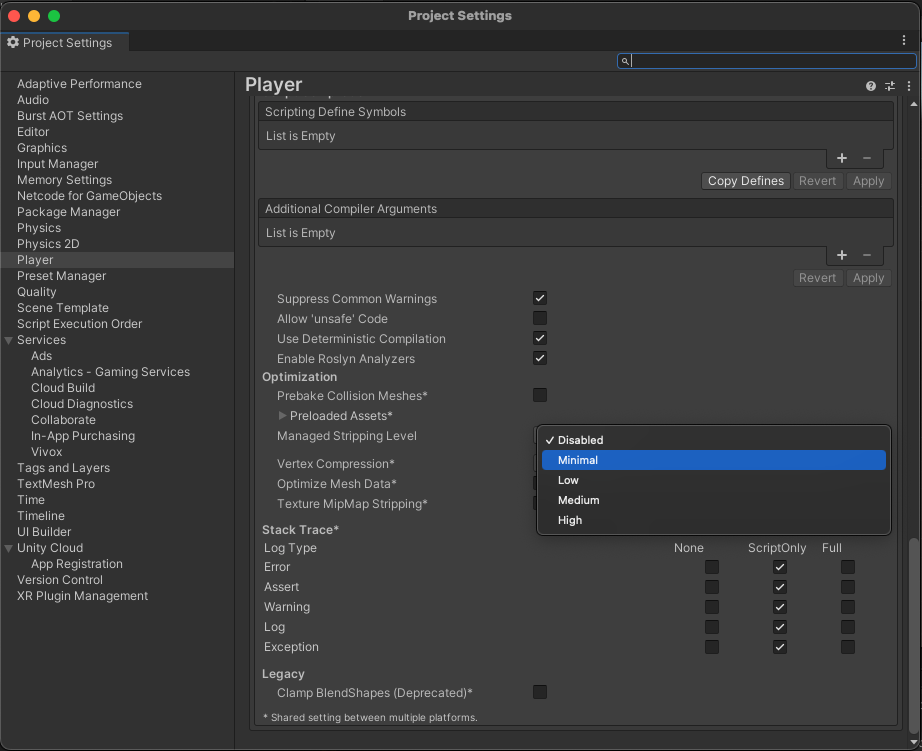
Manage the package stripping level
To avoid runtime errors when building with this package, follow these steps:
- In your Unity project window, go to Edit > Project settings.
The Project setting window opens. - Select the Player option.
- Scroll to the Additional Compiler Arguments section.
- Set the Managed stripping level option to:
- Disabled
or - Minimal (if the Disabled option isn't available)
Supported platforms
- Unity Editor
- Windows Standalone
- WebGL
- Android
- Linux
- MacOS
- iOS: Requires an Xcode project build and a valid development build certificate to achieve binding for the custom URI scheme at the OS level.