Use case: Load a scene from the cloud
This use case outlines the basics of setting up a streaming-ready scene. Use this use case to learn how to stream a scene from the cloud.
Prerequisites
To accomplish this use case, you require the following:
- Install the Data Streaming package on a new or existing Unity project (refer to Installation).
- Add these packages to the
manifest.json:
  {
    "dependencies": {
      // Add these lines:
      // Replace "<x.y.z>" with the version you wish to install
      "com.unity.cloud.identity": "<x.y.z>",
      "com.unity.cloud.storage": "<x.y.z>"
      // Other dependencies...
    }
  }
Overview
To accomplish this use case, do the following:
- Upload a scene
- Create a cloud streaming behavior
- Set up a new scene
Upload a scene
To upload a scene, follow these steps:
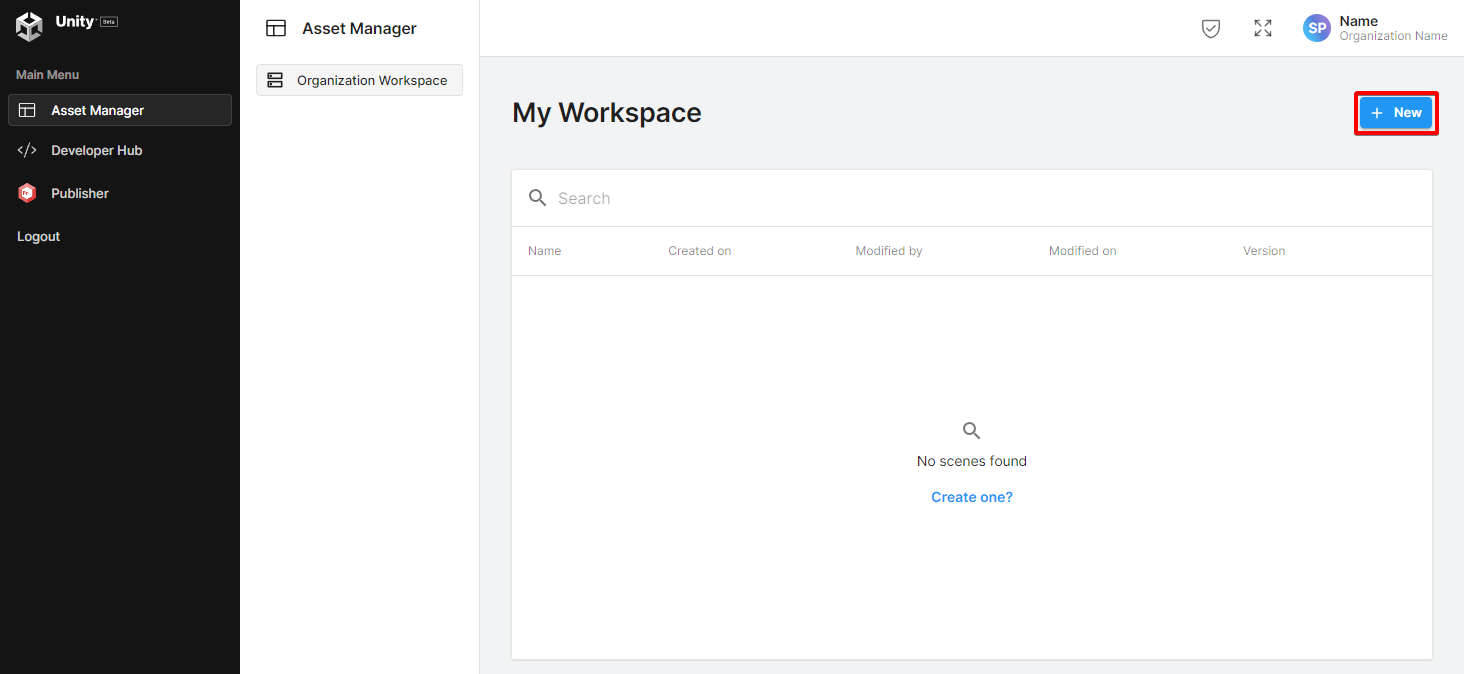
- Log into the Unity Cloud Portal.
Select New to create a scene.
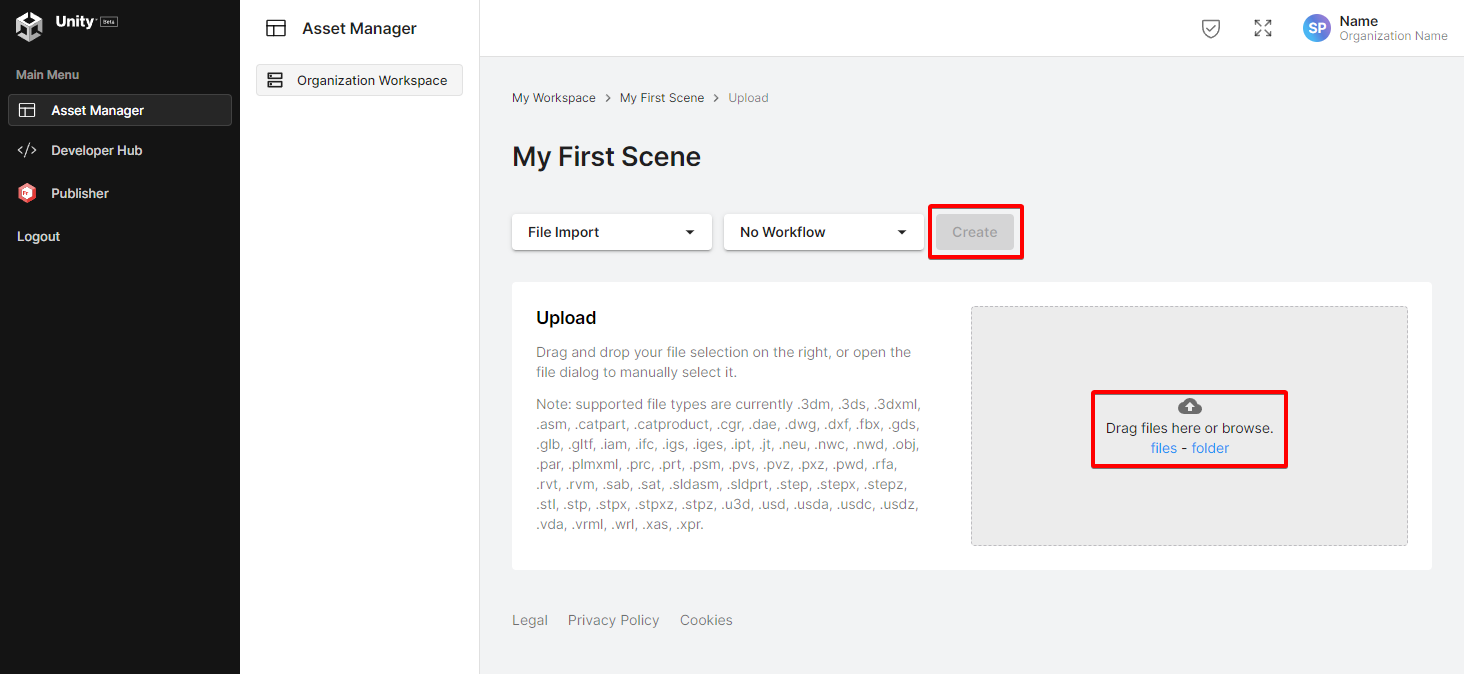
Name the scene
My First Sceneand select Create.Select files to upload a file.
Create a cloud streaming behavior
To create a cloud streaming behavior, follow these steps:
- Open your Unity project.
- Go to the Assets folder in the Project window.
- Right Click and Select Create > C# Script.
- Rename the new script as
CloudDataStreaming. - Open the
CloudDataStreamingscript and replace the content with the following:
Set up a new scene
To set up a new scene, follow these steps:
- Create a new scene.
- Create a GameObject called Streamer.
- Select Add Component in the Inspector window and add the Cloud Data Streaming component.
- Copy the scene id part of the scene details on the Unity Cloud Portal.
- Paste the Scene ID in the Cloud Data Streaming inspector field.
- Add a Camera in your scene if one doesn't exist.
- Set the CloudDataStreaming Component Camera value to your scene camera.
- Select Play to view your project load in front of the camera.*
- If the scene does not load in front of the camera, select the menu item
Edit / Frame Streamed Scene.