Use case: Link the Camera to the DataStreamer
This use case outlines the basics of setting up a camera in a streaming scene. Use this use case to learn how to set the camera observer on a DataStreamer and dynamically set its Far Clipping Plane.
Prerequisites
To accomplish this use case, you require the following:
- Install the Data Streaming package on a new or existing Unity project (refer to Installation).
- Add these packages to the
manifest.json:
  {
    "dependencies": {
      // Add these lines:
      // Replace "<x.y.z>" with the version you wish to install
      "com.unity.cloud.identity": "<x.y.z>",
      "com.unity.cloud.storage": "<x.y.z>"
      // Other dependencies...
    }
  }
Overview
To accomplish this use case, do the following:
- Upload a scene
- Create a cloud streaming behavior
- Set up a new scene
- Set the camera as the observer
- Dynamically set the camera far clipping plane.
- Link a custom camera as the observer.
Upload a scene
To upload a scene, follow these steps:
- Log into the Unity Cloud Portal.
Select New to create a scene.
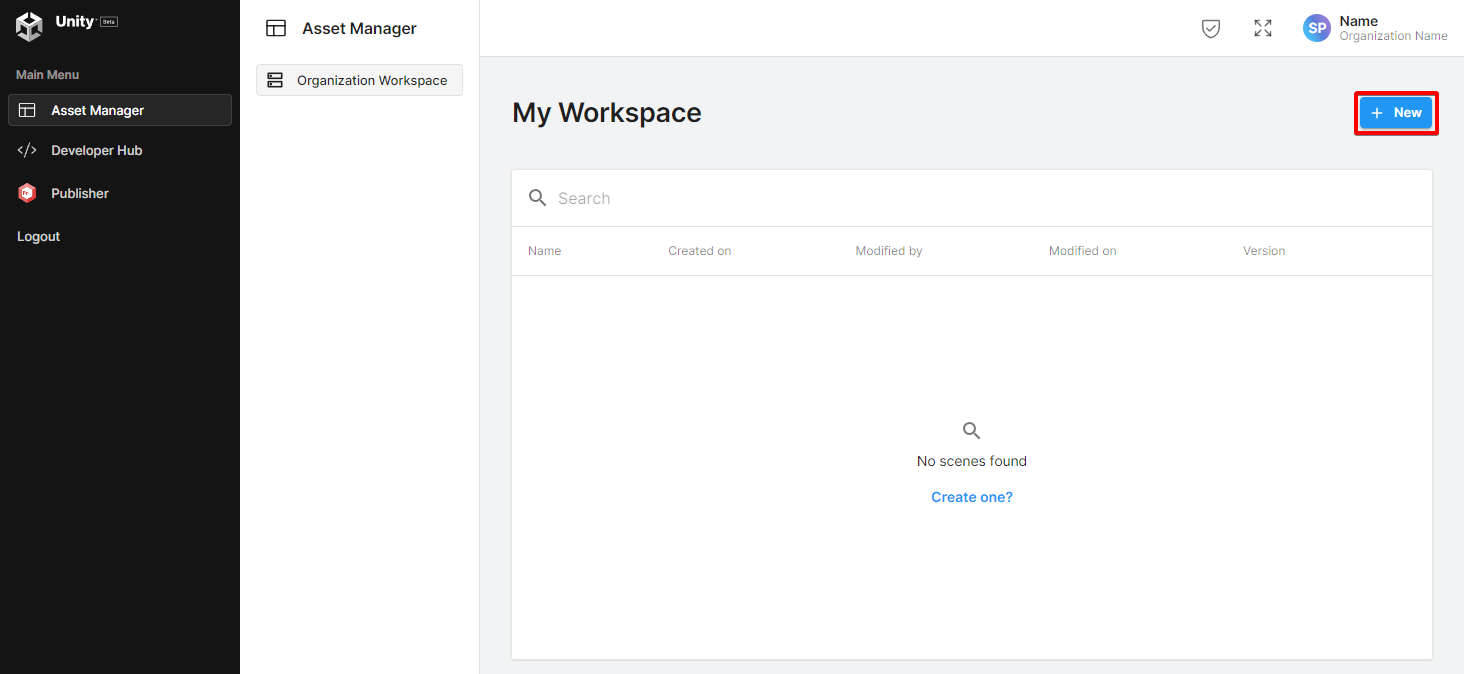
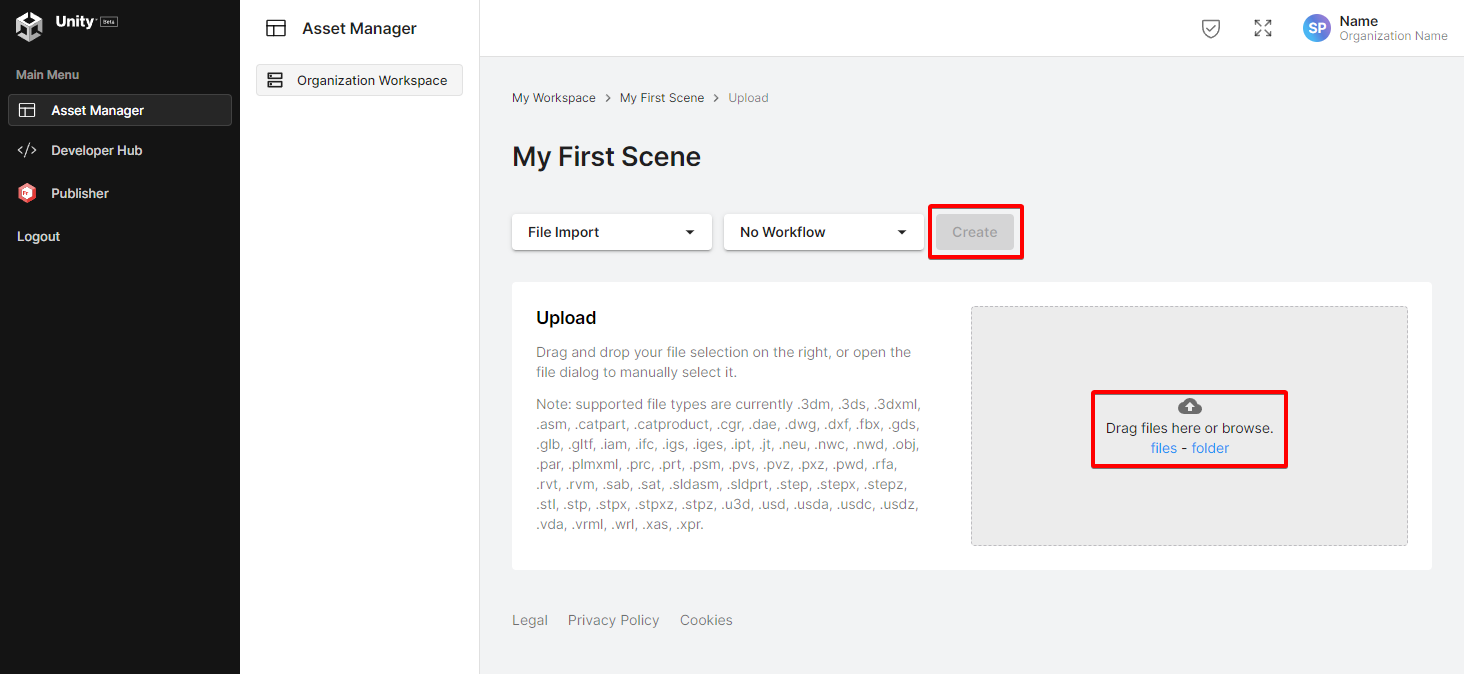
Name the scene
My First Sceneand select Create.Select files to upload a file.
Create a cloud streaming behavior
To create a cloud streaming behavior, follow these steps:
- Open your Unity project.
- Go to the Assets folder in the Project window.
- Right Click and Select Create > C# Script.
- Rename the new script as
CloudDataStreaming. - Open the
CloudDataStreamingscript and replace the content with the following:
Set up a new scene
To set up a new scene, follow these steps:
- Create a new scene.
- Create a GameObject called Streamer.
- Select Add Component in the Inspector window and add the Cloud Data Streaming component.
- Copy the Scene ID part of the scene details on the Unity Cloud Portal.
- Paste the Scene ID in the Cloud Data Streaming inspector field.
- Select Play.
- No geometry gets loaded.
- Select Stop.
Set the camera as the observer
As you saw in the previous steps, no meshes were loaded. This happened because the DataStreamer didn't know what to load since it's responsible for loading only what is required and it ignores geometry which is not in an observer's field of view. To fix this:
- Insert a m_CameraObserver field on your CloudDataStreaming Component.
- Insert AddObserver call in the CloudDataStreaming.Start Method.
- Add a Camera in your scene if one doesn't exist.
- Set the CloudDataStreaming Component Camera Observer value to your scene camera.
- Select Play to view your project load in front of the camera.*
- Select Stop.
- If the scene does not load in front of the camera, select the menu item
Edit / Frame Streamed Scene.
Dynamically set the camera far clipping plane and automatically position it.
Now that the DataStreamer knows what to load based on the camera position, you might have seen display issues when geometry were too far from the camera. When moving the camera too far from the streamed asset, you will end up having the asset disappear since the camera clipping plane value is too low.
To prevent setting the far clipping plane to an arbitrary value, we will dynamically link its value to the distance between the camera and the asset.
- Go to the Assets folder in the Project window.
- Go to Add (+) > C# Script.
- Rename the new script as
CameraSetup. - Open the
CameraSetupscript and replace the content with the following: - Insert a m_CameraSetup field on your CloudDataStreaming Component.
- Insert SetView call in the CloudDataStreaming.Start Method.
- Select the scene camera.
- Select Add Component in the Inspector window and add the CameraSetup component.
- Set the CameraSetup Component Camera value to your scene camera.
- Set the CloudDataStreaming Component CameraSetup value to the newly created CameraSetup component.
- Select Play to view your project load in front of the camera.
- The camera will initialize itself to a default position.
- Select the scene camera.
- Move the camera and look at the far clipping plane value getting updated.