Getting started
Follow the steps in this section to install Cinemachine in your project. Get started quickly with a few Virtual Cameras, then gradually add more sophisticated features as needed.
Installing Cinemachine
Cinemachine is a free package, available for any project. You install Cinemachine like any other package.
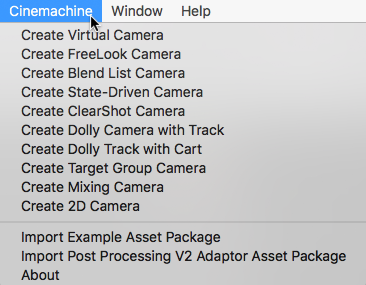
After you install Cinemachine, a new Cinemachine folder appears in the Gizmos folder of your Project window, and a new Cinemachine menu is available.
Upgrading from the Cinemachine Asset Package
If you already installed Cinemachine from the Unity Asset Store, you can upgrade to the Cinemachine Package.
To upgrade to the Cinemachine Package:
In Unity Editor, 2018.1 or later, open your project.
Save the current Scene you are working on.
Create a new, empty Scene.
In the Project window, delete the Cinemachine Asset and any CinemachinePostProcessing adaptor assets you may have installed.
Install the Cinemachine package.
Learning more about Cinemachine
Use the Unity Tutorials to see demonstrations for setting up and using Cinemachine.
Experiment with the example Assets. In the Unity menu, choose Cinemachine > Import Example Asset Package to import these Assets.
Discuss your Cinemachine challenges and ideas in the Cinemachine community forum and in the Answers page.