Sprite Visibility panel
Toggle the Sprite Visibility panel by selecting the Visibility tool button along the upper right of the editor window:
![]()
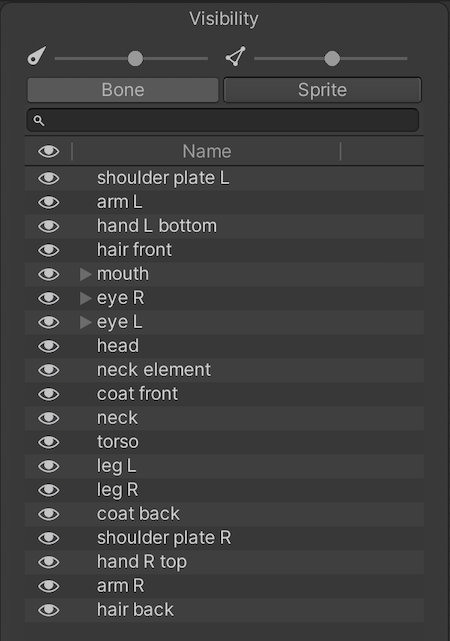
The panel appears on the right-side of the editor window. It has two sliders at the top that control the visibility of the ![]() bones and
bones and ![]() Sprite meshes within the editor window. Move either slider further to the left to decrease the visibility of the bones or meshes respectively, and to the right to increase their visibility.
Sprite meshes within the editor window. Move either slider further to the left to decrease the visibility of the bones or meshes respectively, and to the right to increase their visibility.

The Bone tab displays the Bone hierarchy of the character Prefab, and the Sprite tab displays the names of the Sprites and their grouping hierarchy.
Note: You will no longer be able to create or define a Sprite Library Asset within the Skinning Editor module from 2D Animation version 6.0 onwards, and the Category and Label columns have been removed from the Sprite Visibility panel. Please refer to the Sprite Library Asset documentation for more information.
Bone tab and hierarchy tree
The Bone tab selected.
Select the Bone tab to view the list of bones in the character Prefab. The list reflects the hierarchy of bones you created with the Bone tools. You can reparent and reorder bones directly from the bone tab by dragging selected bones up and down the list. Toggle the visibility of each bone by selecting the icon next to it.
| Property | Function |
|---|---|
| Toggle the visibility of each bone by selecting this icon next to the bone. | |
| Toggle the visibility of a bone and its children by selecting this icon while holding Alt (macOS: holding Option). | |
| Bone | The name of the Bone. |
| Depth | Displays the Z-value of bones that are influencing the same Sprite Mesh. The parts of the Mesh that is influenced by a bone with higher Depth value will render in front of the Mesh influenced by bones with lower Depth value. A bone’s Depth value is 0 by default. |
| Color | The color of the Bone. |
Sprite tab
Select the Sprite tab to see the list of Sprites that make up the character Prefab in the Skinning editor window. The names and order of the Sprites mirror their names, layer and grouping order in the original source file. Toggle the visibility of a Layer by selecting the icon next to it. Hold Alt (macOS: hold Option) to view it in isolation and hide every other Layer.
![]()