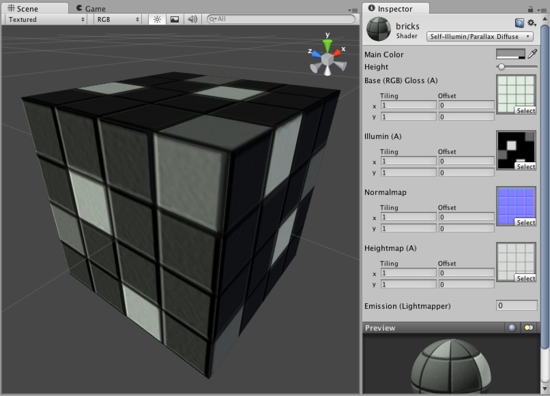
Self-Illuminated Parallax Diffuse

Self-Illuminated Properties
This shader allows you to define bright and dark parts of the object. The alpha channel of a secondary texture will define areas of the object that “emit” light by themselves, even when no light is shining on it. In the alpha channel, black is zero light, and white is full light emitted by the object. Any scene lights will add illumination on top of the shader’s illumination. So even if your object does not emit any light by itself, it will still be lit by lights in your scene.
Parallax Normal mapped Properties
Parallax Normal mapped is the same as regular Normal mapped, but with a better simulation of “depth”. The extra depth effect is achieved through the use of a Height Map. The Height Map is contained in the alpha channel of the Normal map. In the alpha, black is zero depth and white is full depth. This is most often used in bricks/stones to better display the cracks between them.
The Parallax mapping technique is pretty simple, so it can have artifacts and unusual effects. Specifically, very steep height transitions in the Height Map should be avoided. Adjusting the Height value in the Inspector can also cause the object to become distorted in an odd, unrealistic way. For this reason, it is recommended that you use gradual Height Map transitions or keep the Height slider toward the shallow end.
Diffuse Properties
Diffuse computes a simple (Lambertian) lighting model. The lighting on the surface decreases as the angle between it and the light decreases. The lighting depends only on the this angle, and does not change as the camera moves or rotates around.
Performance
Generally, this shader is on the more expensive rendering side. For more details, please view the Shader Peformance page.