How do I Use Normal Maps?
Normal maps are grayscale images that you use as a height map on your objects in order to give an appearance of raised or recessed surfaces. Assuming you have a model that looks like this:
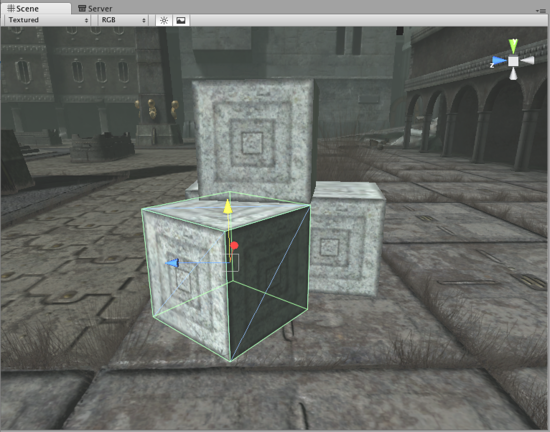
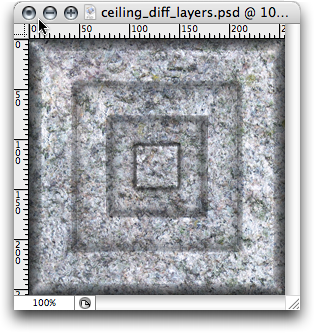
We want to make the light parts of the object appear raised.
Draw a grayscale height map of your texture in Photoshop. White is high, black is low. Something like this:
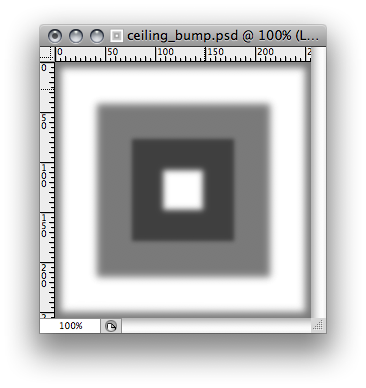
Save the image next to your main texture.
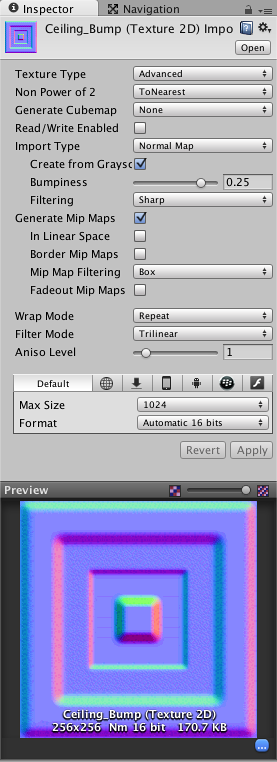
In Unity, select the image and enable Generate Normal Map in the Import Settings in the Inspector:
In the Material Inspector of your model, select ‘Bumped Diffuse’ from the Shader drop-down:
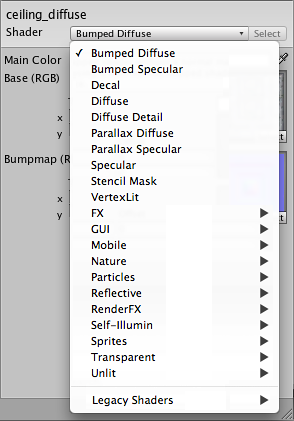
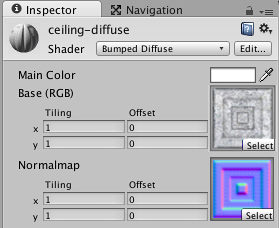
Drag your texture from the Project window to the ‘Bumpmap’ texture slot:
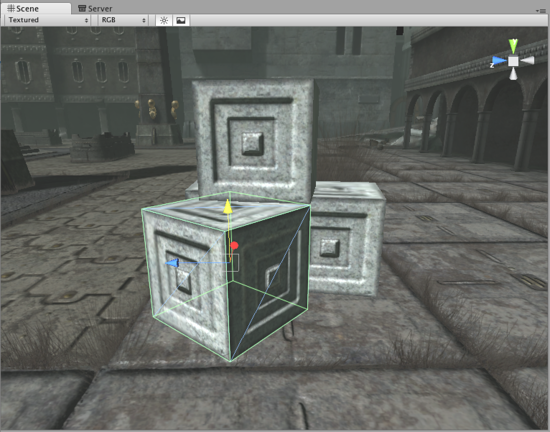
Your object now has a normal map applied:
Hints
- To make the bumps more noticable, either use the Bumpyness slider in the Texture Import Settings or blur the texture in Photoshop. Experiment with both approaches to get a feel for it.